
By Becky Hardin
Updated Jan 29, 2026

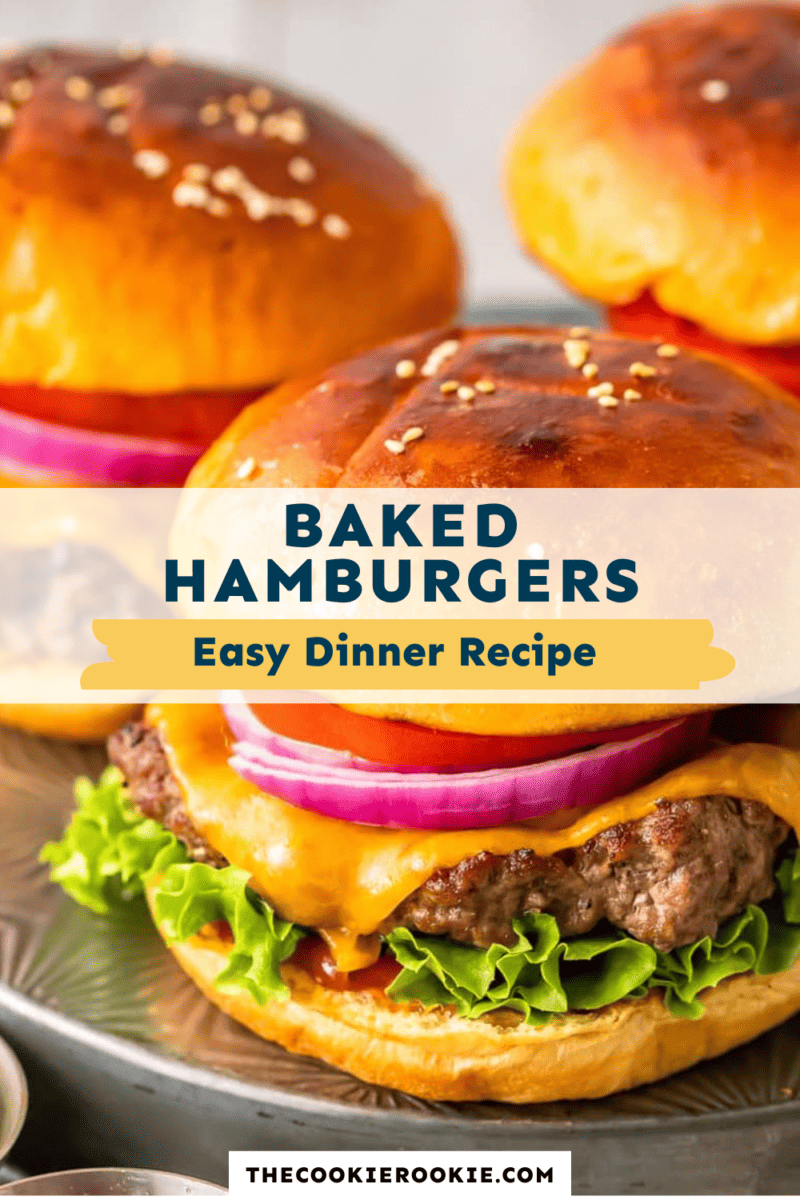
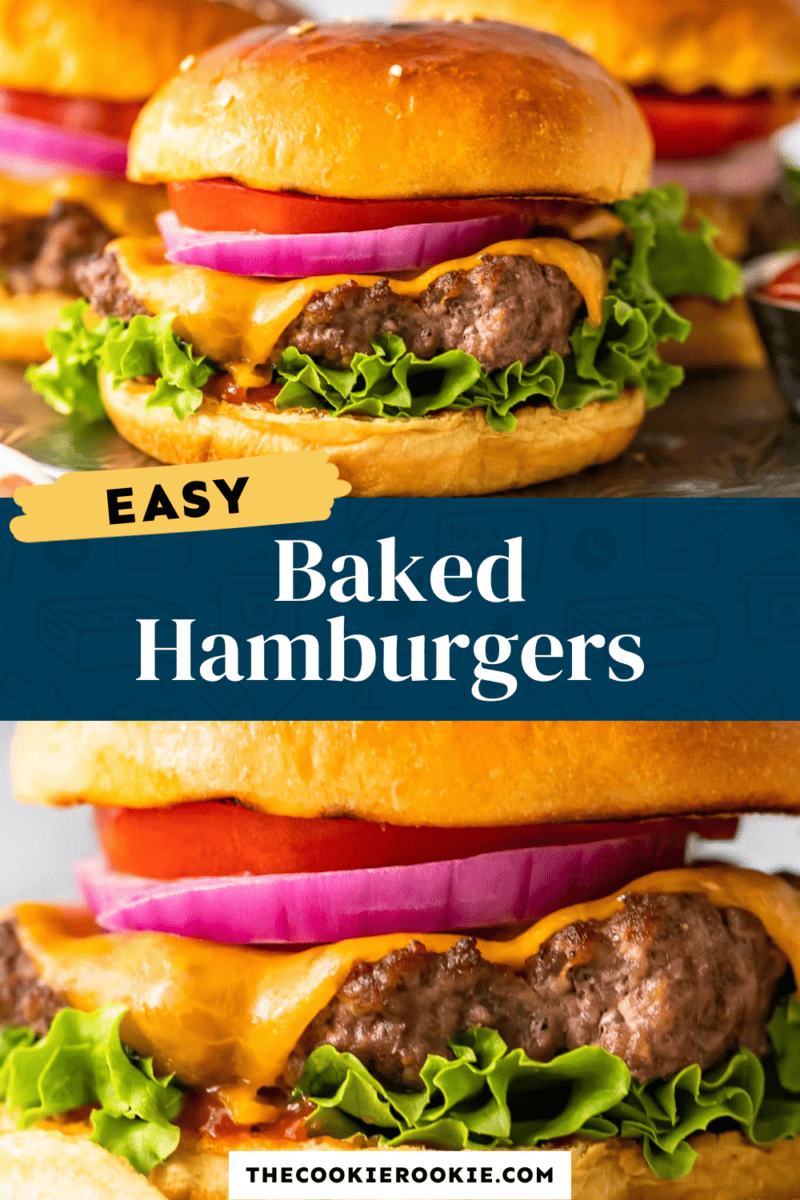
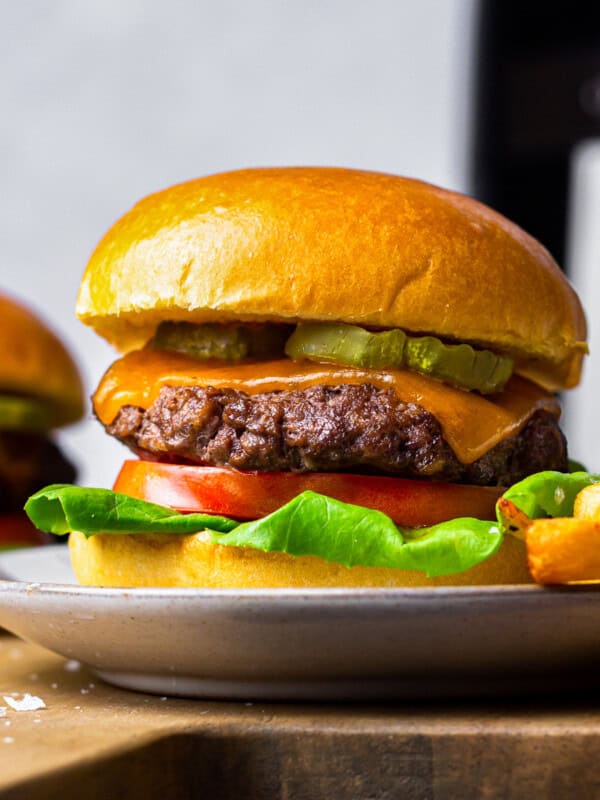
When I’m craving a juicy hamburger in the middle of winter, I skip the grill and make them right in the oven. It’s my go-to way to enjoy burgers any time of year—easy, reliable, and incredibly delicious. Once they’re topped with melted cheese and all my favorite fixings, there’s nothing more satisfying.
Pin this recipe for later!
5-Star Review
“I have made this recipe about 6 times now, and the burgers have been super juicy and delicious every time!” – Shanel
Easy Juicy Burgers
Sometimes grilling burgers just isn’t an option, but I’m not one to give up my burgers until the snow melts, so I’ve opted to broil them in the oven instead. It’s quick, hands-off, and the burgers come out juicy every single time.
Tips for Beginners
- Place the oven rack at least 2 notches down from the heating element. Some readers have noted that placing the burgers too close to the broiler can lead to a grease fire, so don’t place the burgers too close to the element.
- Use a broiler pan. Some readers feel a broiler pan will help reduce the risk of a grease fire, as opposed to a baking sheet, as the grease will drip away from the element.
- Remove your burgers from the heat about 5 degrees before your desired temperature. They will continue cooking for a few minutes after being removed from the heat, so this is the best way to make sure they’re not overdone.
- Salt and pepper enhance the flavor of the meat. If you want to up the flavor a little more, use this simple burger seasoning instead.
- Go for gourmet. Your favorite buns are fine, but brioche buns are a great way to make them feel a little more gourmet.
- Don’t overmix the ground beef . Otherwise you’ll end up with tough and chewy burgers.
Ingredients1x2x3x
- ▢ 1 lb. ground chuck (or your favorite burger blend)
- ▢ kosher salt and freshly ground black pepper to taste
- ▢ 4 slices cheese
- ▢ 4 burger buns lightly buttered and toasted
Video
Instructions
- Heat oven to broil (high) and set the oven rack to the upper-middle position.
- Line a cast iron grill pan or baking sheet with foil.
- Divide the meat into four 4-oz. portions. Very gently, and without overworking the meat, form each portion into 4 loose balls. Place one ball on a dessert plate or other flat surface and gently press it down to make a disc about ½-¾ inch thick (your personal choice). Now gently turn the disc around while slightly pressing an indentation around the edge (kind of like a moat right inside the burger’s edge). This will keep the burger from developing a mound in the middle, and your burger will remain flat while cooking. Place the burger on the prepared pan and repeat the process with the remaining portions of beef. 1 lb. ground chuck
- Season both sides of each burger generously with kosher salt and freshly ground black pepper, and place the burgers in the oven. kosher salt and freshly ground black pepper
- Broil for 4 minutes, or until the top has browned and beginning to char.
- Flip the burgers over and broil until the center reads 155°F internally, about 3-4 minutes longer.
- Top each burger with a slice of your favorite cheese, if desired, and cook just until the cheese melts. 4 slices cheese
- Transfer the burgers to a cooling rack and tent with foil to allow time for the internal temperature to reach 160°F.
- Serve the burgers on toasted buns and top with the condiments of your choice. 4 burger buns
Equipment
- Indoor Grill Pan
- Baking Sheet
Nutrition information is automatically calculated, so should only be used as an approximation.
How to Make Burgers In The Oven Step by Step
Get the oven going and prepare your pan: Heat the oven to broil (high) and set the oven rack to the upper-middle position. Line a cast-iron grill pan or baking sheet with foil.
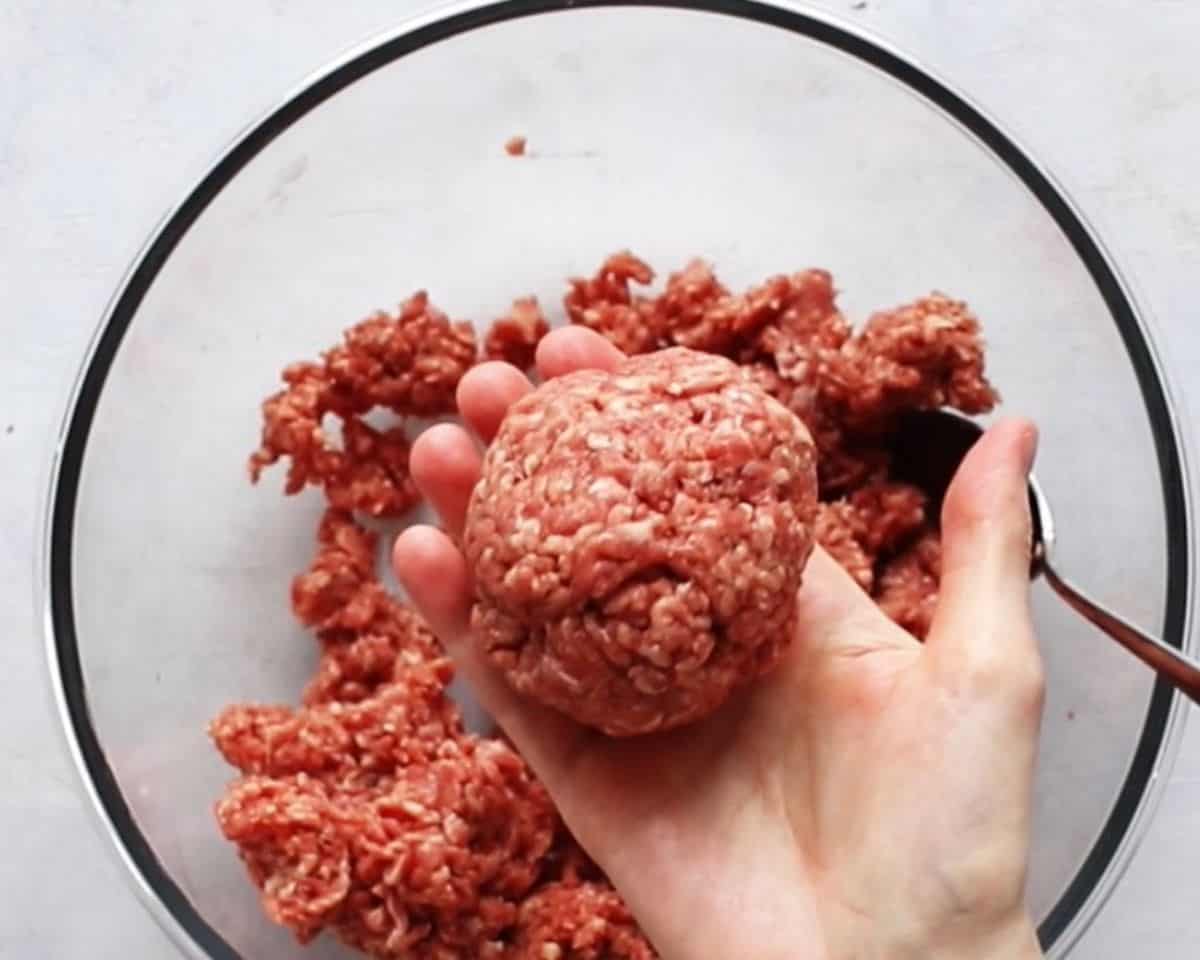
Prepare the burgers: Divide 1 lb. of chuck into four 4-oz. portions. Very gently, and without overworking the meat, form each portion into 4 loose balls.
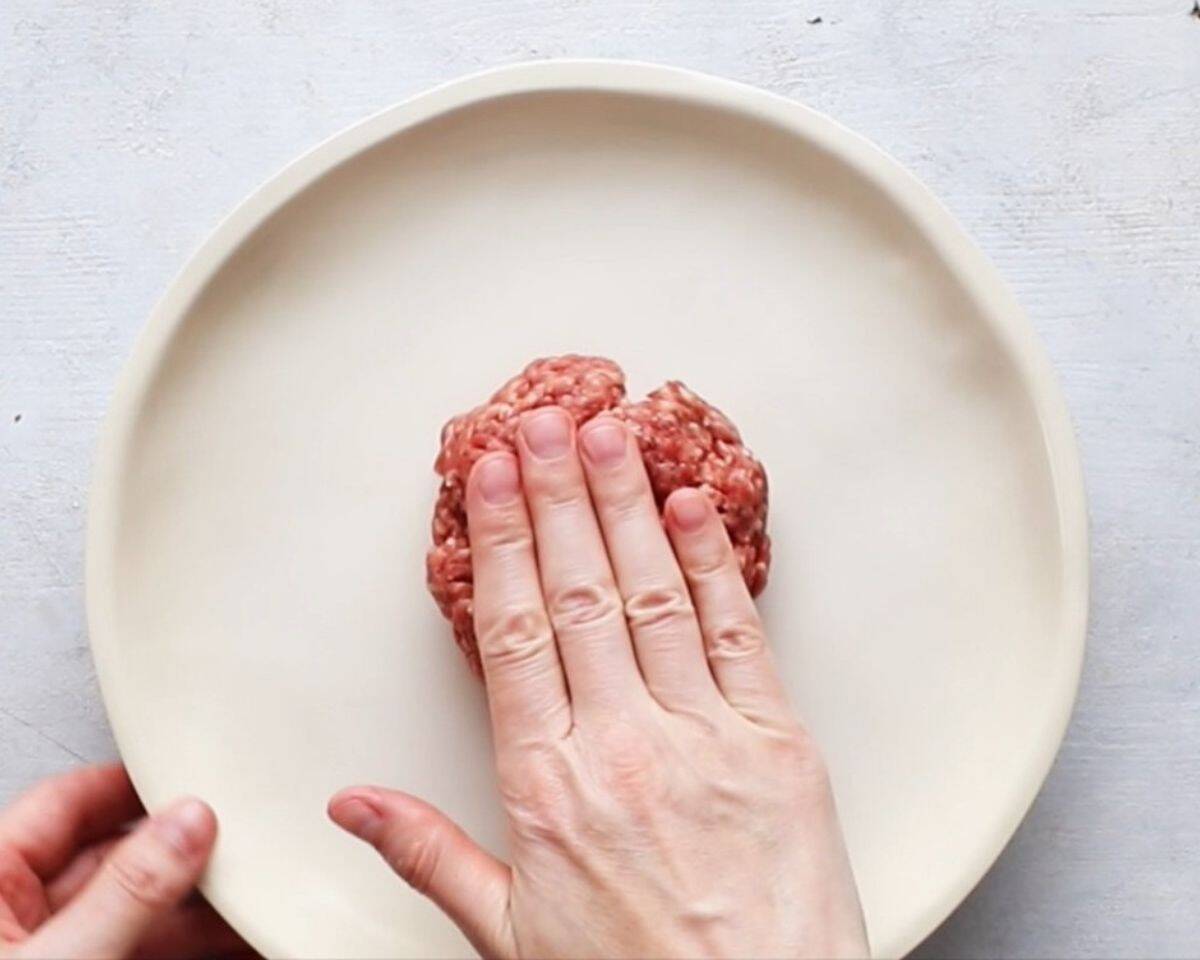
Shape patty: Place one portion of chuck on a plate or other flat surface and gently press down to make a disc about ½-¾ inch thick (your personal choice). Then, turn the disc around while making a slight indentation around the edge (kind of like a moat right inside the burger’s edge). This will ensure the burger does not develop a mound in the middle, and it will remain flat while cooking.
Place the shaped burger on the pan and repeat with the remaining portions of beef.
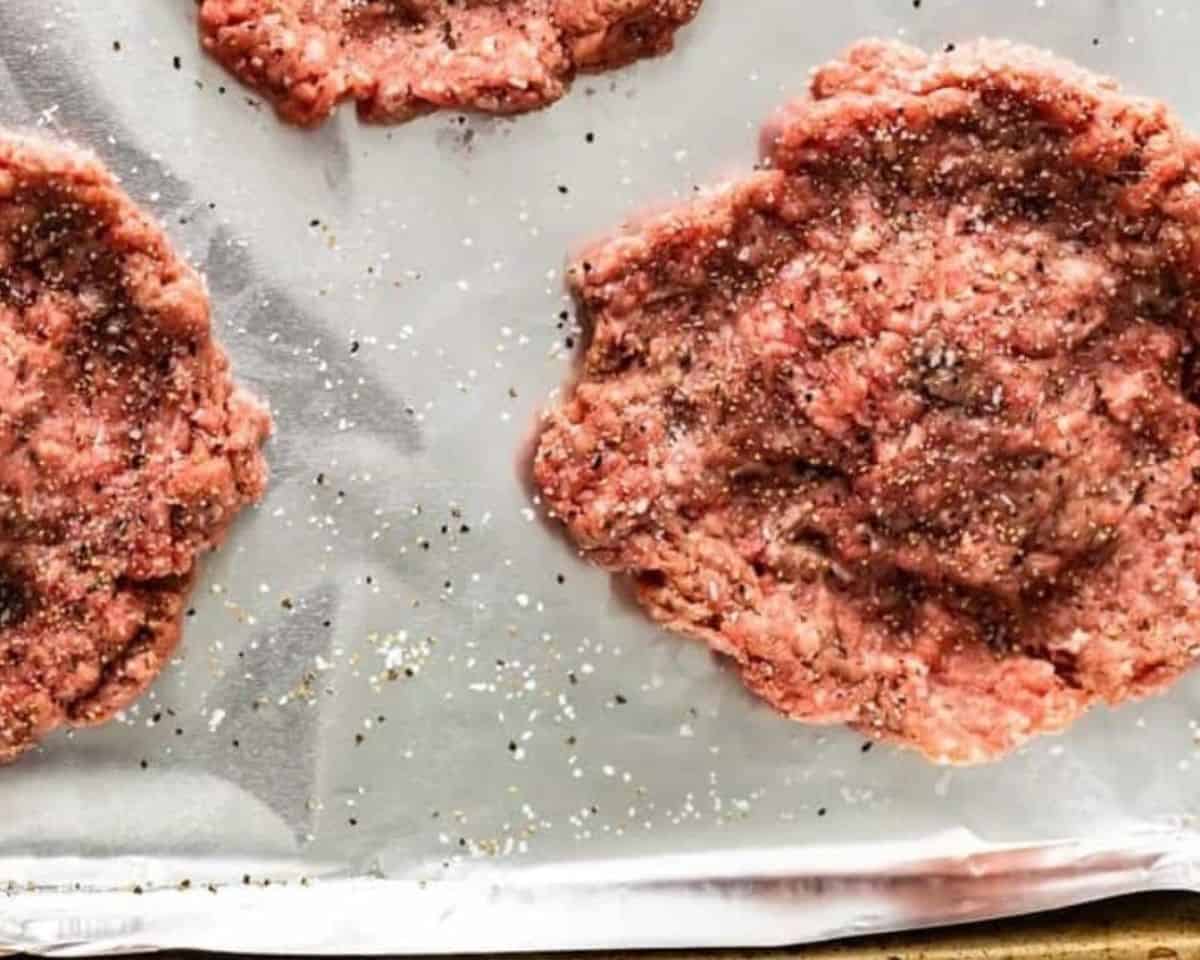
Season and broil: Season both sides of each burger generously with kosher salt and freshly ground black pepper, and place the burgers in the oven.
Broil for 4 minutes, or until the top has browned and is beginning to char.
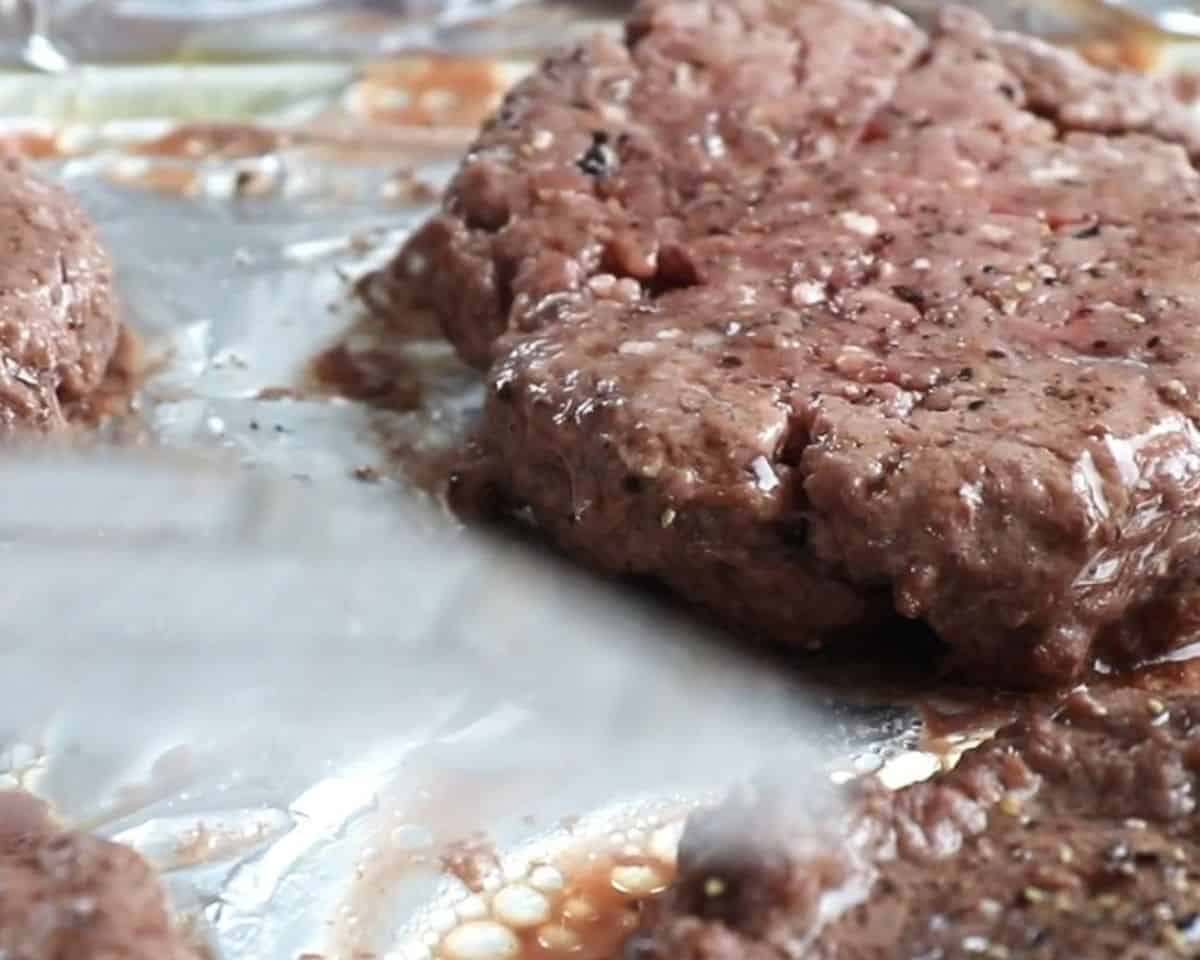
Flip the burgers over and broil until the center reads 155°F internally with an instant read thermometer, about 3-4 minutes longer.

Top with cheese: Top the burgers with a slice of your favorite cheese, if desired, and cook just until the cheese melts.
Transfer the cooked burgers to a cooling rack and tent with foil to allow for the internal temperature to reach 160°F.
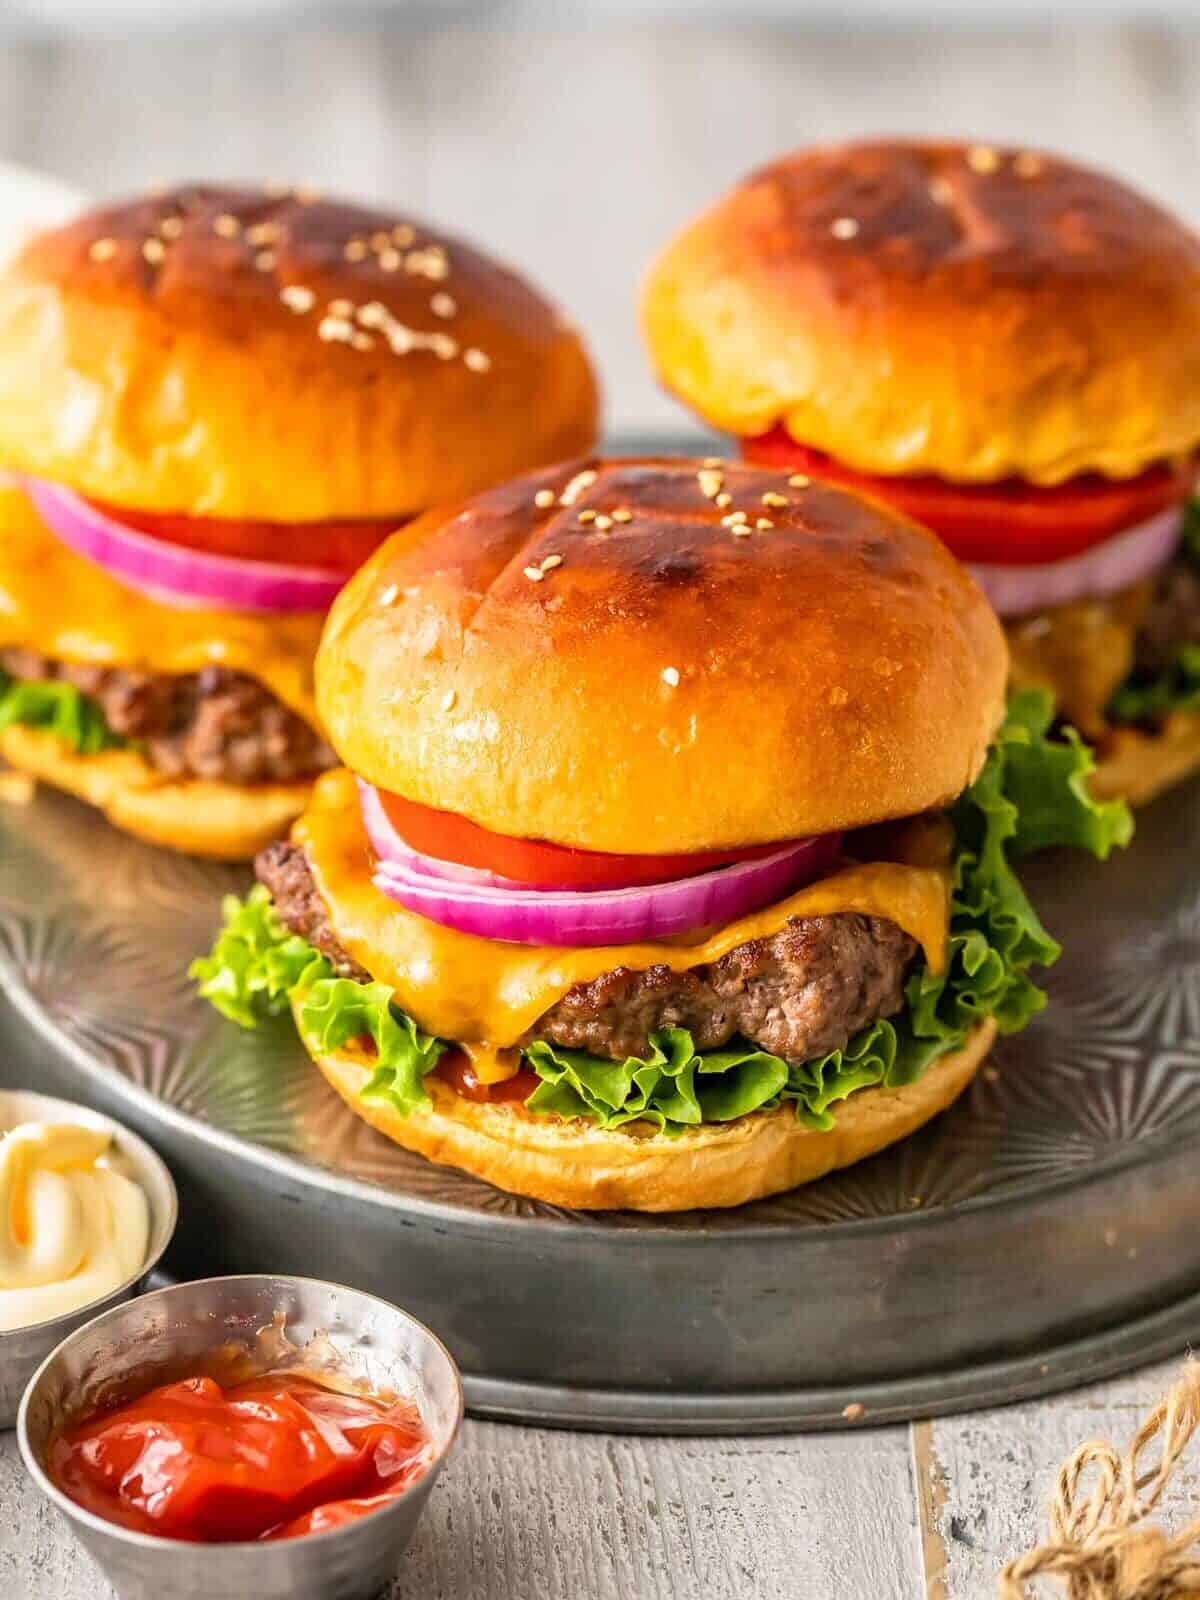
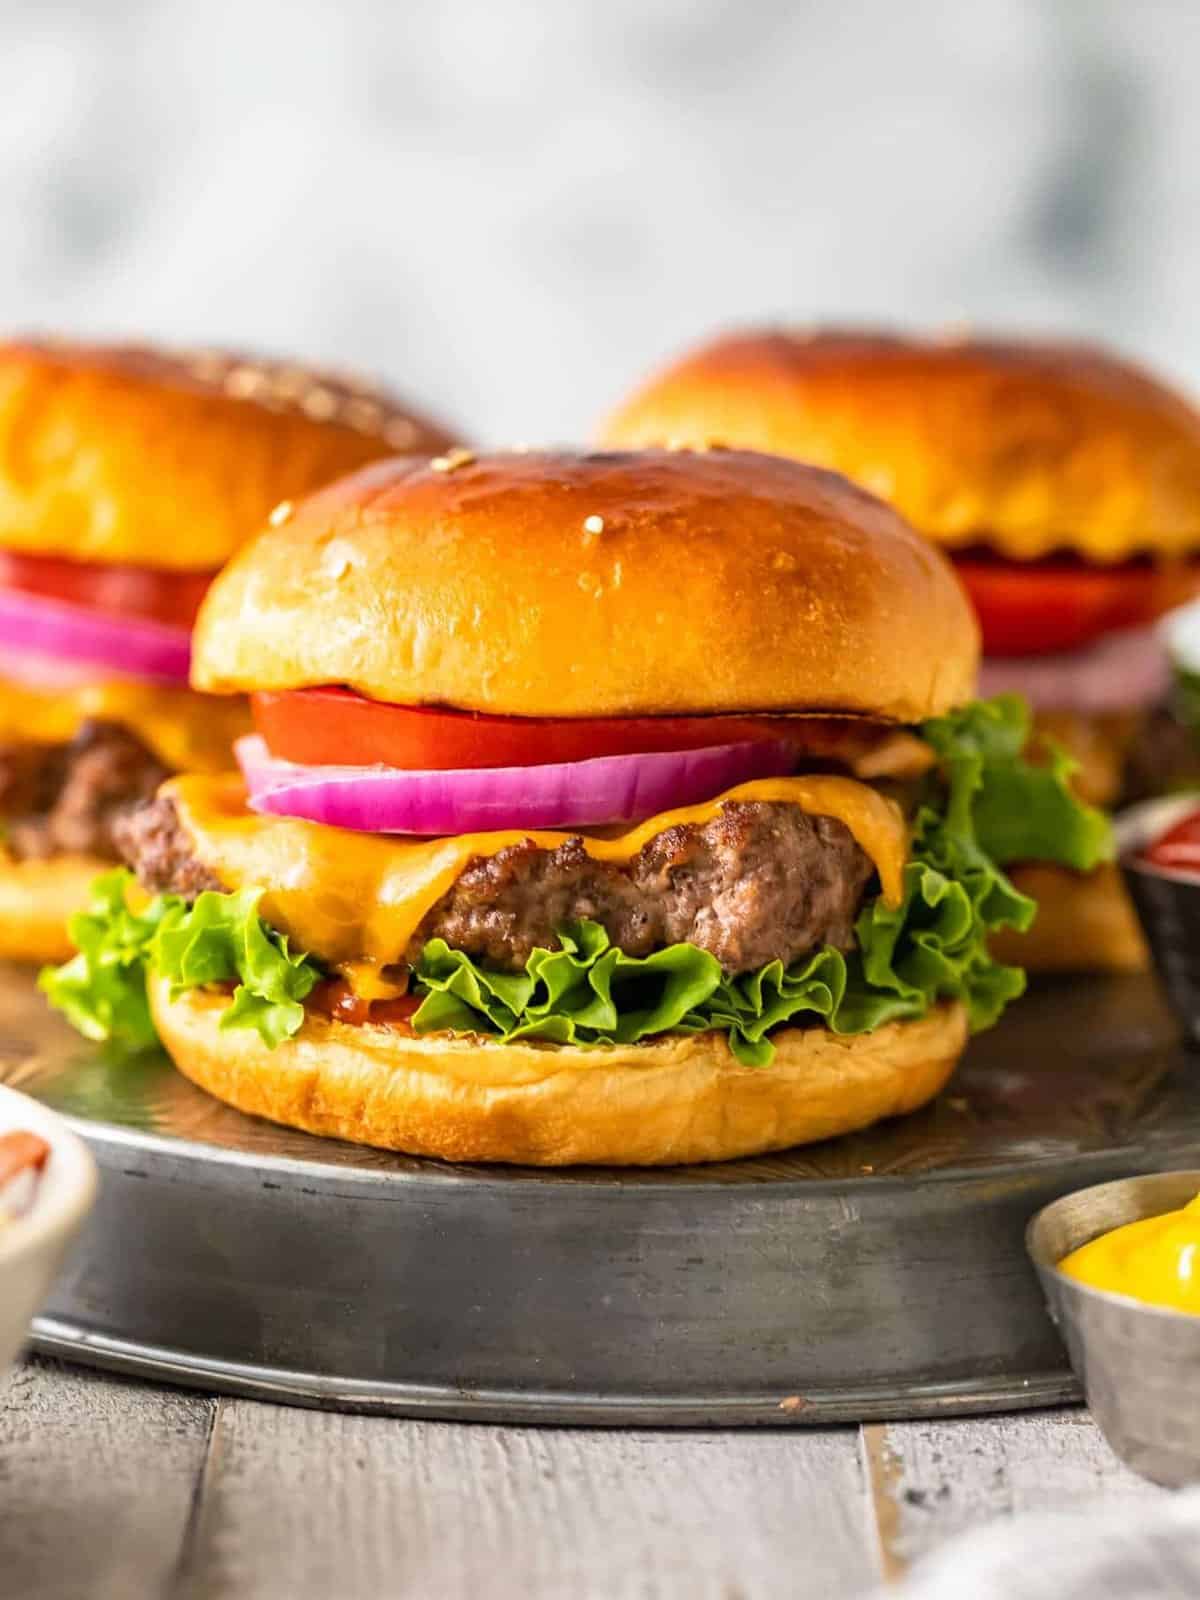
Serve: Serve the burgers on toasted buns and top with your choice of condiments.
Burger Variations
There are so many ways to jazz up these classic hamburgers.
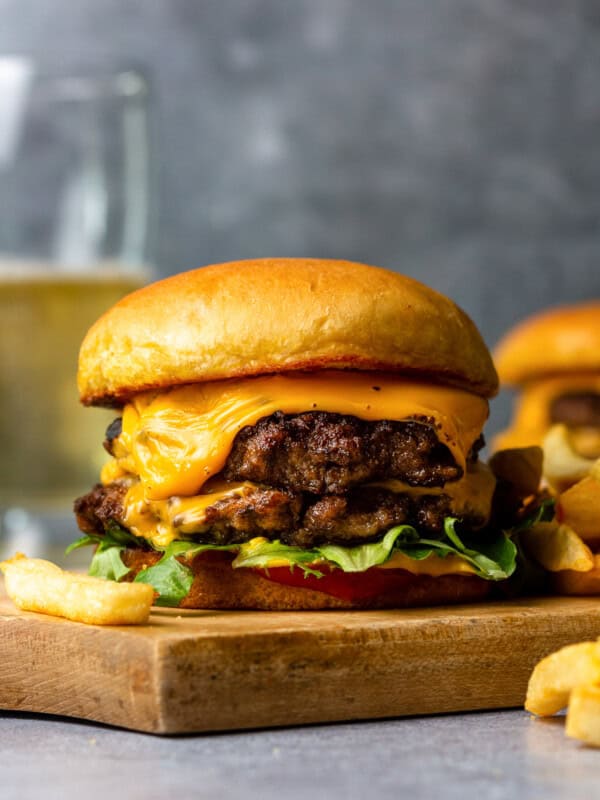
- Make them spicy : Add spicy mayo, cheddar cheese, bacon, avocado, and onion rings to make cowboy burgers .
- Make BBQ burgers: Add barbecue sauce to make BBQ burgers .
- Make breakfast: Add a fried egg to make a breakfast burger .
- Add caramelized onions and Swiss cheese: And turn these into caramelized onion Swiss burgers
How to Store
Once cooked, let your hamburgers cool to room temperature. Store them in a resealable bag, an airtight container, or wrapped tightly in aluminum foil. Keep them in the refrigerator for up to 4 days. Reheat the burger patties in a 350°F oven for about 7 minutes, or until warmed through.
To freeze homemade burger patties, let them cool completely. I recommend wrapping each one separately with aluminum foil, and then placing them all in a freezer-safe, resealable bag. Freeze for 3 months. Let thaw overnight in the refrigerator before reheating.
Serving Suggestions
There’s nothing I love more than a hamburger topped with lettuce, tomato, onions, and ketchup. I like adding a touch of honey mustard , or my all-time favorite burger sauce , to give it a bit more flavor. Sometimes I’ll add a few strips of sweet and spicy bacon , as everything tastes better with bacon, in my humble opinion.
more burger recipes
Smash Burgers
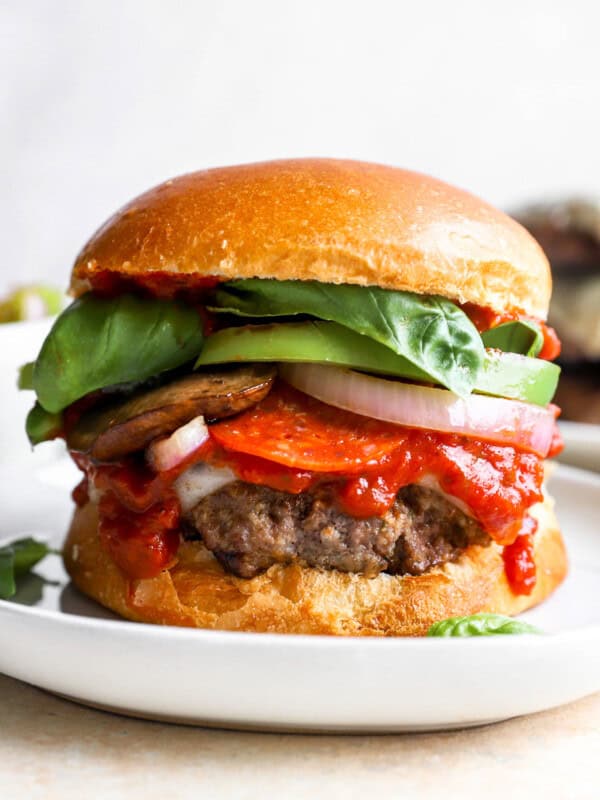
Pizza Burgers
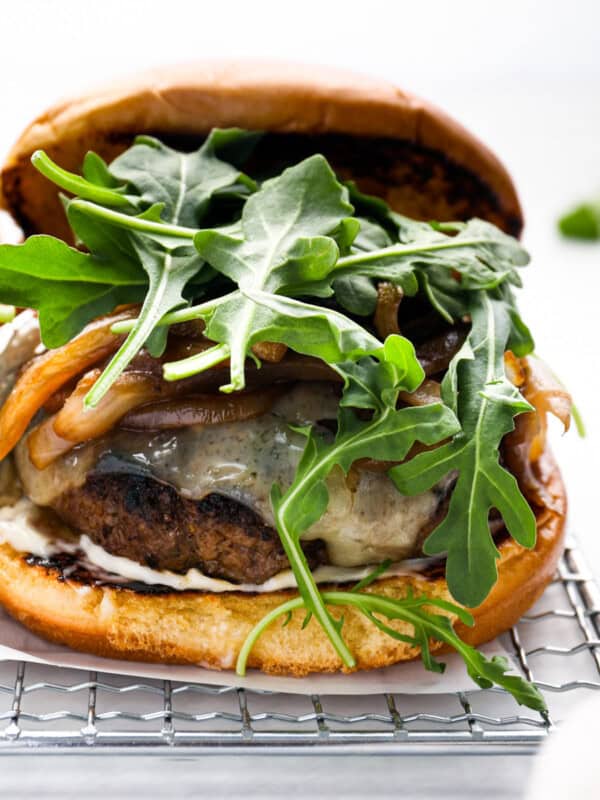
Mushroom Swiss Burgers
Air Fryer Hamburgers

Baked Hamburgers Recipe
Equipment
- Indoor Grill Pan
- Baking Sheet
Ingredients
- 1 lb. ground chuck (or your favorite burger blend)
- kosher salt and freshly ground black pepper to taste
- 4 slices cheese
- 4 burger buns lightly buttered and toasted
Instructions
- Heat oven to broil (high) and set the oven rack to the upper-middle position.
- Line a cast iron grill pan or baking sheet with foil.
- Divide the meat into four 4-oz. portions. Very gently, and without overworking the meat, form each portion into 4 loose balls. Place one ball on a dessert plate or other flat surface and gently press it down to make a disc about ½-¾ inch thick (your personal choice). Now gently turn the disc around while slightly pressing an indentation around the edge (kind of like a moat right inside the burger’s edge). This will keep the burger from developing a mound in the middle, and your burger will remain flat while cooking. Place the burger on the prepared pan and repeat the process with the remaining portions of beef. 1 lb. ground chuck
- Season both sides of each burger generously with kosher salt and freshly ground black pepper, and place the burgers in the oven. kosher salt and freshly ground black pepper
- Broil for 4 minutes, or until the top has browned and beginning to char.
- Flip the burgers over and broil until the center reads 155°F internally, about 3-4 minutes longer.
- Top each burger with a slice of your favorite cheese, if desired, and cook just until the cheese melts. 4 slices cheese
- Transfer the burgers to a cooling rack and tent with foil to allow time for the internal temperature to reach 160°F.
- Serve the burgers on toasted buns and top with the condiments of your choice. 4 burger buns
Video
Nutrition
By Becky Hardin
Published Jul 12, 2017


This Essential Grocery List is an absolute life saver for my family on the busy weeks. When I started this journey to learn how to cook, I quickly realized that the first step in cooking is having staple ingredients on hand. I want to avoid having to run out to the grocery store every single time I prepare a new recipe. Having a well-stocked pantry has made my life in the kitchen so much simpler, because when it’s time to cook, I have what I need.

Essential Grocery List
It’s so helpful to have a basic grocery list to help me remember which foods to buy at the store. This food shopping list is my go-to!
It’s better to stock up on things like grains, seasonings and spices, baking essentials, oils, condiments, canned and frozen foods, etc. so I can just grab them when I need them. These things have a long shelf life , so I keep them in my kitchen for convenience.
However, I do have to go to the supermarket sometimes, and there’s a way to make that trip easy and hassle-free: I keep a grocery list! If I go in blindly, I’ll leave with things I don’t need, and nothing that actually helps me prepare a good meal.
In the list below, I’ve compiled everything I always have on my stock-up grocery list.
I’ve got you covered! I created an easy grocery list filled with all of the essentials. Plus there’s a free printable version that you can take with you to the grocery store. It has everything you need to stock your pantry, your freezer, and your refrigerator.

Click to get my Free Printable Grocery List
What to Buy at the Grocery Store
This is the perfect grocery list filled with all the basics and essentials. It should help get you going if you’re new to cooking, or if you’re just left staring helplessly at an empty pantry and don’t know how to fill it.
When I first started cooking, things could seem overwhelming. I quickly realized that they more prepared I could be, the more confident I felt. If you already have the basics in your kitchen, then you can shop stress-free.
So print out our easy grocery list, stock up your pantry and fridge, and you’ll be cooking in no time!
Click to get my Free Printable Grocery List for the perfectly stocked pantry and freezer!
Fresh Produce
- Apples
- Bananas
- Strawberries
- Avocados
- Bell Peppers
- Carrots
- Broccoli
- Garlic
- Lemons/Limes
- Onion
- Parsley
- Cilantro
- Basil
- Potatoes
- Spinach
- Tomatoes
GRAINS
- Breadcrumbs
- Pasta
- Quinoa
- Rice
- Sandwich Bread
- Tortillas
MEAT/PROTEIN
- Chicken
- Eggs
- Ground Beef
- Sliced Turkey
- Lunch Meat
DAIRY
- Butter
- Sliced Cheese
- Shredded Cheese
- Milk
- Sour Cream
- Greek Yogurt
BAKING GOODS
- Baking powder
- Baking Soda
- Granulated Sugar
- Brown Sugar
- Flour
- Honey
- Vanilla Extract
- Dry Yeast
- Chocolate Chips
- Cocoa Powder
- Powdered Sugar
FREEZER
- Fruit and Berries
- Frozen Veggies (Corn, Peas, Broccoli, etc)
- Juice Concentrate
- Pizza or Other Convenience Meals
- Pie Crust
- Cookie Dough
CANNED/DRIED GOODS
- Chicken stock/broth
- Salsa
- Diced Tomatoes
- Jam/Jelly
- Peanut Butter
- Pasta Sauce
- Beans (Black Beans, Chickpeas, Baked Beans, etc)
- Soups
- Tuna
- Green Chiles
- Canned Veggies
- Coffee or Tea
Get more details on the best non-perishable and pantry foods
CONDIMENTS/SPICES
- Black Pepper
- Chili Powder
- Cinnamon
- Crushed Red Pepper
- Cumin
- Garlic Powder
- Ketchup
- Mustard
- Mayo
- Nutmeg
- Paprika
- Salt (Course Sea Salt and Kosher Salt)
- Soy Sauce
- Steak Sauce
- Hot Sauce/ Buffalo Sauce
- Salad Dressings
OILS/VINEGARS
- Apple cider vinegar
- Balsamic vinegar
- Coconut Oil
- Olive Oil
- Vegetable/Canola Oil
- Red Wine Vinegar
- White Vinegar
- Cooking Wine
- White Wine Vinegar
SNACKS
- Crackers
- Nuts
- Quick Oats
- Popcorn
- Tortilla Chips
- Cereal
Click to get my Free Printable Grocery List for the perfectly stocked pantry and freezer!

Click ☝🏻 for my FREE Grocery List Printable!
I hope this essential grocery list can help you buy what you need and make your home cooking so much easier!
Stock Your Kitchen
Find more ideas for your grocery list, stock up your kitchen, and print more cooking guides and charts to keep handy!

Non-Perishable Foods to Stock Up On

Frozen Vegetables to Stock Up On (and Recipes to Make)

Ultimate List of Cooking Herbs for Your Kitchen

Ultimate List of Cooking Spices for Your Kitchen

Cooking Oil 101: Types of Cooking Oils to Use

26 Types of Pasta and When to Use Them

What Fruits and Vegetables are in Season?

Meat Temperature Chart (Free Printable)

How to Meal Prep (Guide for Beginners)

Basic Cooking Measurements & Kitchen Conversion Chart

