
By Laurel Perry
Published Feb 9, 2026
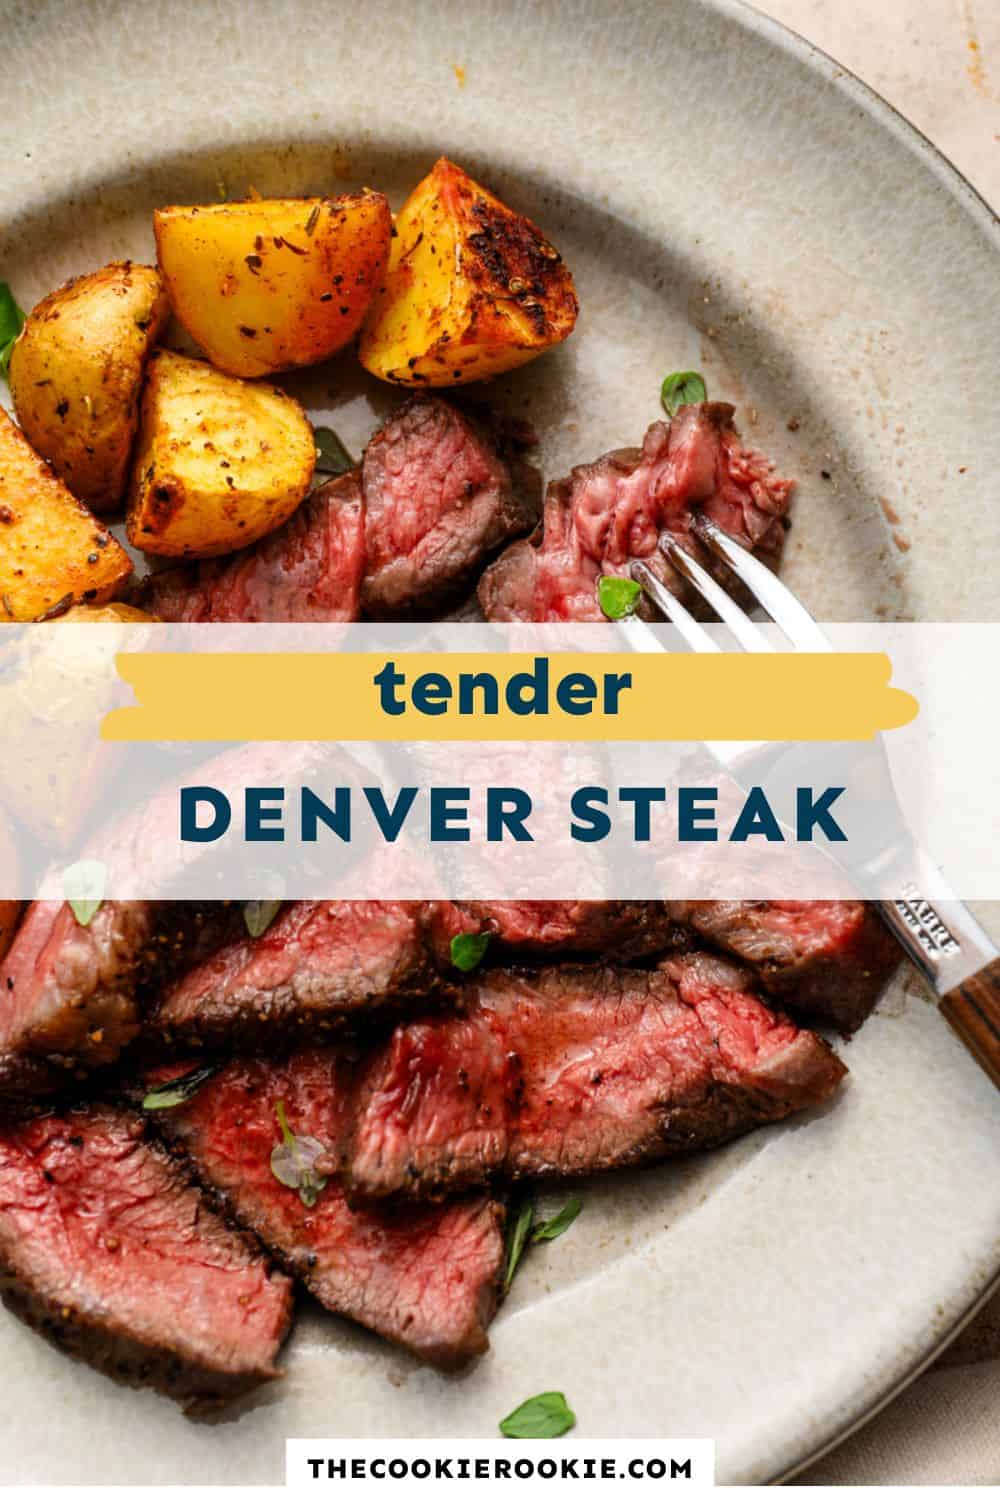
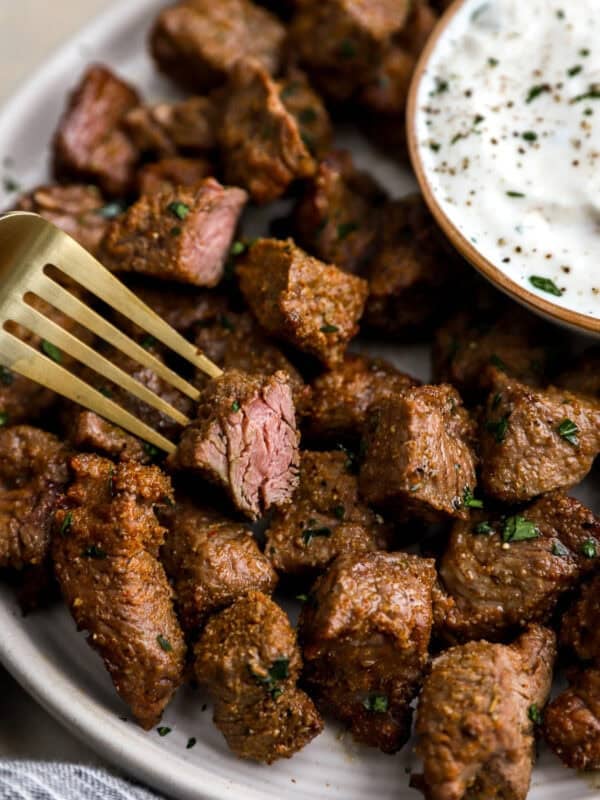
Denver steak might just become your new favorite cut. This thick, juicy, and affordable cut from the beef chuck is naturally tender and beautifully marbled, giving you that melt-in-your-mouth texture. With a simple seasoning and a quick pan sear in a hot cast-iron skillet, this steak cooks up with a perfect crust and rich, beefy flavor in minutes.
Pin this recipe for later!
Tips for Beginners
- Bring steaks to room temperature before cooking. Let them sit out for about 30 minutes so the center isn’t cold. This helps the steak cook evenly from edge to middle instead of overcooking the outside.
- Ask your butcher for Denver steaks cut from the chuck. They come from the serratus ventralis muscle and aren’t always pre-cut or labeled. Most butchers are happy to portion them into 1-inch steaks if you ask. Alternatively, you can source them online.
- Rest, then slice against the grain. Let the steaks rest for 10 minutes after cooking so the juices settle back into the meat. When ready to serve, look for the muscle fibers and slice across them for the most tender bite.
- Preheat your pan until it’s very hot. Give your cast-iron at least 5 minutes over medium-high heat. A properly heated pan is what creates that deep brown crust instead of a gray exterior.
- Leave space between the steaks. If the pan is crowded, the steaks release steam and won’t sear properly. Cook in batches if needed so each steak has room to develop a crust.
- Use an instant-read thermometer for perfect doneness. Insert it into the thickest part of the steak and pull it from the pan at 120°F for rare, 130°F for medium-rare, and 135°F for medium. The temperature will continue to rise a few degrees as the steak rests.
Ingredients1x2x3x
- ▢ 2 1-inch thick Denver steaks
- ▢ 1 tsp kosher salt
- ▢ ½ tsp ground black pepper
- ▢ 1½ tbsp oil
- ▢ 2 tbsp unsalted butter divided (¼ stick)
- ▢ 2 cloves garlic smashed
- ▢ 3 sprigs fresh thyme
Video
Instructions
- Thirty minutes before cooking, set the steaks out and let them come to room temperature. 2 1-inch thick Denver steaks
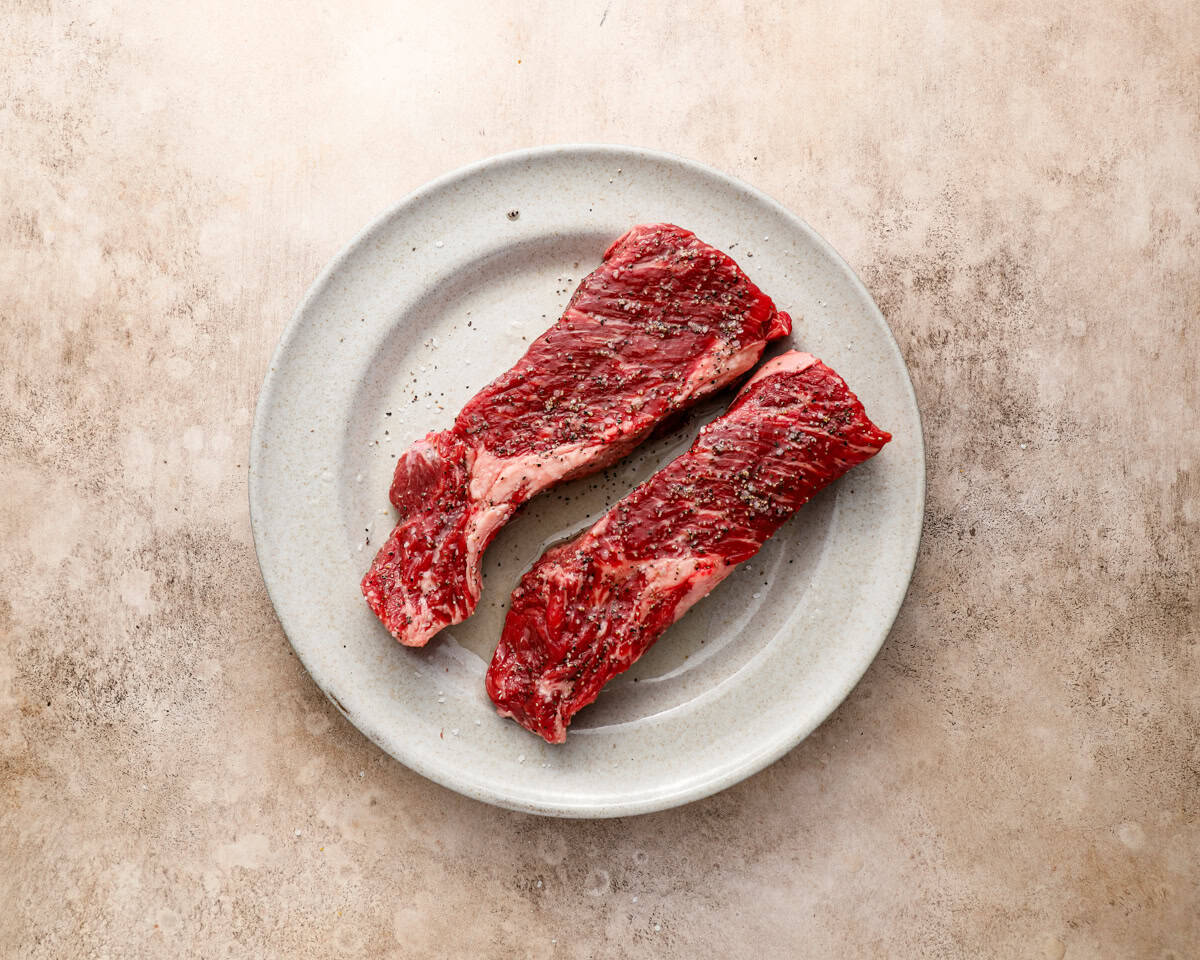
- Pat the steaks dry and season liberally with salt and pepper. 1 tsp kosher salt, ½ tsp ground black pepper
- Heat a cast-iron pan over medium-high heat for 5 minutes or until very hot.
- Drizzle the steaks with oil and rub to evenly coat. 1½ tbsp oil
- Place the steaks in the pan and sear, undisturbed, for 2 minutes or until a crust forms.
- Flip and repeat with the second side.
- Lower the heat to medium and add in the butter, garlic, and thyme sprigs. 2 tbsp unsalted butter, 2 cloves garlic, 3 sprigs fresh thyme
- While cooking and flipping every 1-2 minutes, baste the steaks with melted butter. Cook until your desired temperature has been reached.
- Transfer the steaks to a cutting board to rest for 10 minutes. Slice against the grain and serve with the pan juices on top.
Equipment
- 1 Cast Iron Skillet
Becky’s Tips
- Swap fresh thyme with rosemary or sage for a slightly different flavor profile.
- Avocado oil, canola oil, or grapeseed oil all work well due to their high smoke points.
- If you prefer, you can finish the steaks in a 400°F oven after the initial sear instead of basting on the stovetop.
Nutrition information is automatically calculated, so should only be used as an approximation.
How to Make Denver Steak Step by Step

Gather all the ingredients together.
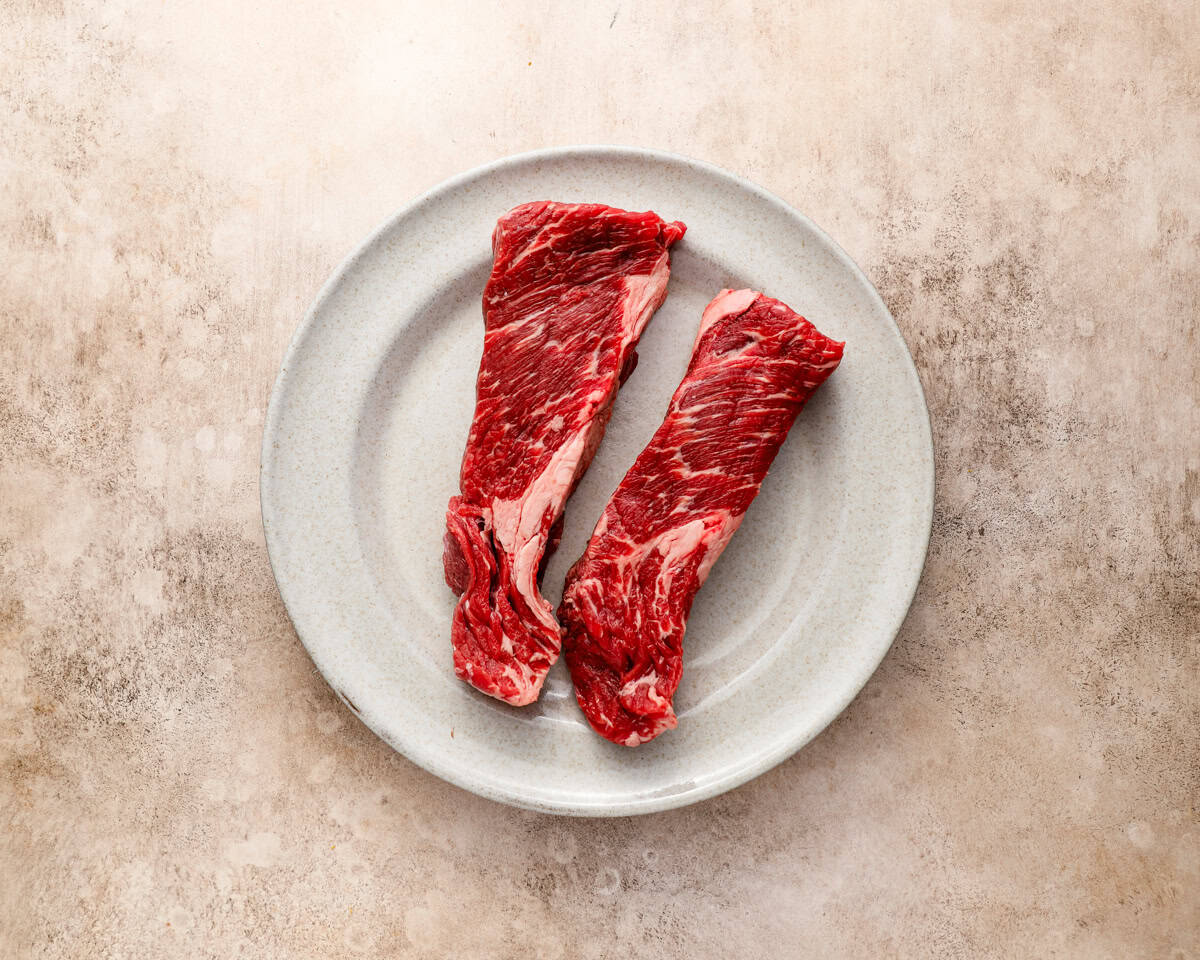
Bring the steaks to room temperature: Remove 2 (1-inch thick) Denver steaks from the refrigerator 30 minutes before cooking so they can come to room temperature. This helps them cook evenly from edge to center.
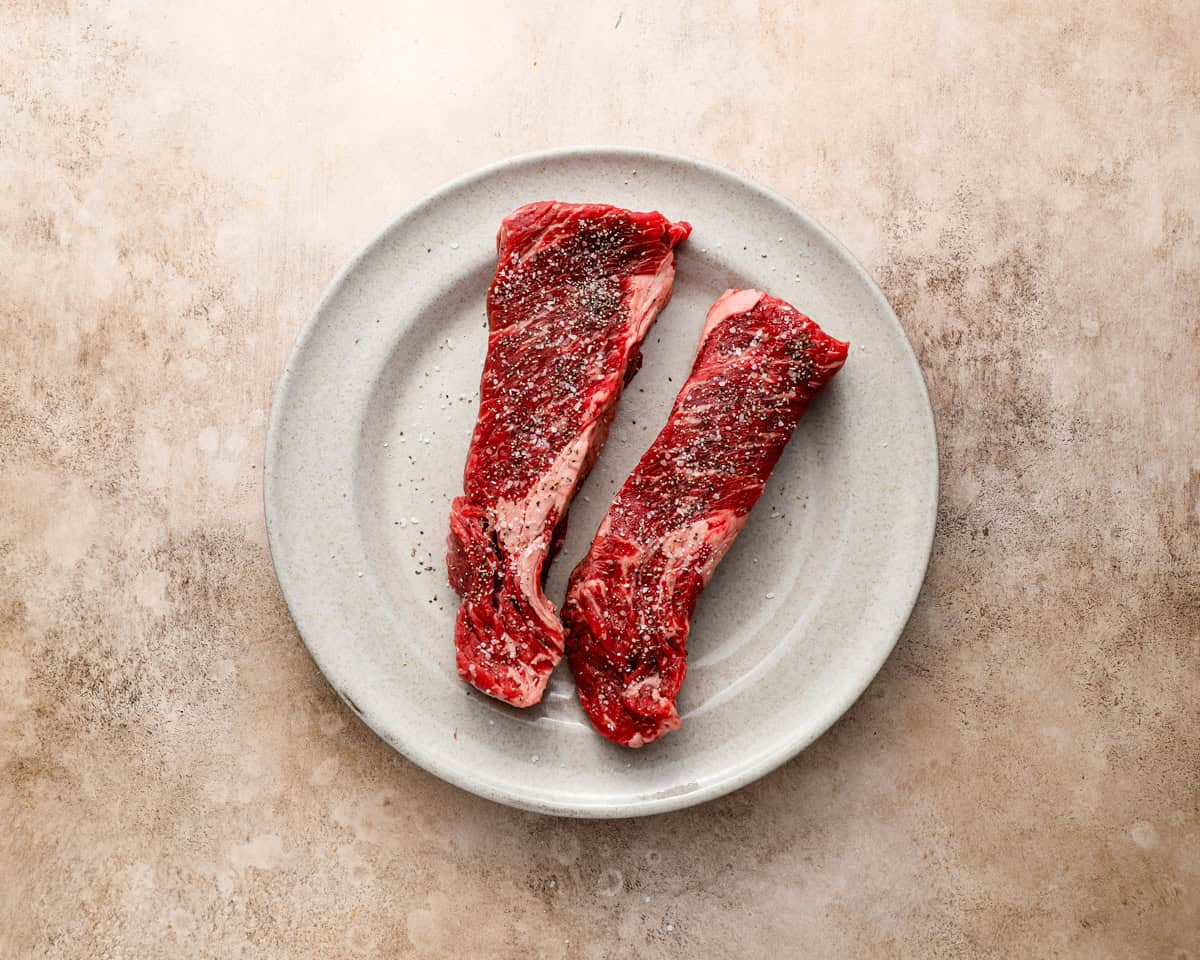
Dry and season the steaks: Pat the steaks very dry with paper towels, then season both sides evenly with 1 tsp kosher salt and ½ tsp black pepper. The surface should feel dry, not damp, which helps form a better crust.
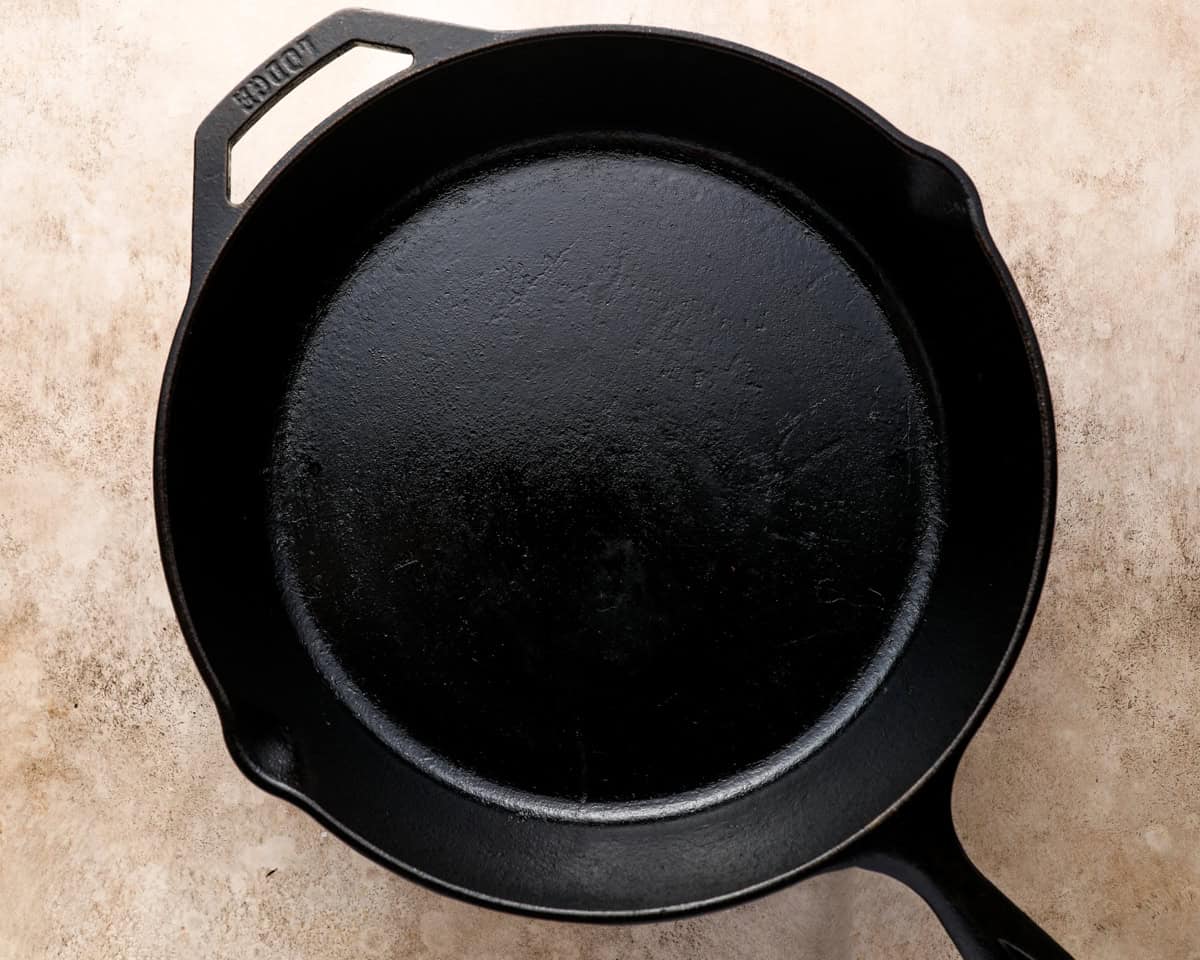
Preheat the cast-iron: Place a cast-iron skillet over medium-high heat and let it preheat for about 5 minutes, until the pan is very hot and just beginning to lightly smoke.
Oil the steaks: Drizzle the steaks with 1½ tbsp oil and rub it over all sides so they are lightly coated but not dripping.

Sear the first side: Carefully place the steaks into the hot pan and sear, undisturbed, for about 2 minutes. You’re looking for a deep brown crust to form and the steak to release easily from the pan.
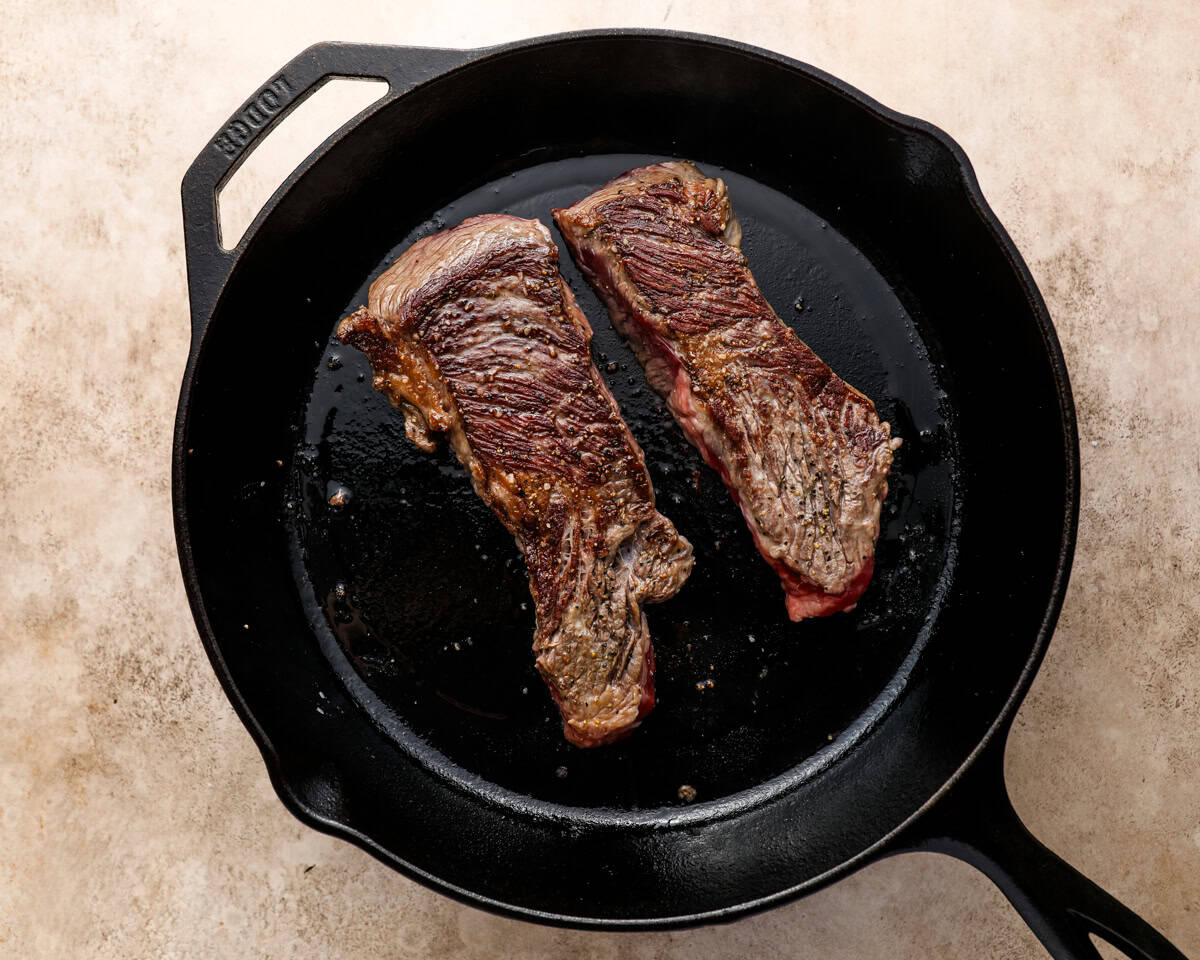
Sear the second side: Flip the steaks and sear the second side for another 2 minutes until a similar crust forms.

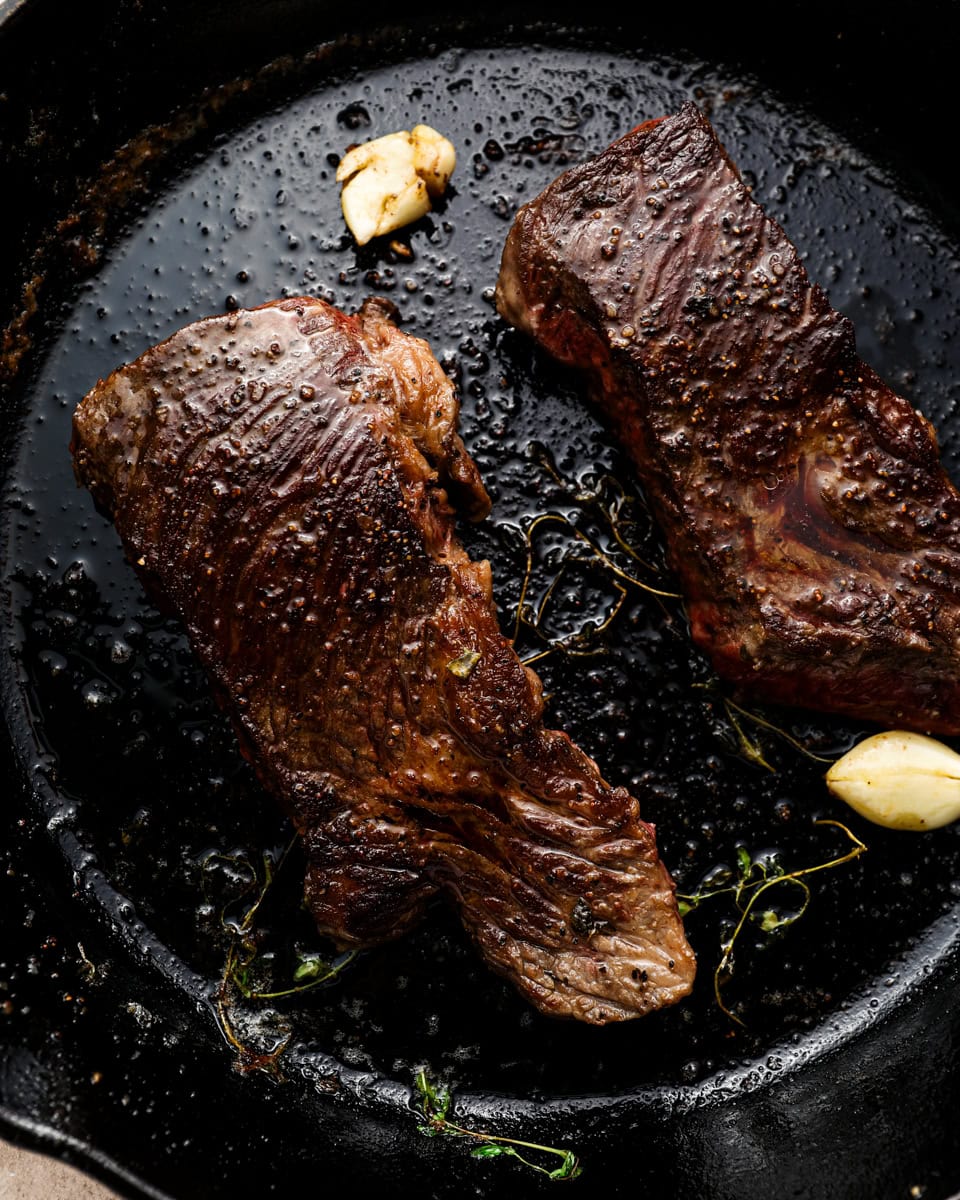
Add butter and aromatics: Reduce the heat to medium and add 1 tbsp of the butter, 2 smashed garlic cloves, and 3 sprigs of fresh thyme to the pan. As the butter melts and begins to foam, tilt the pan slightly and spoon the butter over the steaks.
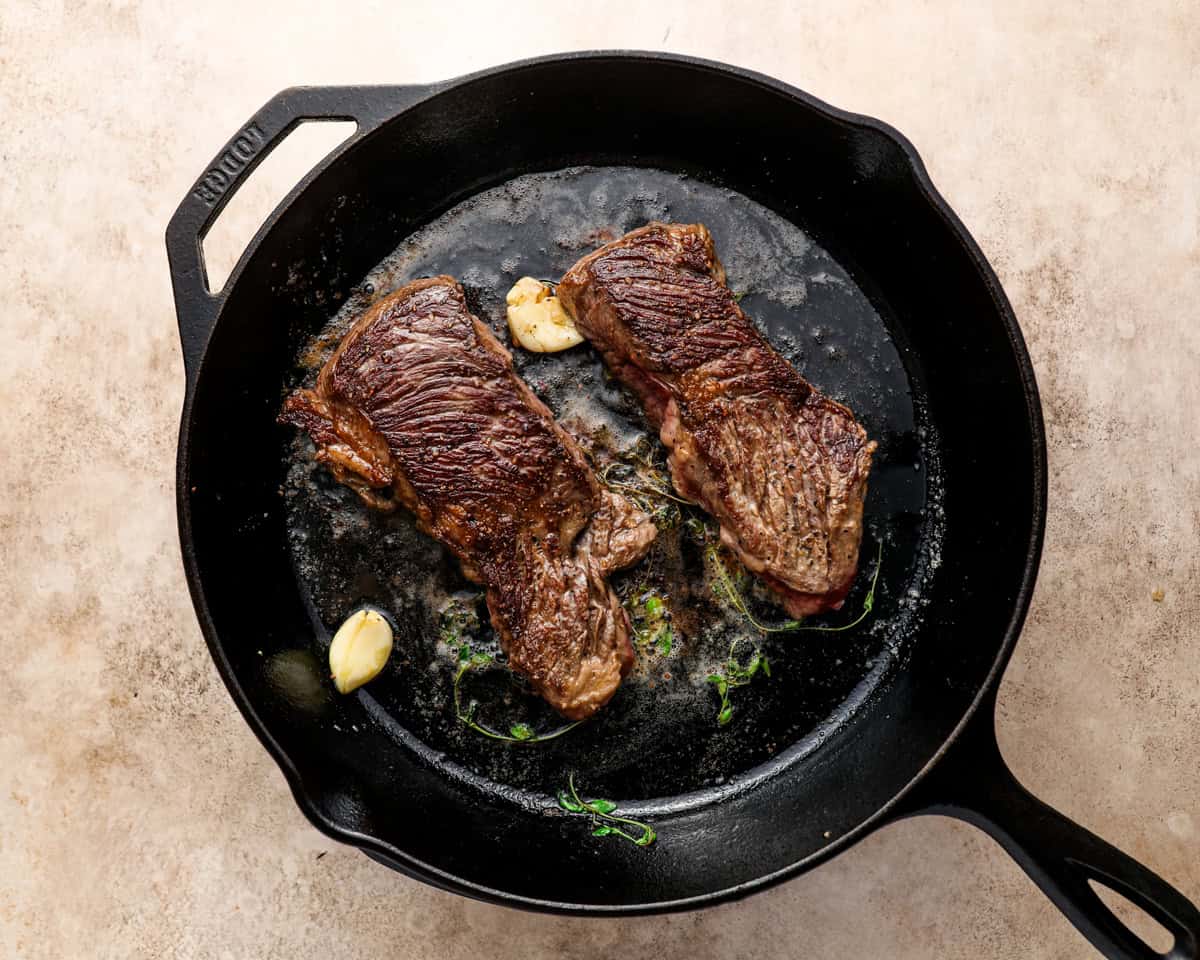
Baste and finish: Continue cooking, flipping the steaks every 1 to 2 minutes, and basting with the foaming butter. The butter should stay bubbly but not burn. Cook until the steaks reach your desired internal temperature.
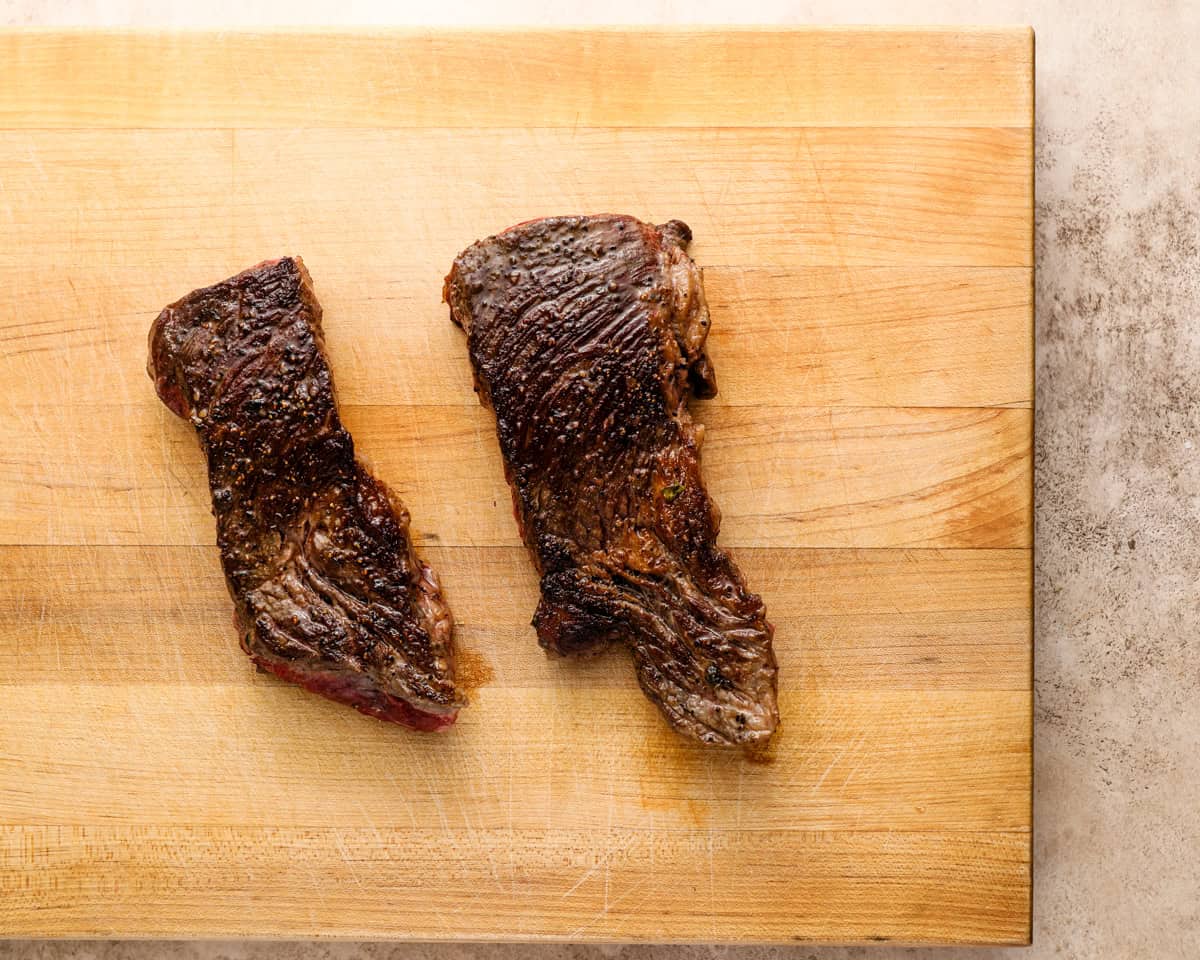
Rest the cooked steaks: Transfer the steaks to a cutting board and top with the remaining 1 tbsp butter. Let them rest for 10 minutes so the juices redistribute.
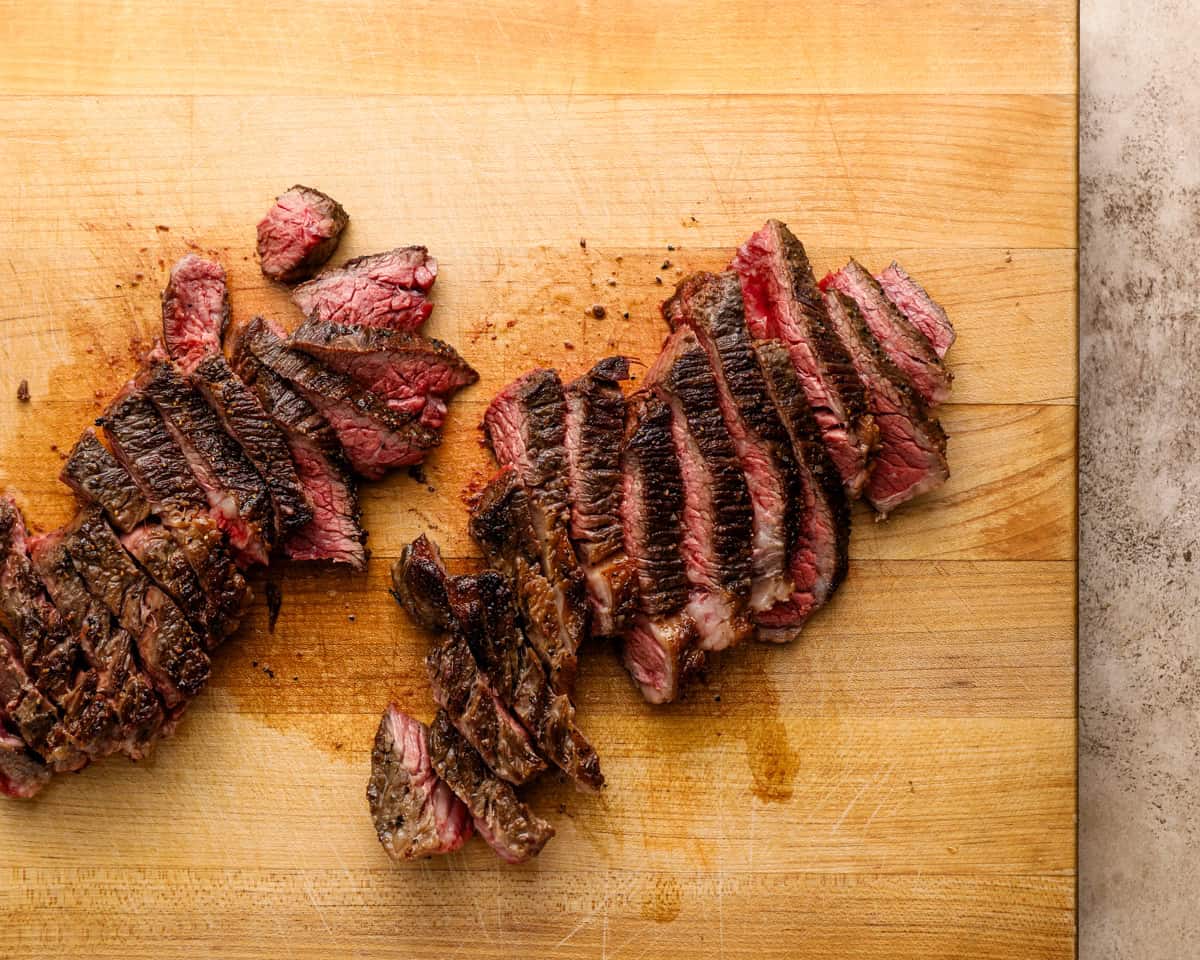
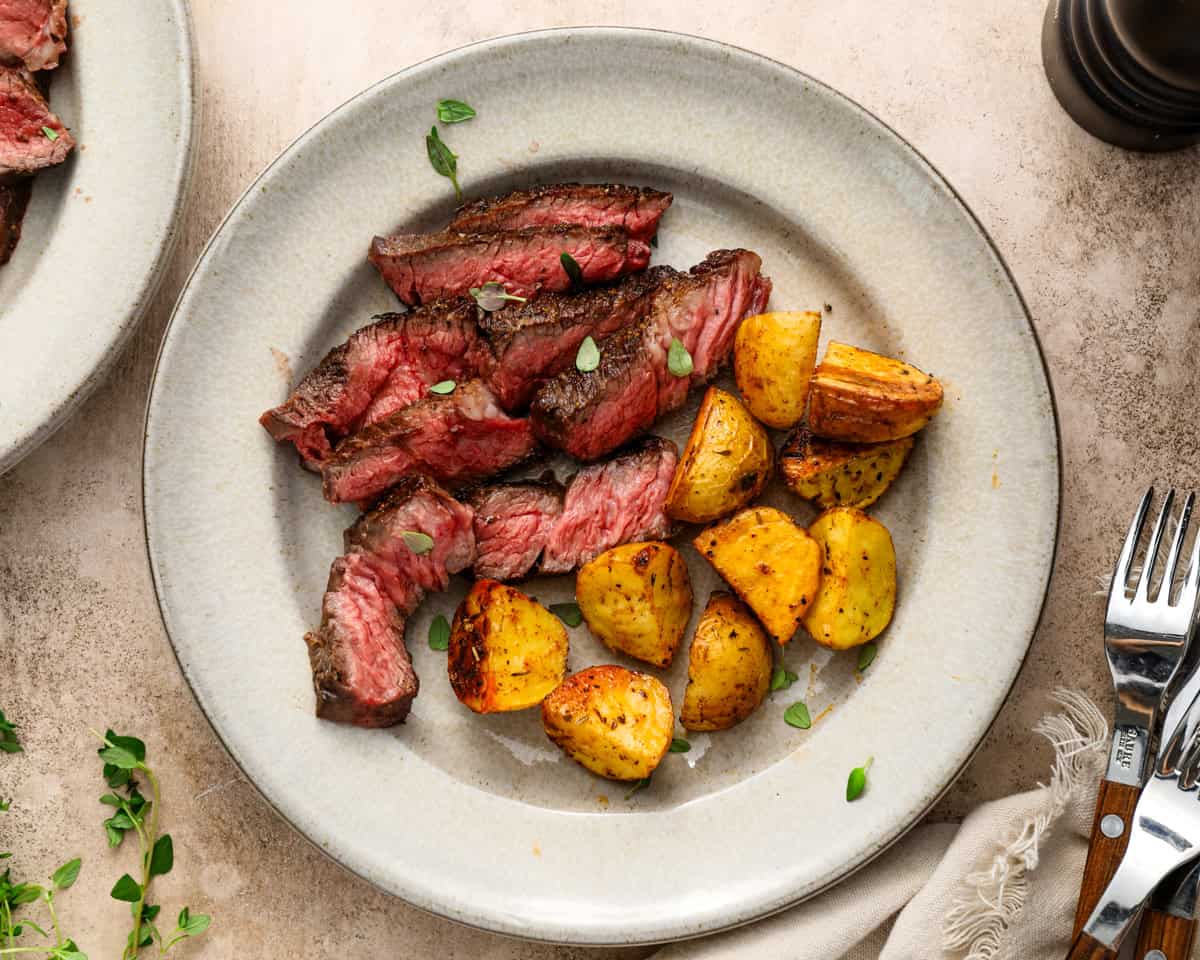
Slice and serve: Slice the steaks against the grain into thick strips and spoon the garlicky pan juices over the top before serving.
How to Store and Reheat
Store leftover Denver steak in an airtight container in the refrigerator for up to 4 days. For best results, keep the slices whole rather than cutting to help retain moisture.
To reheat, warm gently in a skillet over low heat with a little butter or oil just until heated through so it doesn’t overcook. You can also freeze the cooked steak tightly wrapped in plastic wrap and placed in a freezer bag for up to 2 months; thaw overnight in the refrigerator before reheating.
Serving Suggestions
When I make Denver steak, I like to lean into classic steakhouse-style sides that let the beef shine. Smashed potatoes are perfect, or roasted honeynut squash for a sweeter side. And I usually toss together a simple arugula salad for something fresh and peppery. If I want to dress it up a bit, I’ll spoon chimichurri or a quick red wine reduction over the top. Sometimes I go full comfort mode and serve it with cowboy butter and a side of cowboy beans for a hearty, satisfying dinner.
More Easy Beef & Steak Recipes
Cube Steak
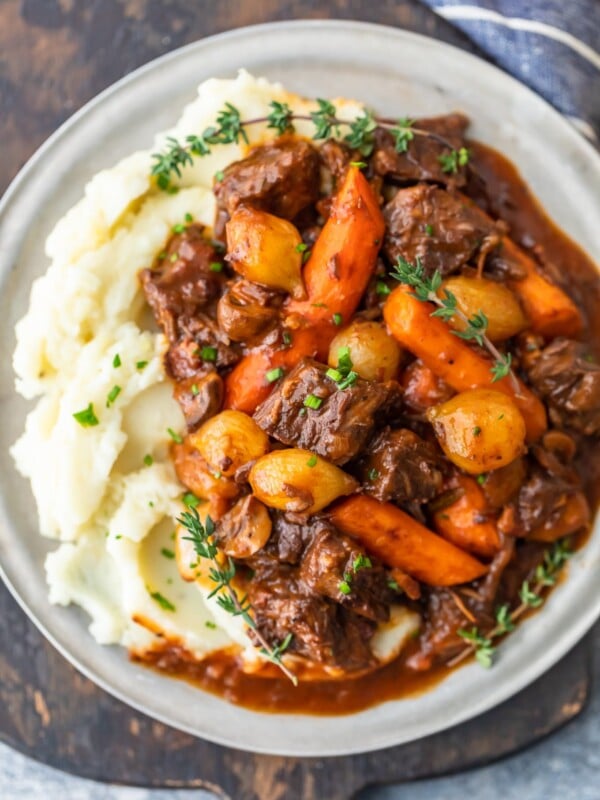
Beef Bourguignon (Beef Burgundy)
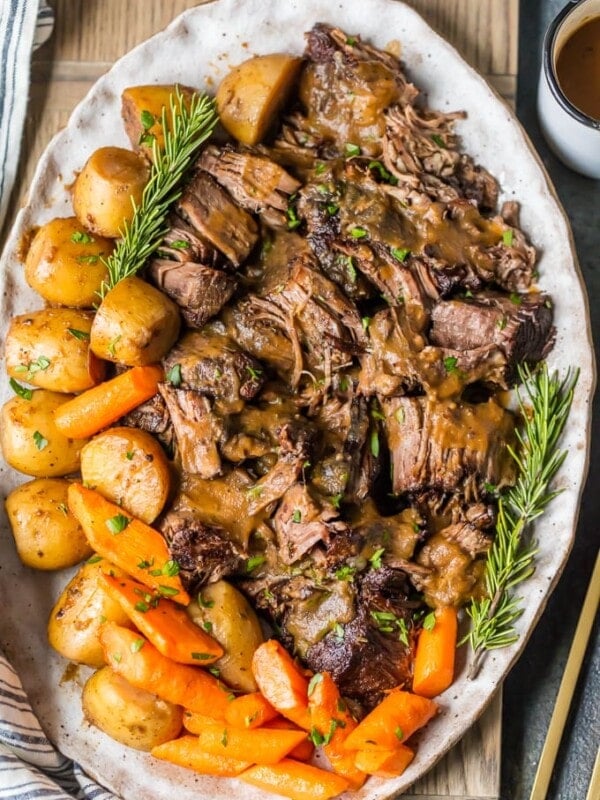
Instant Pot Pot Roast
Air Fryer Steak Bites

Denver Steak
Equipment
- 1 Cast Iron Skillet
Ingredients
- 2 1-inch thick Denver steaks
- 1 tsp kosher salt
- ½ tsp ground black pepper
- 1½ tbsp oil
- 2 tbsp unsalted butter divided (¼ stick)
- 2 cloves garlic smashed
- 3 sprigs fresh thyme
Instructions
- Thirty minutes before cooking, set the steaks out and let them come to room temperature. 2 1-inch thick Denver steaks
- Pat the steaks dry and season liberally with salt and pepper. 1 tsp kosher salt, ½ tsp ground black pepper
- Heat a cast-iron pan over medium-high heat for 5 minutes or until very hot.
- Drizzle the steaks with oil and rub to evenly coat. 1½ tbsp oil
- Place the steaks in the pan and sear, undisturbed, for 2 minutes or until a crust forms.
- Flip and repeat with the second side.
- Lower the heat to medium and add in the butter, garlic, and thyme sprigs. 2 tbsp unsalted butter, 2 cloves garlic, 3 sprigs fresh thyme
- While cooking and flipping every 1-2 minutes, baste the steaks with melted butter. Cook until your desired temperature has been reached.
- Transfer the steaks to a cutting board to rest for 10 minutes. Slice against the grain and serve with the pan juices on top.
Video
Notes
- Swap fresh thyme with rosemary or sage for a slightly different flavor profile.
- Avocado oil, canola oil, or grapeseed oil all work well due to their high smoke points.
- If you prefer, you can finish the steaks in a 400°F oven after the initial sear instead of basting on the stovetop.
Nutrition

By Becky Hardin
Published Jul 12, 2017


This Essential Grocery List is an absolute life saver for my family on the busy weeks. When I started this journey to learn how to cook, I quickly realized that the first step in cooking is having staple ingredients on hand. I want to avoid having to run out to the grocery store every single time I prepare a new recipe. Having a well-stocked pantry has made my life in the kitchen so much simpler, because when it’s time to cook, I have what I need.

Essential Grocery List
It’s so helpful to have a basic grocery list to help me remember which foods to buy at the store. This food shopping list is my go-to!
It’s better to stock up on things like grains, seasonings and spices, baking essentials, oils, condiments, canned and frozen foods, etc. so I can just grab them when I need them. These things have a long shelf life , so I keep them in my kitchen for convenience.
However, I do have to go to the supermarket sometimes, and there’s a way to make that trip easy and hassle-free: I keep a grocery list! If I go in blindly, I’ll leave with things I don’t need, and nothing that actually helps me prepare a good meal.
In the list below, I’ve compiled everything I always have on my stock-up grocery list.
I’ve got you covered! I created an easy grocery list filled with all of the essentials. Plus there’s a free printable version that you can take with you to the grocery store. It has everything you need to stock your pantry, your freezer, and your refrigerator.

Click to get my Free Printable Grocery List
What to Buy at the Grocery Store
This is the perfect grocery list filled with all the basics and essentials. It should help get you going if you’re new to cooking, or if you’re just left staring helplessly at an empty pantry and don’t know how to fill it.
When I first started cooking, things could seem overwhelming. I quickly realized that they more prepared I could be, the more confident I felt. If you already have the basics in your kitchen, then you can shop stress-free.
So print out our easy grocery list, stock up your pantry and fridge, and you’ll be cooking in no time!
Click to get my Free Printable Grocery List for the perfectly stocked pantry and freezer!
Fresh Produce
- Apples
- Bananas
- Strawberries
- Avocados
- Bell Peppers
- Carrots
- Broccoli
- Garlic
- Lemons/Limes
- Onion
- Parsley
- Cilantro
- Basil
- Potatoes
- Spinach
- Tomatoes
GRAINS
- Breadcrumbs
- Pasta
- Quinoa
- Rice
- Sandwich Bread
- Tortillas
MEAT/PROTEIN
- Chicken
- Eggs
- Ground Beef
- Sliced Turkey
- Lunch Meat
DAIRY
- Butter
- Sliced Cheese
- Shredded Cheese
- Milk
- Sour Cream
- Greek Yogurt
BAKING GOODS
- Baking powder
- Baking Soda
- Granulated Sugar
- Brown Sugar
- Flour
- Honey
- Vanilla Extract
- Dry Yeast
- Chocolate Chips
- Cocoa Powder
- Powdered Sugar
FREEZER
- Fruit and Berries
- Frozen Veggies (Corn, Peas, Broccoli, etc)
- Juice Concentrate
- Pizza or Other Convenience Meals
- Pie Crust
- Cookie Dough
CANNED/DRIED GOODS
- Chicken stock/broth
- Salsa
- Diced Tomatoes
- Jam/Jelly
- Peanut Butter
- Pasta Sauce
- Beans (Black Beans, Chickpeas, Baked Beans, etc)
- Soups
- Tuna
- Green Chiles
- Canned Veggies
- Coffee or Tea
Get more details on the best non-perishable and pantry foods
CONDIMENTS/SPICES
- Black Pepper
- Chili Powder
- Cinnamon
- Crushed Red Pepper
- Cumin
- Garlic Powder
- Ketchup
- Mustard
- Mayo
- Nutmeg
- Paprika
- Salt (Course Sea Salt and Kosher Salt)
- Soy Sauce
- Steak Sauce
- Hot Sauce/ Buffalo Sauce
- Salad Dressings
OILS/VINEGARS
- Apple cider vinegar
- Balsamic vinegar
- Coconut Oil
- Olive Oil
- Vegetable/Canola Oil
- Red Wine Vinegar
- White Vinegar
- Cooking Wine
- White Wine Vinegar
SNACKS
- Crackers
- Nuts
- Quick Oats
- Popcorn
- Tortilla Chips
- Cereal
Click to get my Free Printable Grocery List for the perfectly stocked pantry and freezer!

Click ☝🏻 for my FREE Grocery List Printable!
I hope this essential grocery list can help you buy what you need and make your home cooking so much easier!
Stock Your Kitchen
Find more ideas for your grocery list, stock up your kitchen, and print more cooking guides and charts to keep handy!

Non-Perishable Foods to Stock Up On

Frozen Vegetables to Stock Up On (and Recipes to Make)

Ultimate List of Cooking Herbs for Your Kitchen

Ultimate List of Cooking Spices for Your Kitchen

Cooking Oil 101: Types of Cooking Oils to Use

26 Types of Pasta and When to Use Them

What Fruits and Vegetables are in Season?

Meat Temperature Chart (Free Printable)

How to Meal Prep (Guide for Beginners)

Basic Cooking Measurements & Kitchen Conversion Chart

