
By Becky Hardin
Updated Feb 9, 2026


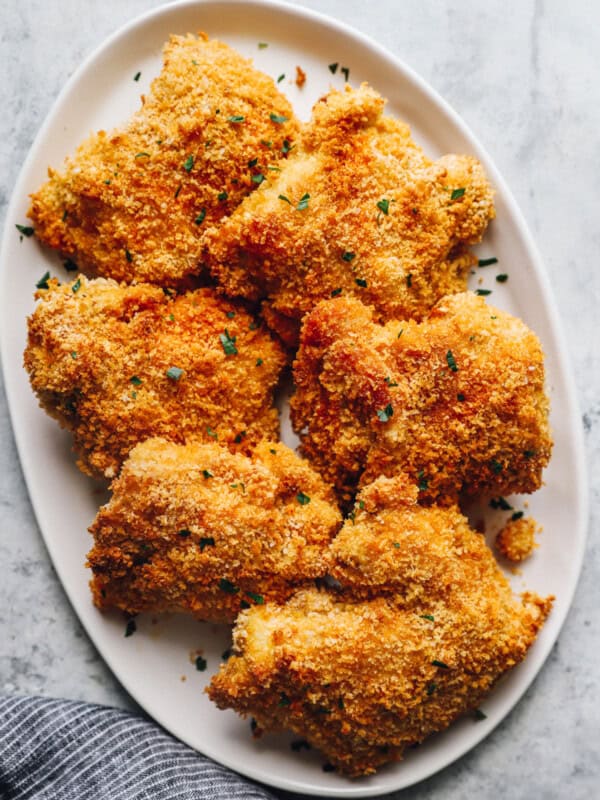
I still vividly remember developing this fried chicken breast recipe. We were newly married and didn’t have a lot of money to eat out, and I was craving crispy, restaurant-worthy chicken at home that felt a little healthier. This seasoned, breaded chicken is oven baked until golden and crunchy, and it’s a recipe I’ve been making on repeat ever since.

Pin this recipe for later!
5-Star Review
“This is absolutely delicious. I make crispy chicken sandwiches using this recipe, and they literally taste like PDQ Chicken. Yum!” -Anne
Tips for Beginners
- Don’t skip the buttermilk brine. This is a signature step in traditional Southern fried chicken. It tenderizes the meat, seasons it all the way through, and creates the moist, juicy texture that fried chicken is known for.
- A short soak still works. While many Southern recipes call for an overnight brine, even 20 minutes in buttermilk makes a noticeable difference. If you have more time, you can absolutely let it go longer for a deeper flavor.
- Let the excess buttermilk drip off, but don’t pat the chicken dry. The surface should be slightly damp. Too wet and the flour turns gummy. Too dry, and the coating won’t stick. That lightly tacky surface is what helps build a thick crust.
- Press the flour mixture firmly onto the chicken. You’re not lightly dusting here. You want a thick, shaggy coating. This is what creates that crispy shell that mimics deep-fried chicken in the oven.
- High heat is what makes the crust crispy. Baking at 400°F allows the coating to brown and crisp quickly. Lower temperatures slowly dry the breading and cause it to steam instead of crunch.
- This method keeps the spirit of Southern fried chicken, just without the oil bath. You still get the buttermilk brine and seasoned flour crust, but the oven does the work instead of a skillet or deep fryer, making it lighter and less messy.
- Let the chicken rest for 5 minutes after baking. As it cools slightly, the crust firms up and becomes even crispier before serving.
- Why bake instead of pan fry or air fry? Pan frying requires more oil and constant attention, and air frying can dry out chicken breasts. This oven method gives you the crispy coating of fried chicken with more even cooking and less hands-on work.
Ingredients1x2x3x
- ▢ 2 boneless, skinless chicken breasts*
- ▢ 3 cups buttermilk**
- ▢ 1 cup all-purpose flour
- ▢ 1 tbsp ground paprika
- ▢ 1 tbsp all-purpose seasoning*** such as Lawry’s
- ▢ 1 tsp kosher salt
- ▢ 1 tsp ground black pepper
- ▢ 4 tbsp unsalted butter melted (½ stick)
- ▢ ¼ cup fresh flat leaf parsley optional
Video
Instructions
- Cut the chicken breasts in half, lengthwise, to create 4 thinner, even portions. 2 boneless, skinless chicken breasts*
- Place chicken in a large bowl and marinate in the buttermilk for about 20 minutes. 3 cups buttermilk**
- Mix together the flour, paprika, all-purpose spice, salt, and pepper in a medium-sized bowl. Set aside. 1 cup all-purpose flour, 1 tbsp ground paprika, 1 tbsp all-purpose seasoning***, 1 tsp kosher salt, 1 tsp ground black pepper
- Preheat oven to 400ºF.
- Place parchment paper on a 9×13-inch baking sheet. Melt butter and pour onto the parchment, coating the bottom of the pan/parchment. 4 tbsp unsalted butter
- Blot each chicken breast with a paper towel to remove excess milk before dipping. Dip each chicken breast, one at a time, in the flour mixture. Coat both sides. Place in the pan.
- Repeat with all four chicken breasts, making sure there is a small amount of room between each breast in the pan. This will allow them to crisp while baking.
- Bake at 400ºF for 35-40 minutes (or until the breading is golden brown and the juices run clear), flipping each breast after 20 minutes.
- Remove from oven and transfer to a serving dish. Garnish with parsley if desired. Enjoy! ¼ cup fresh flat leaf parsley
Equipment
- Baking Sheet
Becky’s Tips
Nutrition information is automatically calculated, so should only be used as an approximation.
How to Make Fried Chicken Breasts Step by Step
Gather all of the ingredients together.
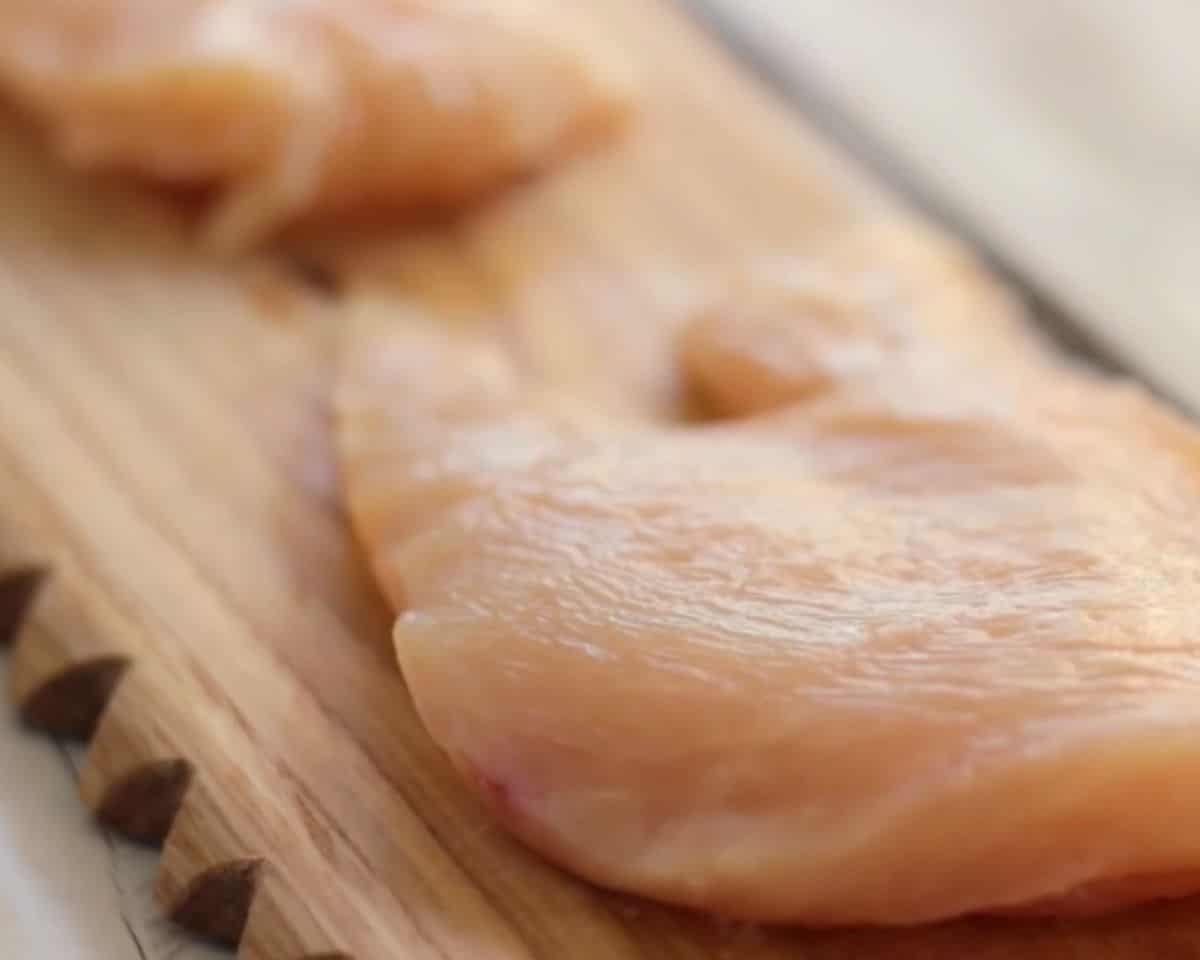
Slice the chicken: Slice 2 boneless, skinless chicken breasts in half lengthwise to create 4 thinner, even pieces. Each piece should be similar in thickness so they cook at the same rate.
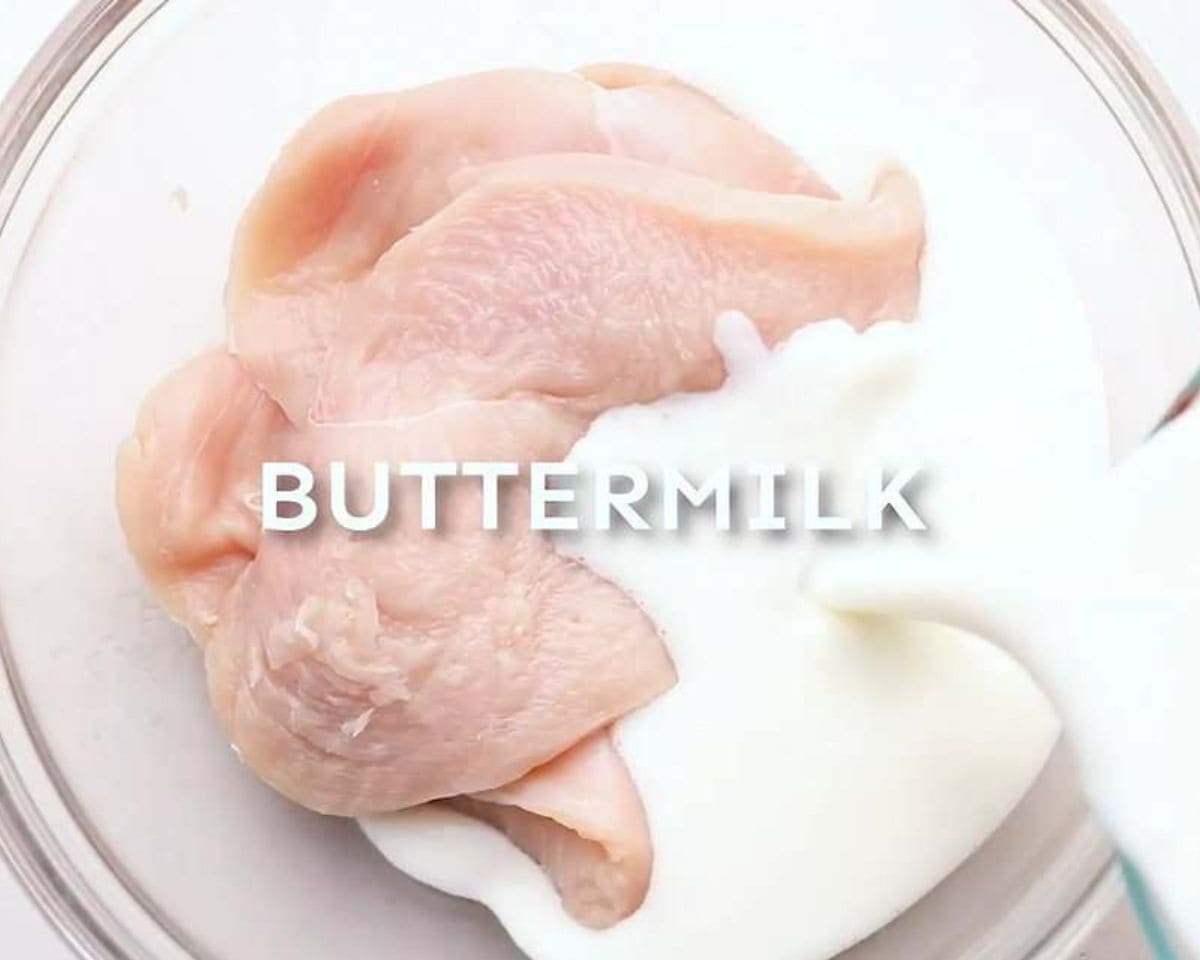
Soak in buttermilk: Place the chicken into a large bowl and pour 3 cups buttermilk over the top until fully submerged. Let the chicken soak for at least 20 minutes. The buttermilk will slightly thicken as it sits and cling to the surface of the chicken.

Mix the seasoned flour: In a medium bowl, whisk together 1 cup all-purpose flour, 1 tbsp paprika, 1 tbsp all-purpose seasoning, 1 tsp kosher salt, and 1 tsp black pepper until evenly combined and no streaks of spice remain.
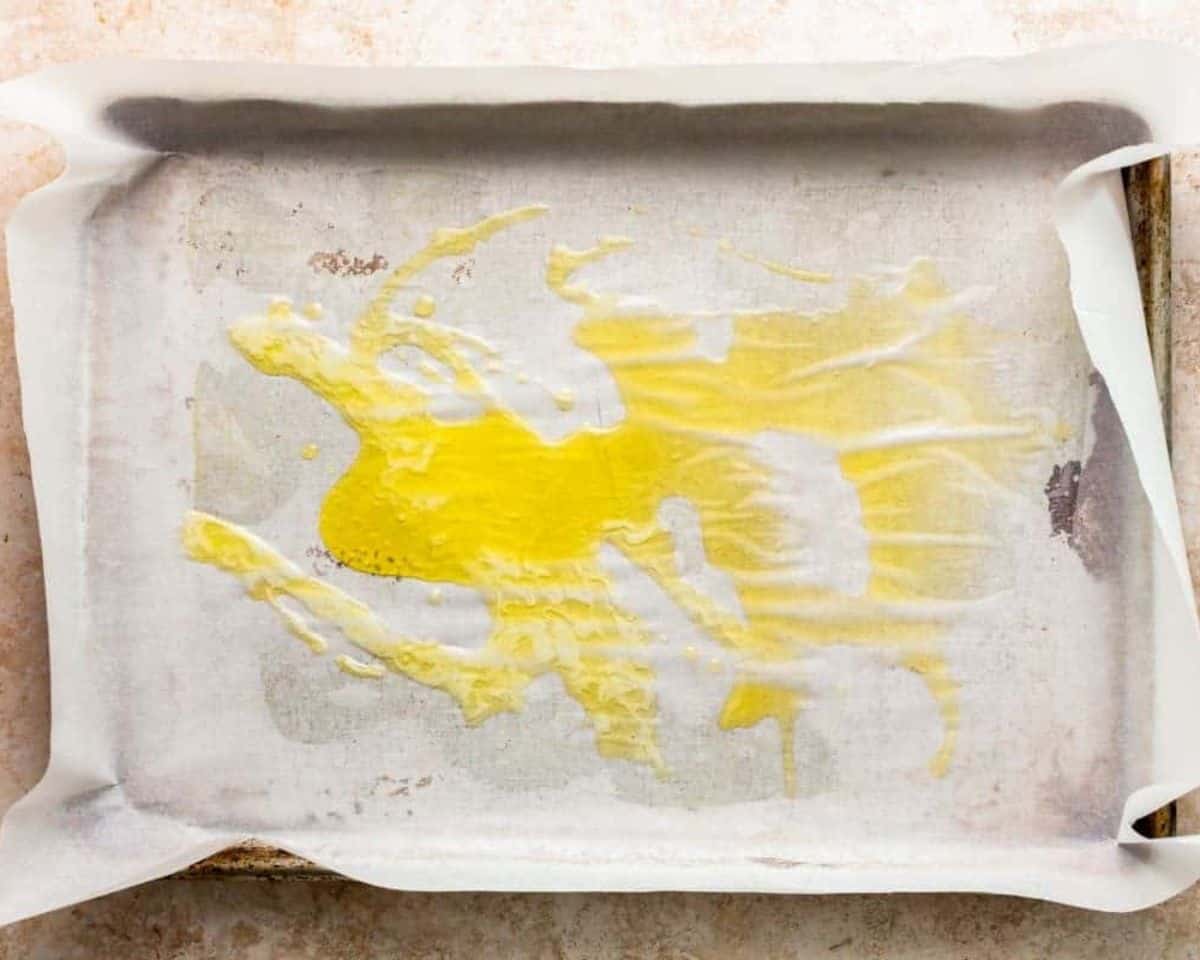
Prep the oven and pan: Preheat the oven to 400°F so it’s fully hot before the chicken goes in. Line a 9×13-inch baking dish with parchment paper. Pour 4 tbsp melted unsalted butter onto the parchment and tilt the pan gently until the butter evenly coats the entire bottom. You should see a thin, glossy layer across the surface. This is what helps crisp the underside of the chicken.

Dredge the chicken: Remove one piece of chicken from the buttermilk and let the excess drip off for a few seconds. Do not pat it dry. The surface should be damp but not dripping. Press the chicken firmly into the flour mixture, turning and packing the flour onto both sides until a thick, slightly shaggy coating forms. Place the coated chicken directly into the buttered pan. Repeat with the remaining pieces, leaving a little space between each one so hot air can circulate. Crowding the pan will cause the coating to steam instead of crisp.
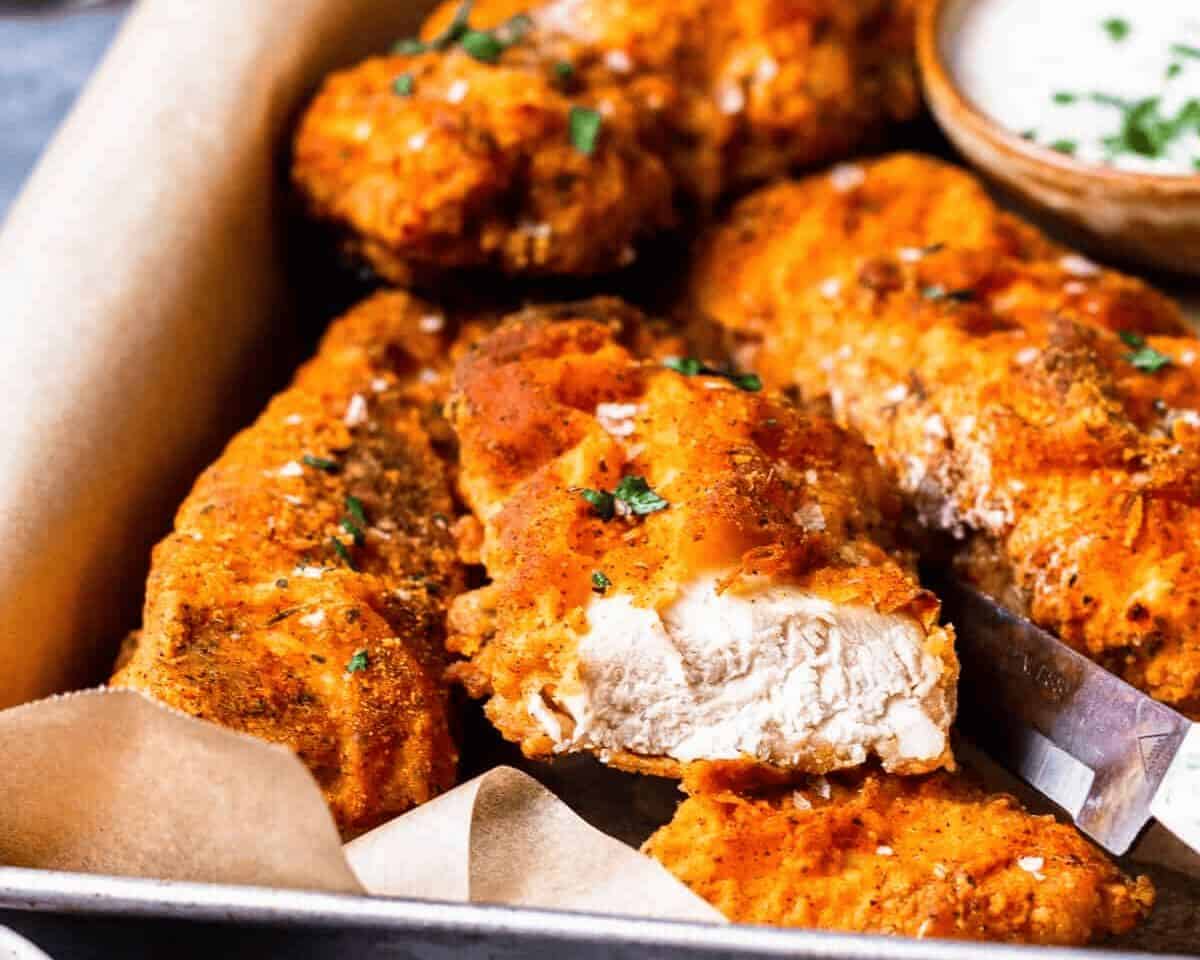
Bake the chicken: Bake at 400°F for 35–40 minutes, flipping the chicken carefully after 20 minutes. The coating should be golden brown and crisp, and the butter in the pan will sizzle around the edges as it bakes.

Rest and serve: Remove from the oven when the crust looks deeply golden, and the juices run clear. Let the chicken rest for 5 minutes so the crust can set and firm up. Transfer to a serving platter and sprinkle with ¼ cup fresh chopped parsley if desired before serving. Enjoy!
How to Store
Store leftovers in an airtight container or resealable bag, and keep in the refrigerator up to 3 days. I recommend wrapping each piece in foil or layering pieces with paper towels to soak up any moisture that might collect in the fridge. This will help to keep the breading nice and crispy.
To reheat, place pieces in the oven at 350°F until fully cooked through.
To freeze, wrap pieces of chicken in foil, then place them in a freezer-safe, resealable bag. Freeze up to 3 months. Thaw in the fridge before reheating.
Serving Suggestions
I love serving this oven fried chicken breast in so many different ways depending on the day. I’ll slice it over a hearty kale salad for lunch or plate it with garlic rice for an easy dinner. It’s also perfect for chicken and waffles when I want comfort food, and it works great as a meal prep protein to use throughout the week. For a classic pairing, I’ll serve it with mashed potatoes, coleslaw, and buttermilk biscuits , and sometimes drizzle a little hot honey over the top for a sweet and spicy finish.
More Juicy Chicken Breast Recipes
- Air Fryer Chicken Breasts : Get that same crispy, golden coating in less time using the air fryer with minimal oil and easy cleanup.
- Pan Seared Chicken Breasts : A simple stovetop method with no breading that creates a flavorful crust and juicy center.
- Baked Chicken Breasts : A lighter, seasoning-forward option that skips the breading but still delivers tender, reliable results.
- Fried Chicken Tenders : The same crispy coating and buttermilk flavor in a kid-friendly, dippable version.
more crispy chicken dinner’s
Crispy Baked Chicken Thighs
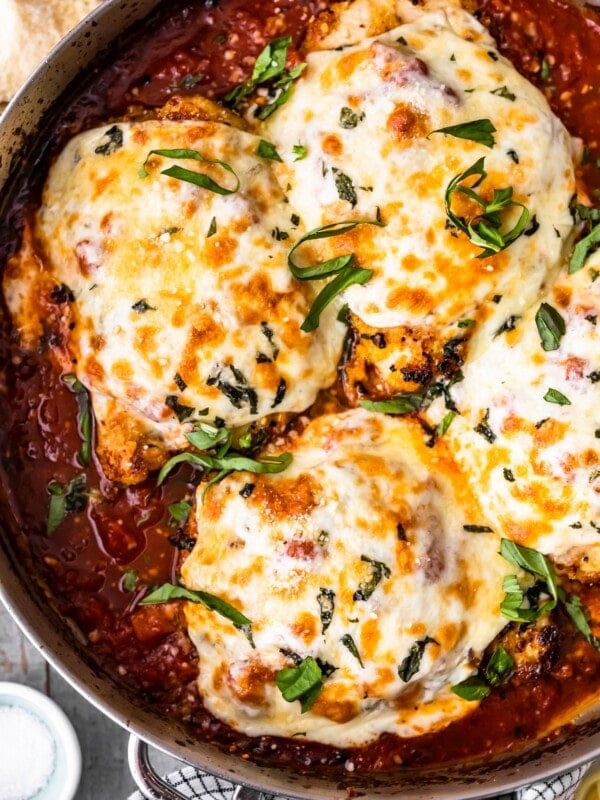
Crispy Chicken Parmesan
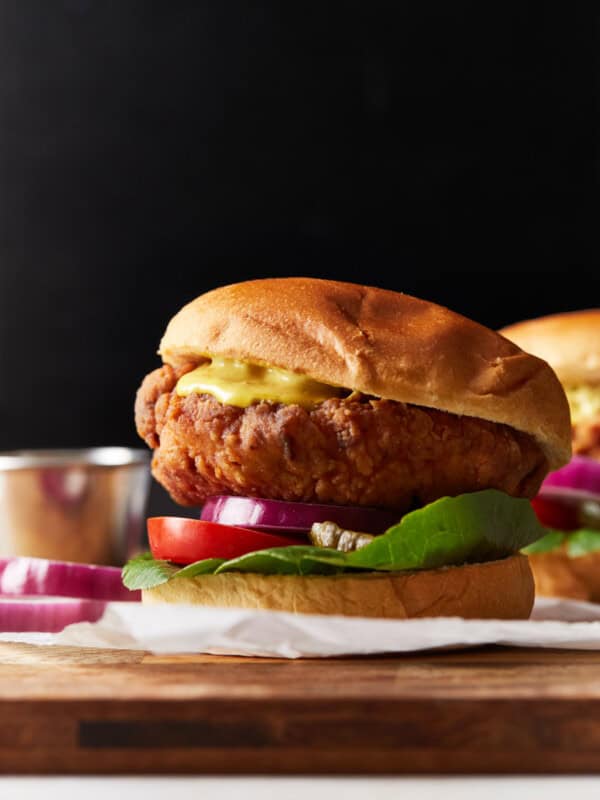
Crispy Chicken Sandwich

Crispy Chicken Tacos
O ur Oven Fried Chicken Breast recipe was originally published on 4/2/2018. It was retested, reworked, and republished to be better than ever on 10/31/25.

Baked Fried Chicken Recipe
Equipment
- Baking Sheet
Ingredients
- 2 boneless, skinless chicken breasts*
- 3 cups buttermilk**
- 1 cup all-purpose flour
- 1 tbsp ground paprika
- 1 tbsp all-purpose seasoning*** such as Lawry’s
- 1 tsp kosher salt
- 1 tsp ground black pepper
- 4 tbsp unsalted butter melted (½ stick)
- ¼ cup fresh flat leaf parsley optional
Instructions
- Cut the chicken breasts in half, lengthwise, to create 4 thinner, even portions. 2 boneless, skinless chicken breasts*
- Place chicken in a large bowl and marinate in the buttermilk for about 20 minutes. 3 cups buttermilk**
- Mix together the flour, paprika, all-purpose spice, salt, and pepper in a medium-sized bowl. Set aside. 1 cup all-purpose flour, 1 tbsp ground paprika, 1 tbsp all-purpose seasoning***, 1 tsp kosher salt, 1 tsp ground black pepper
- Preheat oven to 400ºF.
- Place parchment paper on a 9x13-inch baking sheet. Melt butter and pour onto the parchment, coating the bottom of the pan/parchment. 4 tbsp unsalted butter
- Blot each chicken breast with a paper towel to remove excess milk before dipping. Dip each chicken breast, one at a time, in the flour mixture. Coat both sides. Place in the pan.
- Repeat with all four chicken breasts, making sure there is a small amount of room between each breast in the pan. This will allow them to crisp while baking.
- Bake at 400ºF for 35-40 minutes (or until the breading is golden brown and the juices run clear), flipping each breast after 20 minutes.
- Remove from oven and transfer to a serving dish. Garnish with parsley if desired. Enjoy! ¼ cup fresh flat leaf parsley
Video
Notes
Nutrition
By Becky Hardin
Published Jul 12, 2017


This Essential Grocery List is an absolute life saver for my family on the busy weeks. When I started this journey to learn how to cook, I quickly realized that the first step in cooking is having staple ingredients on hand. I want to avoid having to run out to the grocery store every single time I prepare a new recipe. Having a well-stocked pantry has made my life in the kitchen so much simpler, because when it’s time to cook, I have what I need.

Essential Grocery List
It’s so helpful to have a basic grocery list to help me remember which foods to buy at the store. This food shopping list is my go-to!
It’s better to stock up on things like grains, seasonings and spices, baking essentials, oils, condiments, canned and frozen foods, etc. so I can just grab them when I need them. These things have a long shelf life , so I keep them in my kitchen for convenience.
However, I do have to go to the supermarket sometimes, and there’s a way to make that trip easy and hassle-free: I keep a grocery list! If I go in blindly, I’ll leave with things I don’t need, and nothing that actually helps me prepare a good meal.
In the list below, I’ve compiled everything I always have on my stock-up grocery list.
I’ve got you covered! I created an easy grocery list filled with all of the essentials. Plus there’s a free printable version that you can take with you to the grocery store. It has everything you need to stock your pantry, your freezer, and your refrigerator.

Click to get my Free Printable Grocery List
What to Buy at the Grocery Store
This is the perfect grocery list filled with all the basics and essentials. It should help get you going if you’re new to cooking, or if you’re just left staring helplessly at an empty pantry and don’t know how to fill it.
When I first started cooking, things could seem overwhelming. I quickly realized that they more prepared I could be, the more confident I felt. If you already have the basics in your kitchen, then you can shop stress-free.
So print out our easy grocery list, stock up your pantry and fridge, and you’ll be cooking in no time!
Click to get my Free Printable Grocery List for the perfectly stocked pantry and freezer!
Fresh Produce
- Apples
- Bananas
- Strawberries
- Avocados
- Bell Peppers
- Carrots
- Broccoli
- Garlic
- Lemons/Limes
- Onion
- Parsley
- Cilantro
- Basil
- Potatoes
- Spinach
- Tomatoes
GRAINS
- Breadcrumbs
- Pasta
- Quinoa
- Rice
- Sandwich Bread
- Tortillas
MEAT/PROTEIN
- Chicken
- Eggs
- Ground Beef
- Sliced Turkey
- Lunch Meat
DAIRY
- Butter
- Sliced Cheese
- Shredded Cheese
- Milk
- Sour Cream
- Greek Yogurt
BAKING GOODS
- Baking powder
- Baking Soda
- Granulated Sugar
- Brown Sugar
- Flour
- Honey
- Vanilla Extract
- Dry Yeast
- Chocolate Chips
- Cocoa Powder
- Powdered Sugar
FREEZER
- Fruit and Berries
- Frozen Veggies (Corn, Peas, Broccoli, etc)
- Juice Concentrate
- Pizza or Other Convenience Meals
- Pie Crust
- Cookie Dough
CANNED/DRIED GOODS
- Chicken stock/broth
- Salsa
- Diced Tomatoes
- Jam/Jelly
- Peanut Butter
- Pasta Sauce
- Beans (Black Beans, Chickpeas, Baked Beans, etc)
- Soups
- Tuna
- Green Chiles
- Canned Veggies
- Coffee or Tea
Get more details on the best non-perishable and pantry foods
CONDIMENTS/SPICES
- Black Pepper
- Chili Powder
- Cinnamon
- Crushed Red Pepper
- Cumin
- Garlic Powder
- Ketchup
- Mustard
- Mayo
- Nutmeg
- Paprika
- Salt (Course Sea Salt and Kosher Salt)
- Soy Sauce
- Steak Sauce
- Hot Sauce/ Buffalo Sauce
- Salad Dressings
OILS/VINEGARS
- Apple cider vinegar
- Balsamic vinegar
- Coconut Oil
- Olive Oil
- Vegetable/Canola Oil
- Red Wine Vinegar
- White Vinegar
- Cooking Wine
- White Wine Vinegar
SNACKS
- Crackers
- Nuts
- Quick Oats
- Popcorn
- Tortilla Chips
- Cereal
Click to get my Free Printable Grocery List for the perfectly stocked pantry and freezer!

Click ☝🏻 for my FREE Grocery List Printable!
I hope this essential grocery list can help you buy what you need and make your home cooking so much easier!
Stock Your Kitchen
Find more ideas for your grocery list, stock up your kitchen, and print more cooking guides and charts to keep handy!

Non-Perishable Foods to Stock Up On

Frozen Vegetables to Stock Up On (and Recipes to Make)

Ultimate List of Cooking Herbs for Your Kitchen

Ultimate List of Cooking Spices for Your Kitchen

Cooking Oil 101: Types of Cooking Oils to Use

26 Types of Pasta and When to Use Them

What Fruits and Vegetables are in Season?

Meat Temperature Chart (Free Printable)

How to Meal Prep (Guide for Beginners)

Basic Cooking Measurements & Kitchen Conversion Chart

