
By Becky Hardin
Published Nov 4, 2020
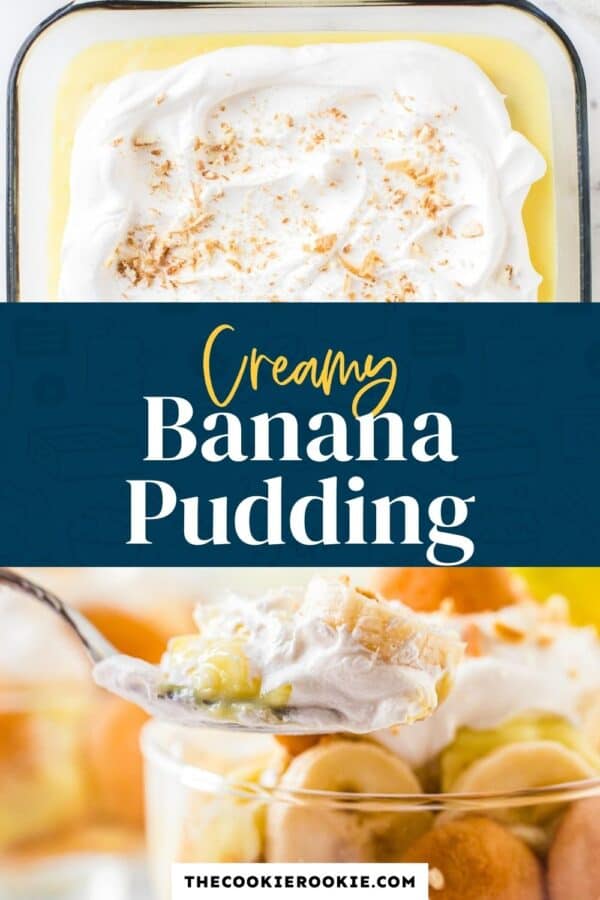
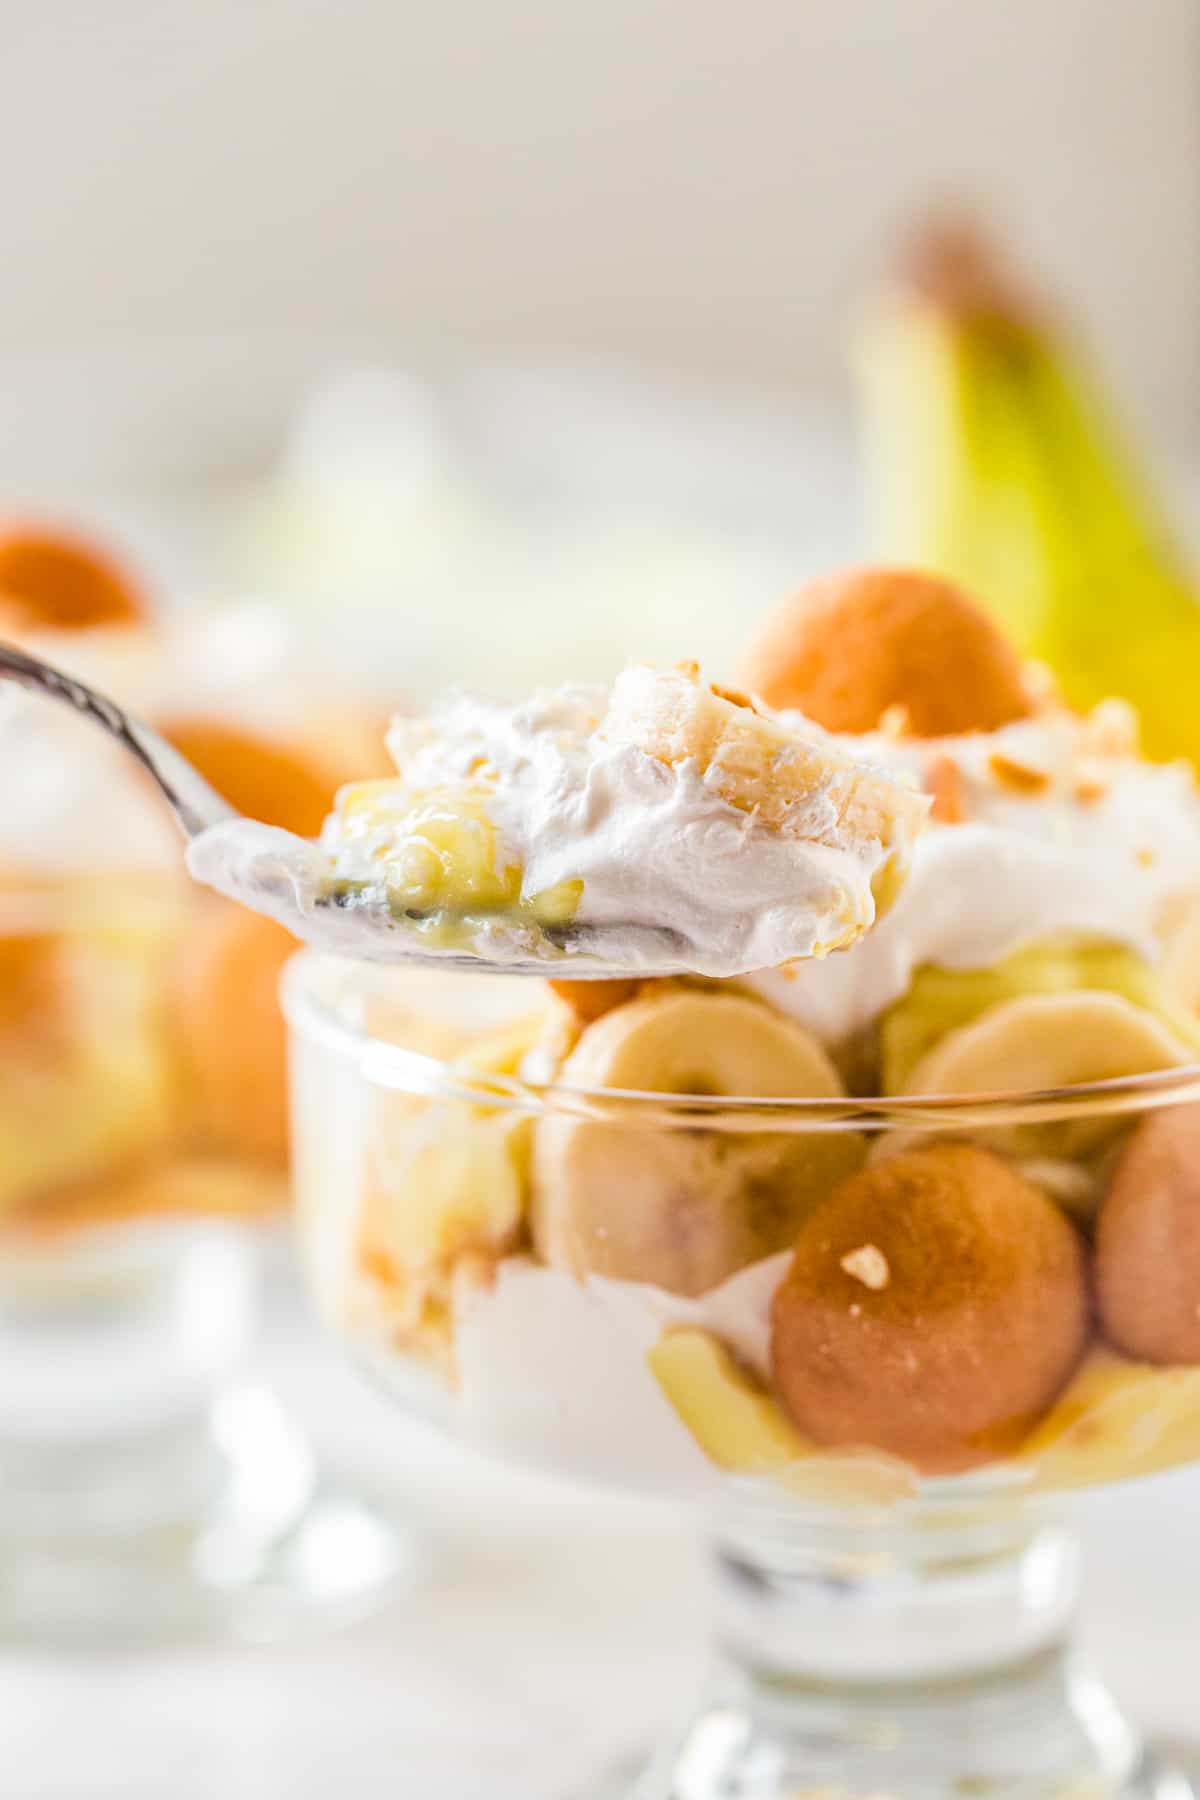
There’s nothing quite like the nostalgia and simplicity of homemade banana pudding. I layered from-scratch vanilla pudding with bananas and vanilla wafers to recreate this childhood favorite recipe. It’s so much better than instant pudding and surprisingly easy to make. The hardest part is waiting for it to cool and set in the fridge!
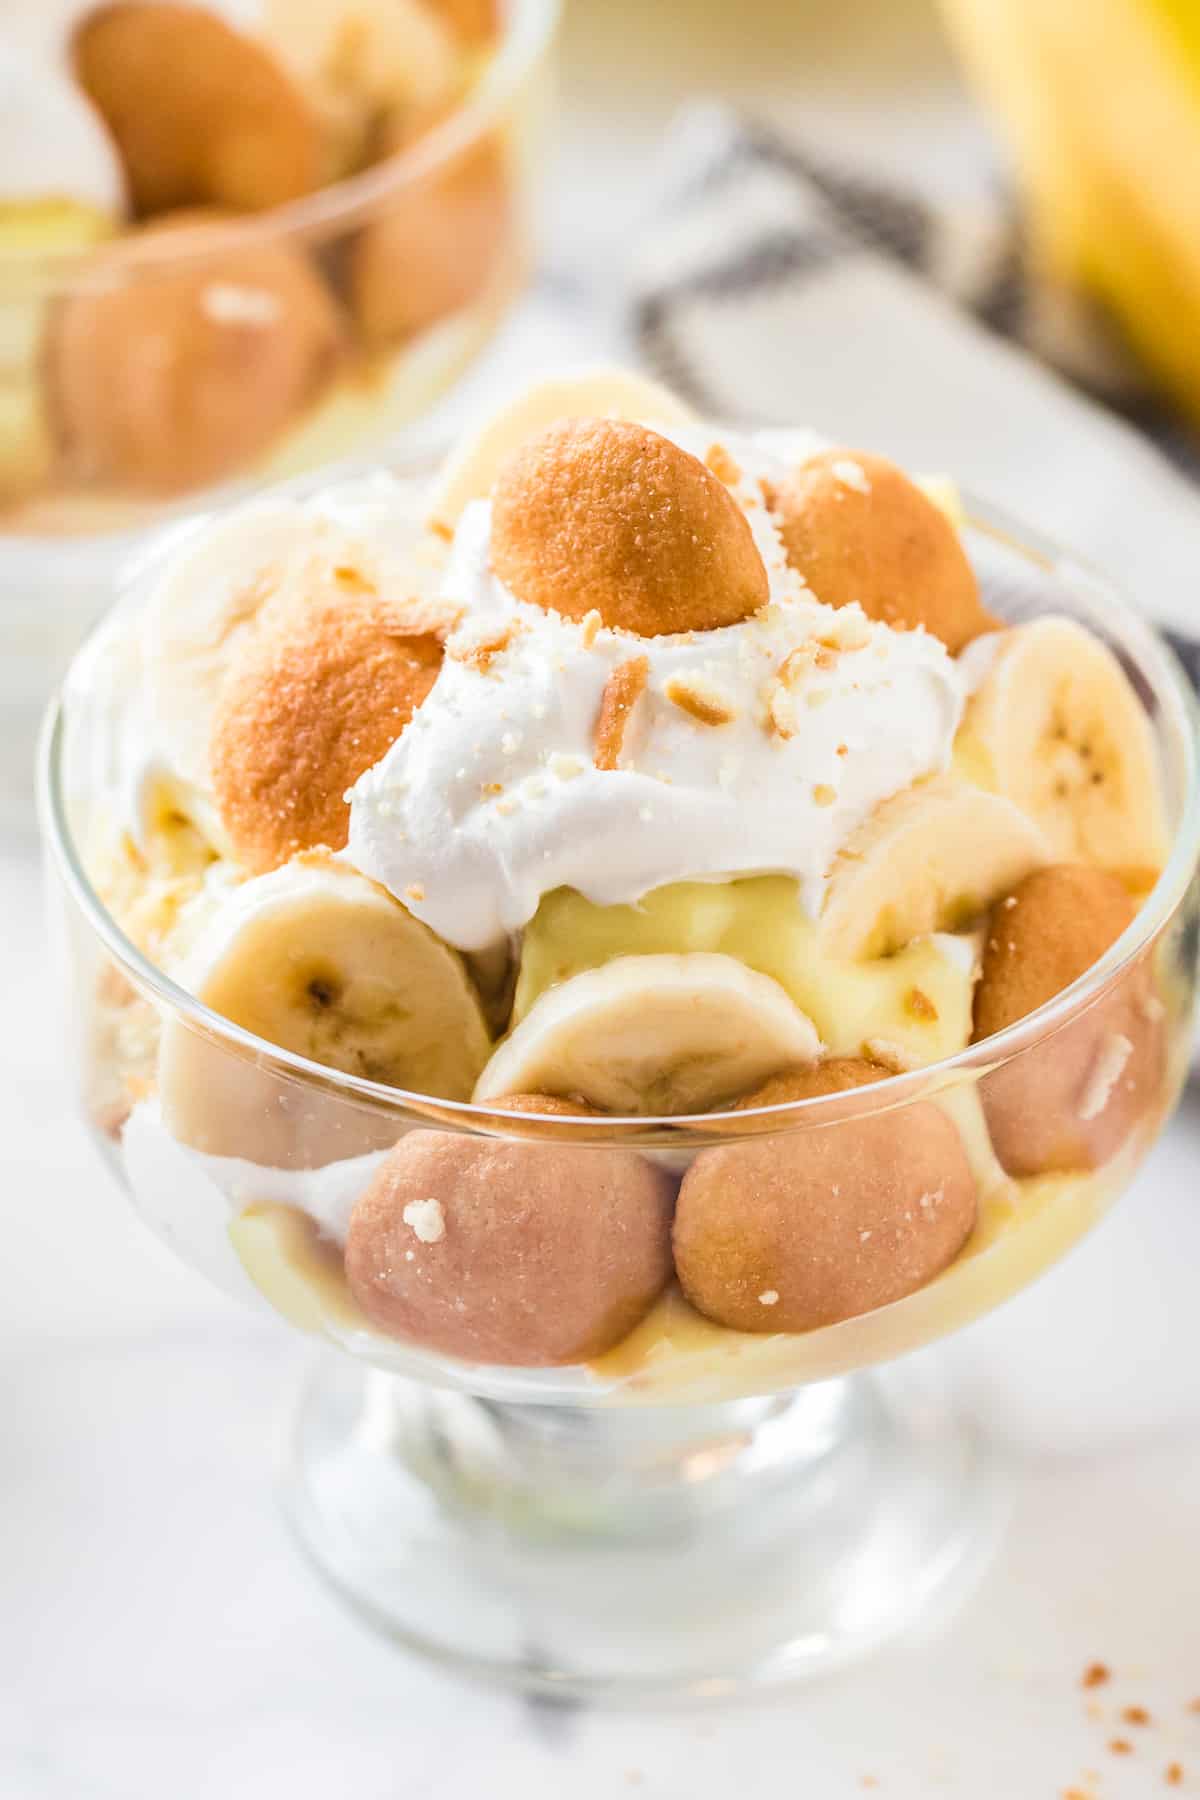
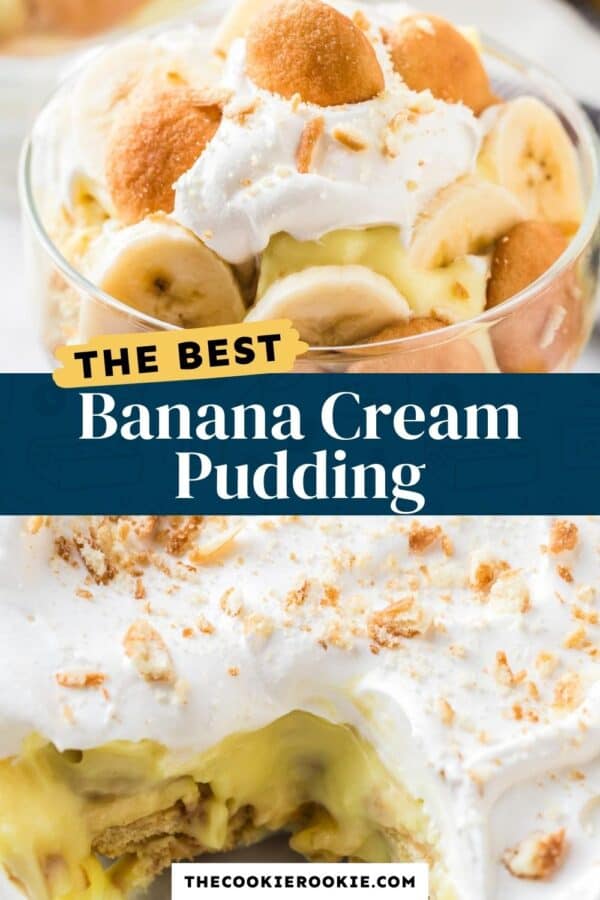
This homemade banana pudding is ridiculously rich and creamy! I loaded it up with whole milk, egg yolks, and salted butter so it’s decadently delicious all on its own. The crispy-gone-soggy vanilla wafers add the perfect contrasting texture, and the sweet bananas take it to the next level. This is one pudding I could eat any time of day!
What’s in This Homemade Banana Pudding Recipe?
- Sugar: Granulated sugar sweetens the pudding.
- Cornstarch: Helps thicken the pudding as it cooks.
- Milk: Whole milk makes this pudding super rich and creamy.
- Salt: A touch of kosher salt enhances the overall flavor of the pudding.
- Egg: Egg yolks make the pudding rich and decadent. Save the leftover egg whites for a healthy breakfast, or use them to make coconut macaroons !
- Vanilla Extract : Adds warmth to the pudding.
- Butter: Salted butter helps make the pudding rich.
- Food Coloring: I sometimes like to add a few drops of yellow food coloring if the pudding looks a little pale. This is totally optional, though!
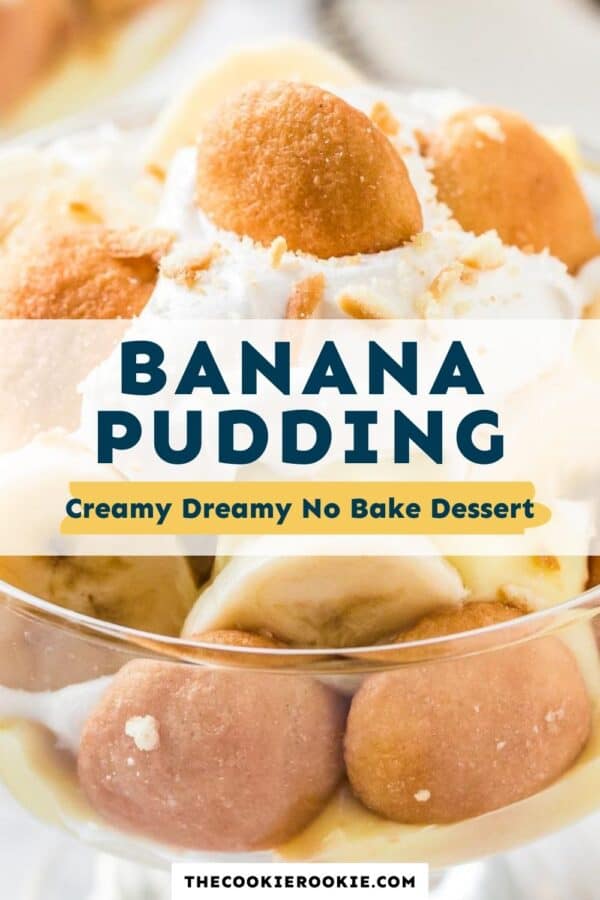
- Nilla Wafers : These vanilla-flavored cookies are the classic choice for layering in banana pudding. They turn soft and fluffy after soaking up the pudding.
- Bananas: Freshly sliced bananas give this pudding its signature flavor!
- Whipped Topping : I like to top my pudding with some stabilized whipped topping, like Cool Whip , so it stays looking beautiful. If using regular whipped cream, wait until just before serving to add it so it doesn’t melt away.
Tips for Success
- This is a great make-ahead dessert. It needs at least 4 hours in the fridge for the pudding to set, but it will do well for a few days, too!
- Don’t use over-ripe bananas for this recipe or they will quickly brown. If you are planning on making it a couple of days ahead of time, you can add lemon juice to the banana slices to slow down the browning process.
- If your pudding looks runny, it likely needs to be cooked for longer. I recommend keeping the pan on the heat when adding the egg mixture. If your pudding is still runny when you take it out of the fridge, it may just need some extra chilling time.
- To prepare individual banana pudding cups, simply layer the cookies, bananas, and pudding into small dishes or coupes.
How to Store
Store leftover homemade banana pudding tightly covered with plastic wrap pressed to the surface to prevent a skin from forming. The pudding will keep well for up to 4 days, after which the wafers will start to soften up and disintegrate. I do not recommend freezing this pudding.
Serving Suggestions
I use this pudding to make my yummy banana pudding cheesecake when I want a special dessert. I also like to serve this on its own a drizzle of chocolate sauce or caramel sauce . It’s also great with some warmed peanut butter or almond butter drizzled over top.
Ingredients1x2x3x
- ▢ ½ cup granulated sugar 100 grams
- ▢ ⅓ cup cornstarch 37 grams
- ▢ 2½ cups whole milk 568 grams
- ▢ ½ teaspoon kosher salt
- ▢ 3 egg yolks 42 grams
- ▢ 2 teaspoons pure vanilla extract 8 grams
- ▢ 3 tablespoons salted butter 42 grams, cold
- ▢ 4 drops yellow food coloring optional
- ▢ 11 ounces Nilla Wafers 312 grams (1 box)
- ▢ 2 large bananas thinly sliced (plus more for garnishing, optional)
- ▢ 8 ounces whipped topping 227 grams (1 tub), such as Cool Whip
Instructions
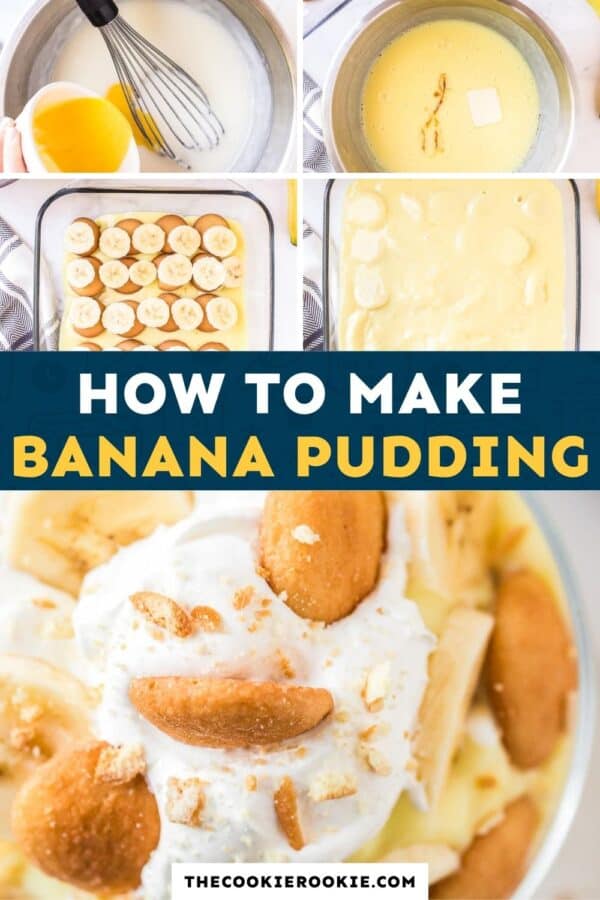
- Add the sugar, cornstarch, milk, and salt to a double boiler (or a heatproof bowl set over a saucepan) placed over medium heat. ½ cup granulated sugar, ⅓ cup cornstarch, 2½ cups whole milk, ½ teaspoon kosher salt
- Whisk frequently until the mixture begins to thicken, about 10-15 minutes.
- Place the egg yolks in a separate bowl. 3 egg yolks
- Add about ½ cup of the thickened milk mixture to the egg yolks and whisk to temper the eggs.
- Add the tempered eggs to the milk mixture and continue to whisk until thickened, about 3-5 minutes. It may look slightly thinner than pudding at this point, but it will thicken further in the refrigerator. (See notes for further explanation).
- Remove from the heat then whisk in the vanilla extract, butter, and food coloring (if using) until the butter has melted. 2 teaspoons pure vanilla extract, 3 tablespoons salted butter, 4 drops yellow food coloring
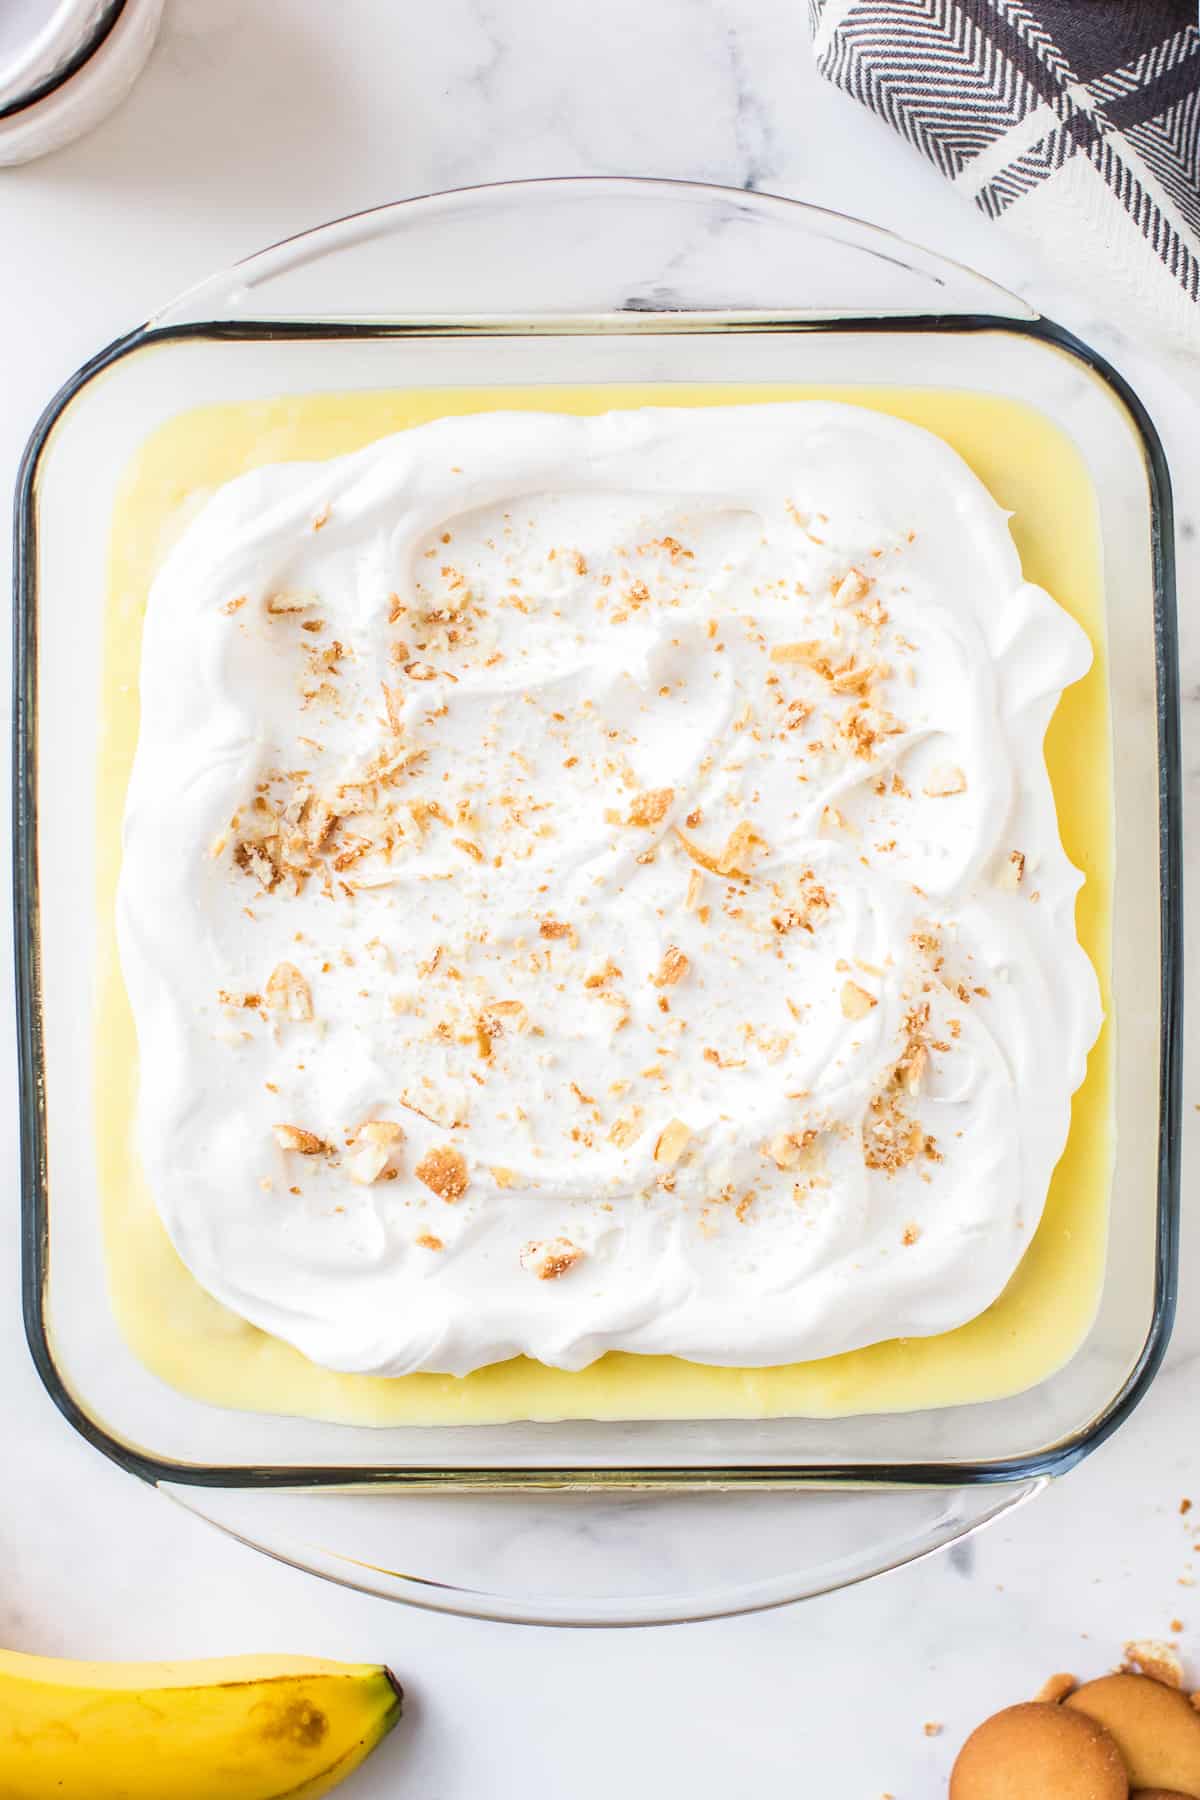
- Arrange an even layer of vanilla wafers on the bottom of an 8×8-inch baking dish. 11 ounces Nilla Wafers
- Top the vanilla wafers with banana slices. Pour half of the pudding over the cookies and banana slices. 2 large bananas
- Smooth the pudding in an even layer, then top with more cookies and banana slices.
- Pour the remaining pudding on top in an even layer.
- Let cool for 15 minutes, then cover with plastic and refrigerate for at least 4-6 hours.
- Top with whipped topping before serving. Crush any remaining cookies and use to garnish along with additional banana slices. 8 ounces whipped topping
Equipment
- Kitchen Scale (optional)
- 8×8-inch Baking Pan
Becky’s Tips
Nutrition information is automatically calculated, so should only be used as an approximation.
More Banana Recipes to Try!
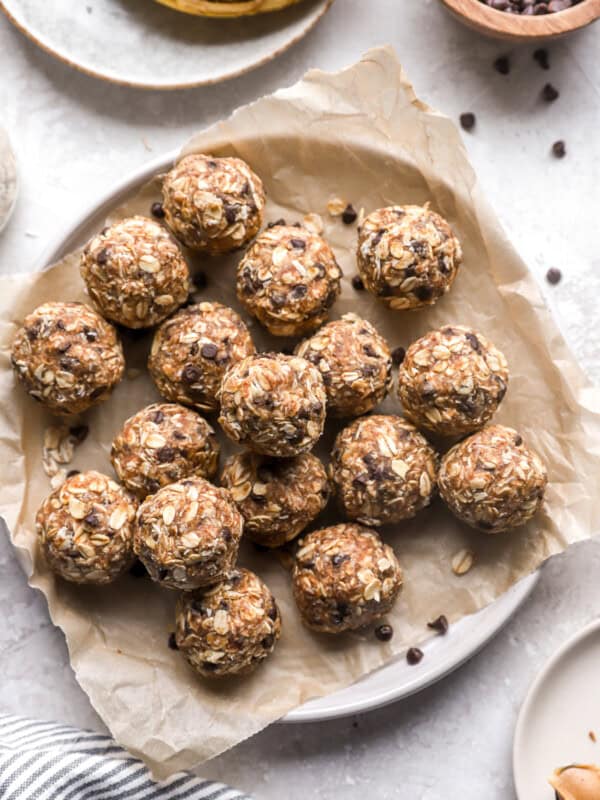
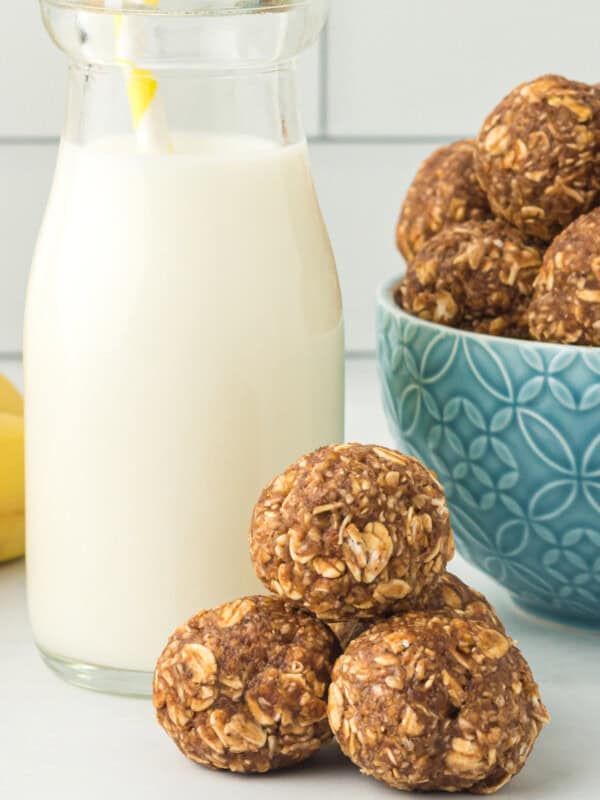
Healthy Peanut Butter Energy Balls
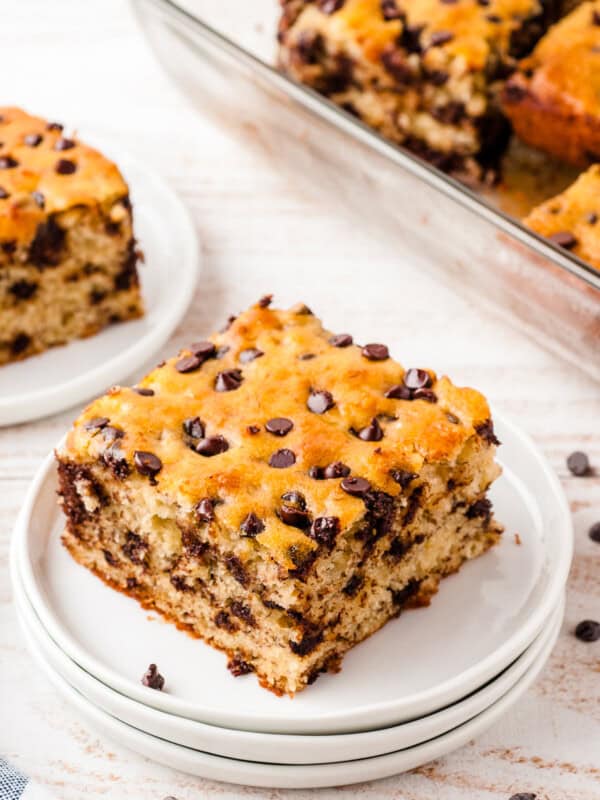
Chocolate Chip Banana Bars Recipe
Banana Bread Protein Balls
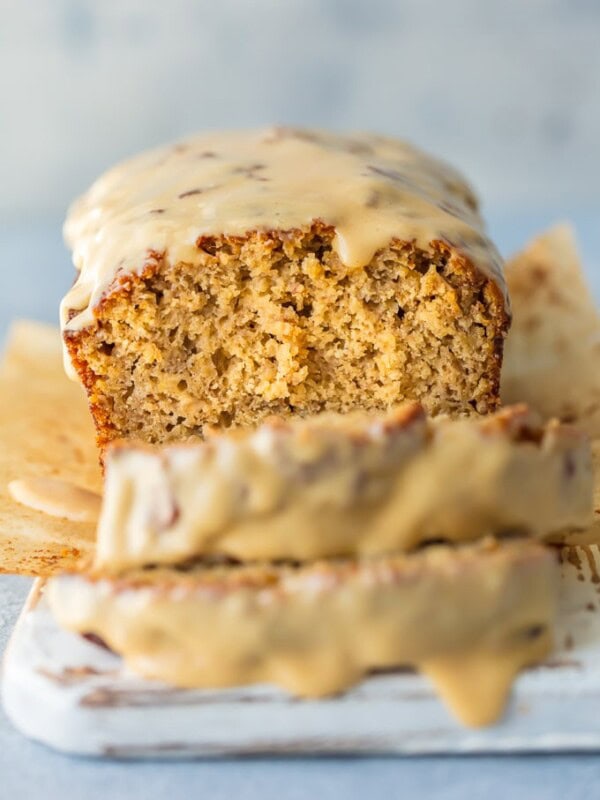
Easy Banana Bread Recipe with Peanut Butter Glaze

Banana Pudding Recipe
Equipment
- Kitchen Scale (optional)
- 8x8-inch Baking Pan
Ingredients
- ½ cup granulated sugar 100 grams
- ⅓ cup cornstarch 37 grams
- 2½ cups whole milk 568 grams
- ½ teaspoon kosher salt
- 3 egg yolks 42 grams
- 2 teaspoons pure vanilla extract 8 grams
- 3 tablespoons salted butter 42 grams, cold
- 4 drops yellow food coloring optional
- 11 ounces Nilla Wafers 312 grams (1 box)
- 2 large bananas thinly sliced (plus more for garnishing, optional)
- 8 ounces whipped topping 227 grams (1 tub), such as Cool Whip
Instructions
- Add the sugar, cornstarch, milk, and salt to a double boiler (or a heatproof bowl set over a saucepan) placed over medium heat. ½ cup granulated sugar, ⅓ cup cornstarch, 2½ cups whole milk, ½ teaspoon kosher salt
- Whisk frequently until the mixture begins to thicken, about 10-15 minutes.
- Place the egg yolks in a separate bowl. 3 egg yolks
- Add about ½ cup of the thickened milk mixture to the egg yolks and whisk to temper the eggs.
- Add the tempered eggs to the milk mixture and continue to whisk until thickened, about 3-5 minutes. It may look slightly thinner than pudding at this point, but it will thicken further in the refrigerator. (See notes for further explanation).
- Remove from the heat then whisk in the vanilla extract, butter, and food coloring (if using) until the butter has melted. 2 teaspoons pure vanilla extract, 3 tablespoons salted butter, 4 drops yellow food coloring
- Arrange an even layer of vanilla wafers on the bottom of an 8x8-inch baking dish. 11 ounces Nilla Wafers
- Top the vanilla wafers with banana slices. Pour half of the pudding over the cookies and banana slices. 2 large bananas
- Smooth the pudding in an even layer, then top with more cookies and banana slices.
- Pour the remaining pudding on top in an even layer.
- Let cool for 15 minutes, then cover with plastic and refrigerate for at least 4-6 hours.
- Top with whipped topping before serving. Crush any remaining cookies and use to garnish along with additional banana slices. 8 ounces whipped topping
Notes
Nutrition
By Becky Hardin
Published Jul 12, 2017


This Essential Grocery List is an absolute life saver for my family on the busy weeks. When I started this journey to learn how to cook, I quickly realized that the first step in cooking is having staple ingredients on hand. I want to avoid having to run out to the grocery store every single time I prepare a new recipe. Having a well-stocked pantry has made my life in the kitchen so much simpler, because when it’s time to cook, I have what I need.

Essential Grocery List
It’s so helpful to have a basic grocery list to help me remember which foods to buy at the store. This food shopping list is my go-to!
It’s better to stock up on things like grains, seasonings and spices, baking essentials, oils, condiments, canned and frozen foods, etc. so I can just grab them when I need them. These things have a long shelf life , so I keep them in my kitchen for convenience.
However, I do have to go to the supermarket sometimes, and there’s a way to make that trip easy and hassle-free: I keep a grocery list! If I go in blindly, I’ll leave with things I don’t need, and nothing that actually helps me prepare a good meal.
In the list below, I’ve compiled everything I always have on my stock-up grocery list.
I’ve got you covered! I created an easy grocery list filled with all of the essentials. Plus there’s a free printable version that you can take with you to the grocery store. It has everything you need to stock your pantry, your freezer, and your refrigerator.

Click to get my Free Printable Grocery List
What to Buy at the Grocery Store
This is the perfect grocery list filled with all the basics and essentials. It should help get you going if you’re new to cooking, or if you’re just left staring helplessly at an empty pantry and don’t know how to fill it.
When I first started cooking, things could seem overwhelming. I quickly realized that they more prepared I could be, the more confident I felt. If you already have the basics in your kitchen, then you can shop stress-free.
So print out our easy grocery list, stock up your pantry and fridge, and you’ll be cooking in no time!
Click to get my Free Printable Grocery List for the perfectly stocked pantry and freezer!
Fresh Produce
- Apples
- Bananas
- Strawberries
- Avocados
- Bell Peppers
- Carrots
- Broccoli
- Garlic
- Lemons/Limes
- Onion
- Parsley
- Cilantro
- Basil
- Potatoes
- Spinach
- Tomatoes
GRAINS
- Breadcrumbs
- Pasta
- Quinoa
- Rice
- Sandwich Bread
- Tortillas
MEAT/PROTEIN
- Chicken
- Eggs
- Ground Beef
- Sliced Turkey
- Lunch Meat
DAIRY
- Butter
- Sliced Cheese
- Shredded Cheese
- Milk
- Sour Cream
- Greek Yogurt
BAKING GOODS
- Baking powder
- Baking Soda
- Granulated Sugar
- Brown Sugar
- Flour
- Honey
- Vanilla Extract
- Dry Yeast
- Chocolate Chips
- Cocoa Powder
- Powdered Sugar
FREEZER
- Fruit and Berries
- Frozen Veggies (Corn, Peas, Broccoli, etc)
- Juice Concentrate
- Pizza or Other Convenience Meals
- Pie Crust
- Cookie Dough
CANNED/DRIED GOODS
- Chicken stock/broth
- Salsa
- Diced Tomatoes
- Jam/Jelly
- Peanut Butter
- Pasta Sauce
- Beans (Black Beans, Chickpeas, Baked Beans, etc)
- Soups
- Tuna
- Green Chiles
- Canned Veggies
- Coffee or Tea
Get more details on the best non-perishable and pantry foods
CONDIMENTS/SPICES
- Black Pepper
- Chili Powder
- Cinnamon
- Crushed Red Pepper
- Cumin
- Garlic Powder
- Ketchup
- Mustard
- Mayo
- Nutmeg
- Paprika
- Salt (Course Sea Salt and Kosher Salt)
- Soy Sauce
- Steak Sauce
- Hot Sauce/ Buffalo Sauce
- Salad Dressings
OILS/VINEGARS
- Apple cider vinegar
- Balsamic vinegar
- Coconut Oil
- Olive Oil
- Vegetable/Canola Oil
- Red Wine Vinegar
- White Vinegar
- Cooking Wine
- White Wine Vinegar
SNACKS
- Crackers
- Nuts
- Quick Oats
- Popcorn
- Tortilla Chips
- Cereal
Click to get my Free Printable Grocery List for the perfectly stocked pantry and freezer!

Click ☝🏻 for my FREE Grocery List Printable!
I hope this essential grocery list can help you buy what you need and make your home cooking so much easier!
Stock Your Kitchen
Find more ideas for your grocery list, stock up your kitchen, and print more cooking guides and charts to keep handy!

Non-Perishable Foods to Stock Up On

Frozen Vegetables to Stock Up On (and Recipes to Make)

Ultimate List of Cooking Herbs for Your Kitchen

Ultimate List of Cooking Spices for Your Kitchen

Cooking Oil 101: Types of Cooking Oils to Use

26 Types of Pasta and When to Use Them

What Fruits and Vegetables are in Season?

Meat Temperature Chart (Free Printable)

How to Meal Prep (Guide for Beginners)

Basic Cooking Measurements & Kitchen Conversion Chart

