
By Becky Hardin
Updated Jan 13, 2025
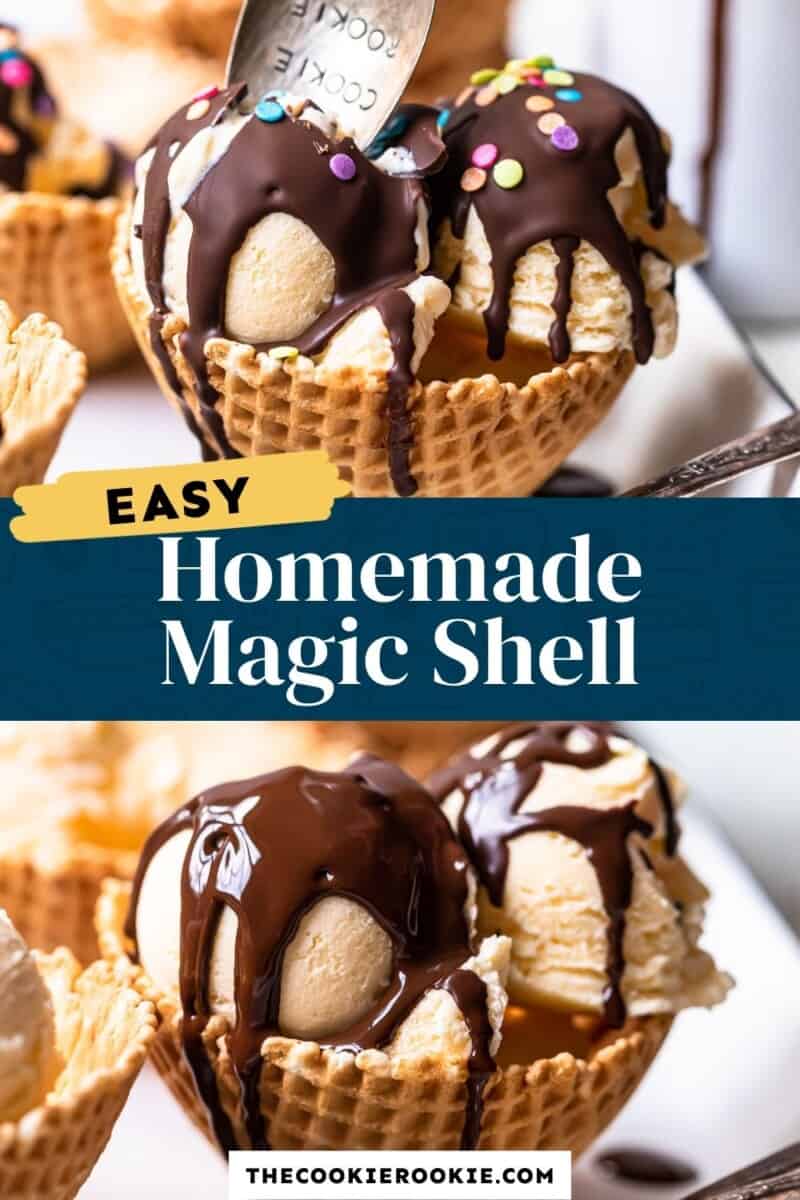
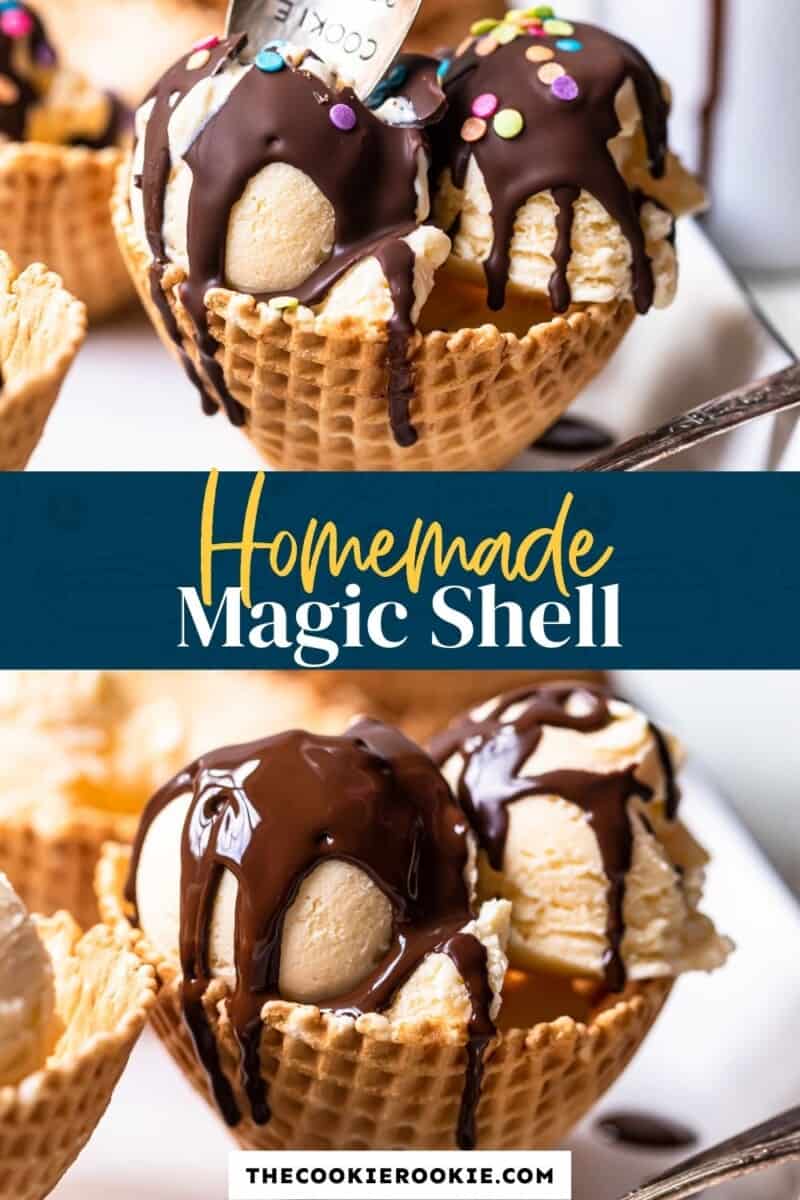
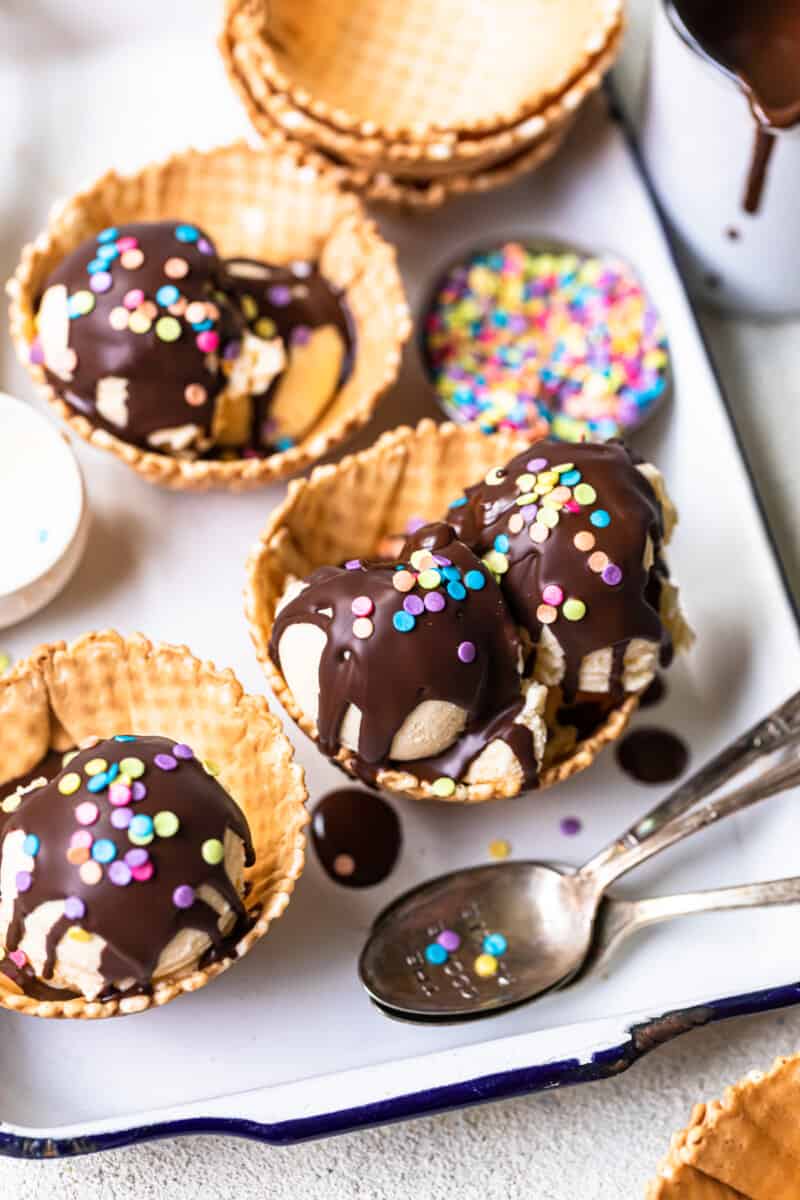
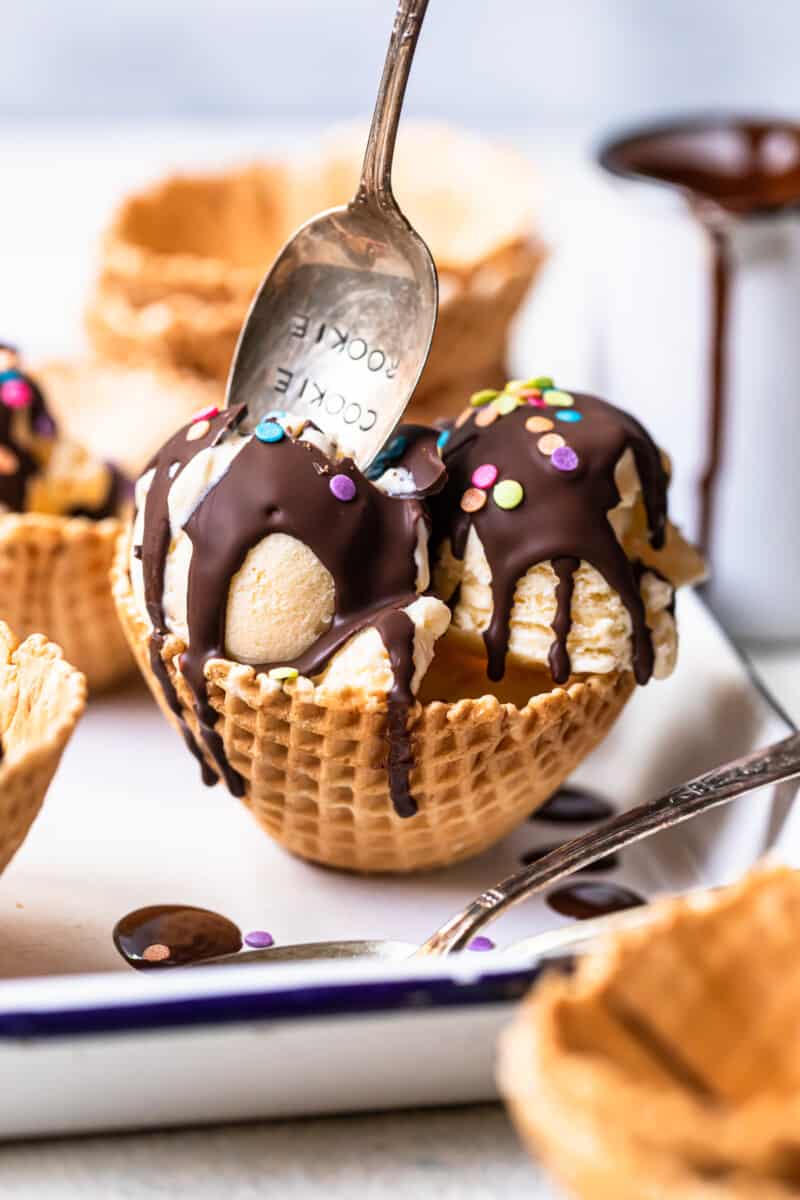
I love serving my ice cream desserts in a fancy and absolutely delicious way. If you are like me, then my 3 ingredients homemade magic shell, a fancy twist to serve ice creams, is for you. Simple to make, gets ready in 15 minutes, this melted chocolate topping sets quickly when drizzled over ice cream. It forms a hard shell that’s totally delicious and fun to crack, kids just love having fun while eating this delicious frozen dessert.
This homemade chocolate sauce isn’t your ordinary dessert sauce – when poured over cold ice cream, it quickly sets and forms a hard chocolate shell. It’s so satisfying to break into this chocolate coating! Be sure to check my Chocolate Chip Cannoli Dip .
Mark my words, you can elevate ice cream to a whole new level with chocolate topping and your guests or family won’t stop pouring compliments for you!
I would say jazz up any frozen dessert with this simple homemade magic shell topping that uses coconut oil.
What is magic shell topping
Magic shell topping is a “magical” melted chocolate sauce that hardens when it touches something cold, quickly forming a delicious shell. It uses coconut oil because it solidifies quickly to help form the hard shell yet soft enough to break apart. It gives this shell coating a wonderful texture.
Anytime you can double or triple the recipe, simply double/triple the ingredients and follow the recipe as written. Homemade magic shell is a wonderful gift to give to friends and neighbors!
Homemade magic shell topping comes together quickly and easily for one epic dessert sauce! Are you ready to deep dive further!!
Ingredients for Chocolate Magic Shell
- Chocolate: I prefer to use bittersweet 60% cacao for this recipe. For best results, use a chopped bar of solid chocolate. Avoid using candy melts. But feel free to use your favorite kind of pure chocolate for this topping – white, milk, or bittersweet chocolate are all wonderful choices. For dietary restrictions use vegan or dairy-free chocolate.
- Coconut oil: Coconut oil helps in melting and coating with smooth texture while pouring over the ice creams. I would not recommend using normal butter or olive oil or vegetable oil for this recipe.
- Sea salt: Salt just balances out the sweetness.
Chocolate bar vs. Chocolate chips
Chocolate bar gives a smooth texture to magic shell, I noticed a significant difference while using high quality chocolate bar. It melts quickly and gives a glossy finish once it hardens.
On the other hand chocolate chips have stabilizers that prevent them from melting smoothly. They take longer to melt and chocolate sauce is thicker.
Both will work, but I prefer using chocolate bar in order to get that smooth, shiny and velvety magic shell.
Can I make Chocolate Magic Shell without coconut oil
Coconut oil is a fat that is solid at room temperature, while heated it melts and solidify again once touches the cold surface, like ice cream in this recipe. So using other oils (that are liquid at room temperature) It may work but chocolate sauce may taste differently and overall taste profile would change.
Tips For Success
- Use high quality chocolate bar to achieve that shiny, velvety look for magic shell.
- Try not to overheat the chocolate. Burned chocolate tastes bitter and can’t be saved. I recommend heating the mixture in 30-second increments, stirring well in between each time.
- Before pouring onto ice cream, let the shell mixture cool for 15 minutes. It is hot immediately after heating and will just melt the ice cream instead of forming a shell.
- To make a peanut butter magic shell, swap the chocolate for 1 cup of peanut butter (crunchy or smooth), omit the salt, and add a teaspoon of granulated sugar. Heat, stirring often, until the mixture is pourable.
How to Store and Reheat
Once the mixture is melted in the microwave, it will make about 3/4 cup of magic shell, which is enough for 4-6 people. You can easily cut the recipe in half to make less or even double it.
Still if you have any leftover, store it in an airtight container at room temperature. Just stir it up again and top it on your ice cream. It is good to store for one month at room temperature.
If planning ahead then transfer it in mason jar and store in refrigerator for up to a month. Reheat in microwave with 30 seconds interval.
Serving Suggestions
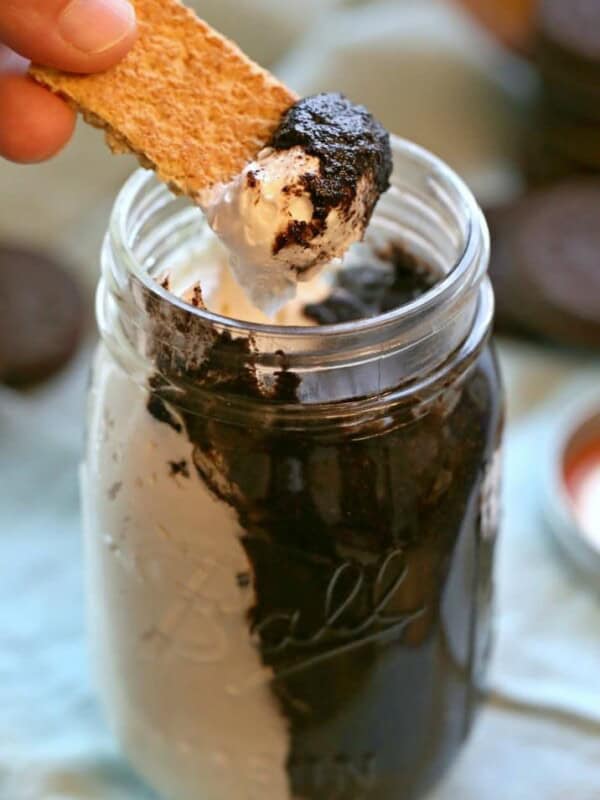
Personally I like to top off my ice creams or cut fruits, use homemade magic shell on any cold desserts, milkshakes included! This chocolate sauce will elevate Chocolate Banana Malt Milkshake , drizzle some over S’mores Ice Cream Sandwiches or on Peanut Butter Cup Ice Cream Pie . Finally add in Frozen French Silk Pie Cocktail and enjoy. Am I successful in taking you back to your childhood memories!!
5-Star Review
“I made this last night and it was the moistest chicken we’ve ever had. A bit of crispy and the flavor was wonderful. I didn’t have buttermilk and did add lemon juice to 1% milk. I am making it again today. Thank you for this recipe.” – Dawn
Ingredients1x2x3x
- ▢ 12 ounces bittersweet (60% cacao) chocolate 340 grams, chopped
- ▢ ½ cup refined coconut oil 113 grams
- ▢ ¼ teaspoon fine sea salt
Video
Instructions
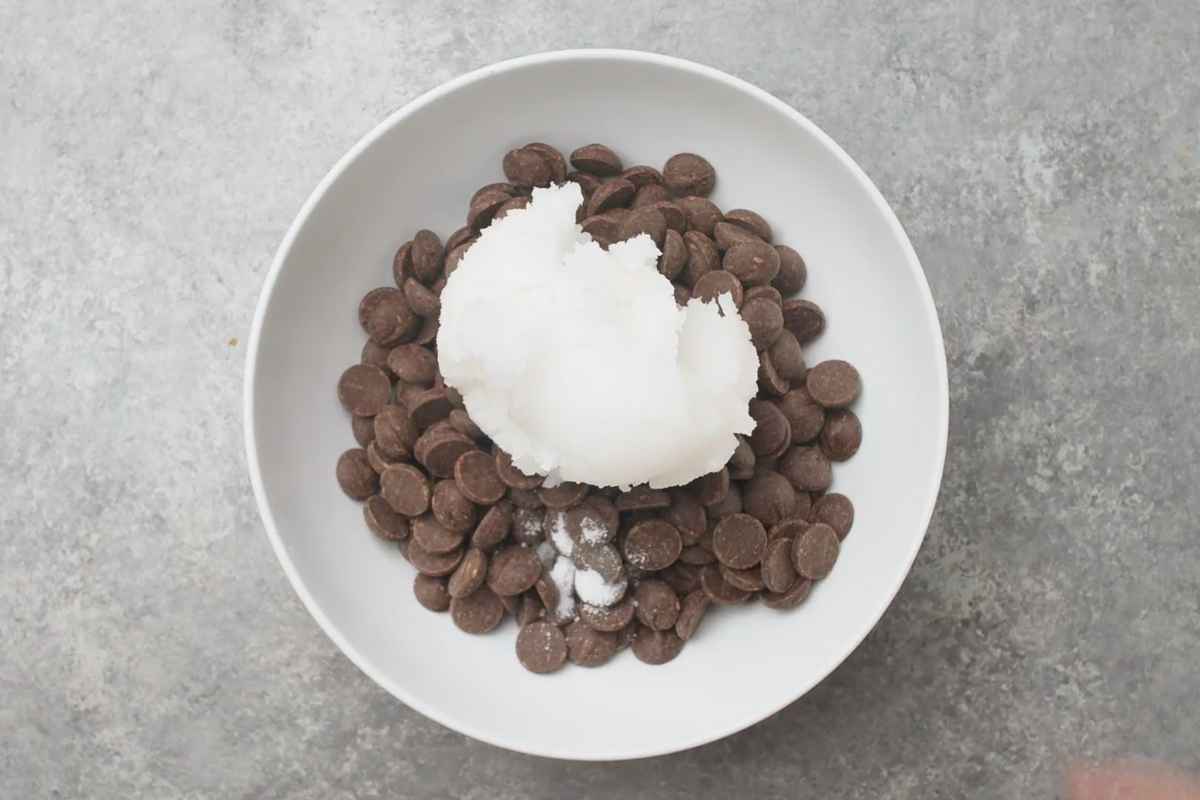
- Combine the chocolate, coconut oil, and salt together in a microwaveable dish (or in the top of a double boiler set over simmering water). 12 ounces bittersweet (60% cacao) chocolate, ½ cup refined coconut oil, ¼ teaspoon fine sea salt
- Heat the mixture, stirring often, until almost all of the chocolate is melted.
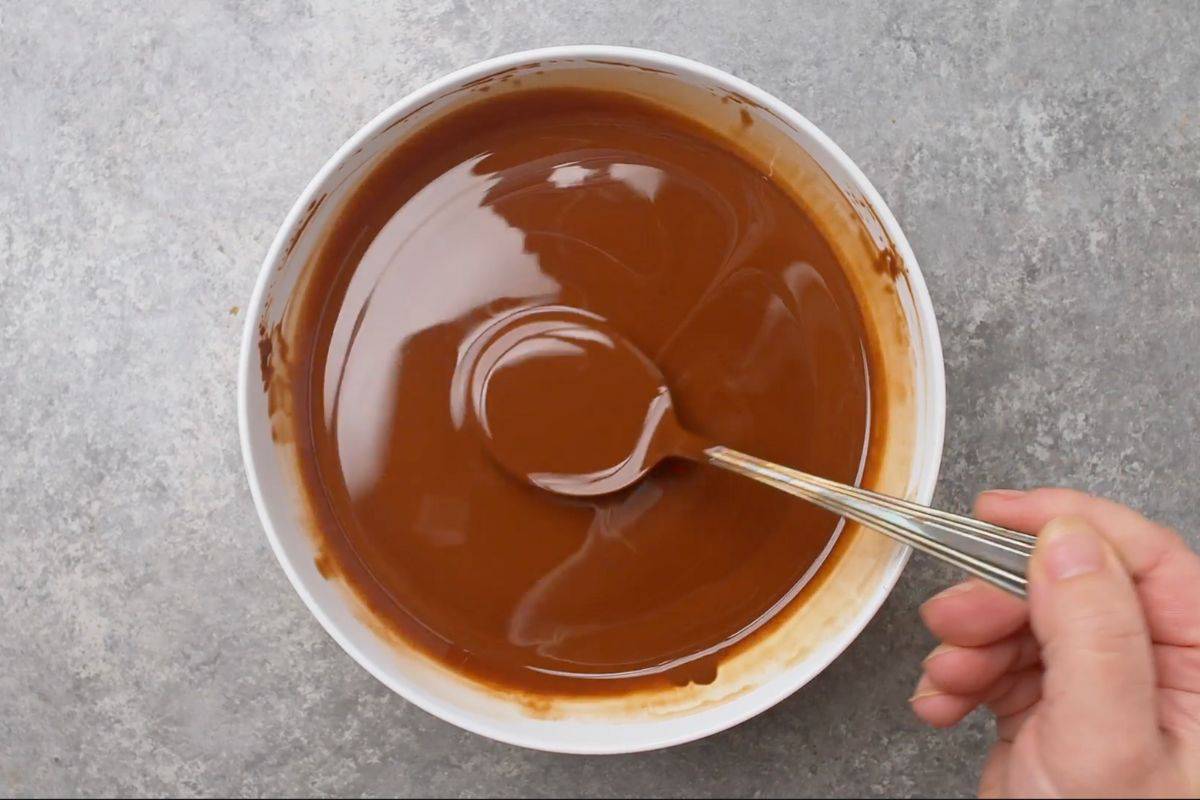
- Remove the mixture from the heat source and stir until all of the chocolate has melted and the mixture is smooth.
- Let the mixture cool for at least 15 minutes before serving. Pour chocolate shell topping onto the ice cream of your choice and enjoy!
Equipment
- Kitchen Scale (optional)
Becky’s Tips
- A microwave is the quickest way to melt everything together, but a double boiler works great, too.
- Try not to overheat the chocolate. Burned chocolate tastes bitter and can’t be saved. I recommend heating the mixture in 30-second increments, stirring well in between each.
- Before pouring onto ice cream, let the shell mixture cool for 15 minutes. It is too hot immediately after heating and will just melt the ice cream instead of forming a shell.
- Use coconut oil for the best result.
- Avoid using candy melts. For dietary limitation use vegan or dairy-free chocolate. Feel free to use your favorite kind of pure chocolate for this topping – white, milk, or bittersweet chocolate are all wonderful choices.
Nutrition information is automatically calculated, so should only be used as an approximation.
How to Make Chocolate Magic Shell Step by Step
Combine Ingredients: Take a microwavable bowl, combine 12 ounces bittersweet (60% cacao) chocolate, ½ cup refined coconut oil, and ¼ teaspoon fine sea salt.
Melt the chocolate: Microwave the chocolate in short burst of 30 seconds interval. Keep stirring every time.
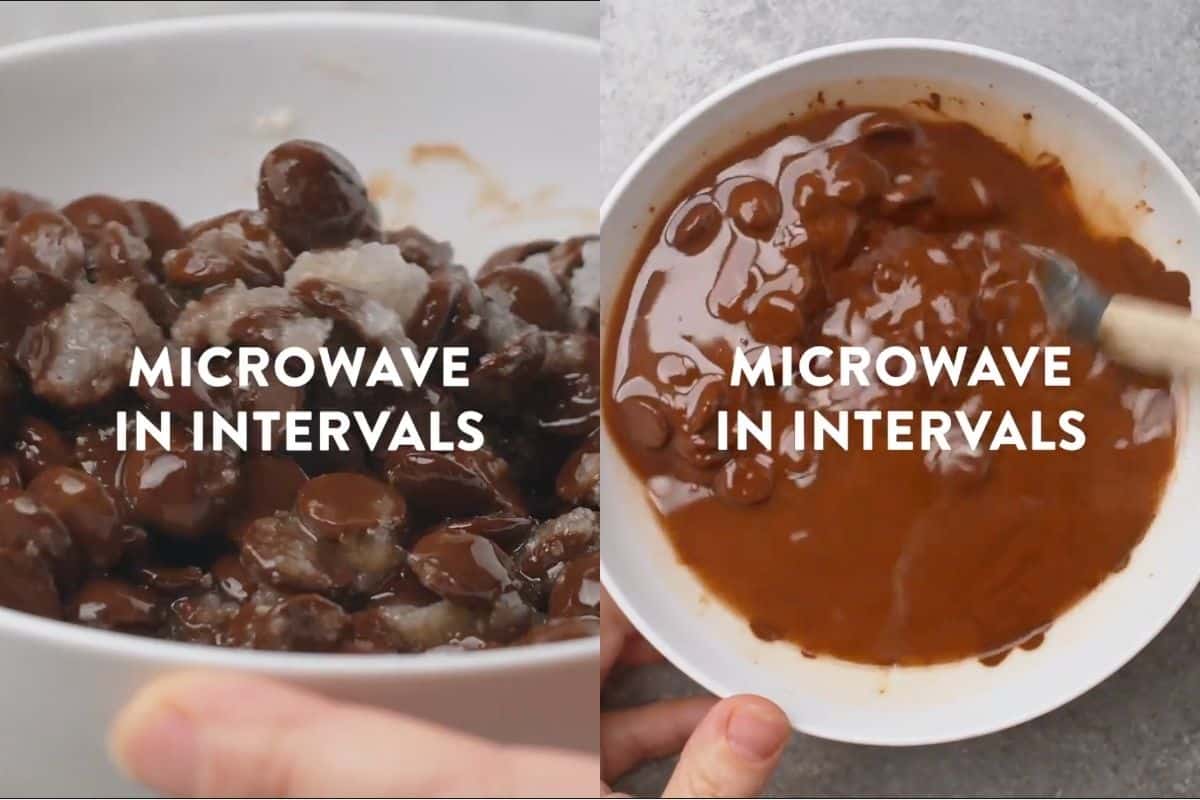
Repeat until you get a smooth runny chocolate sauce. (or in the top of a double boiler set over simmering water)
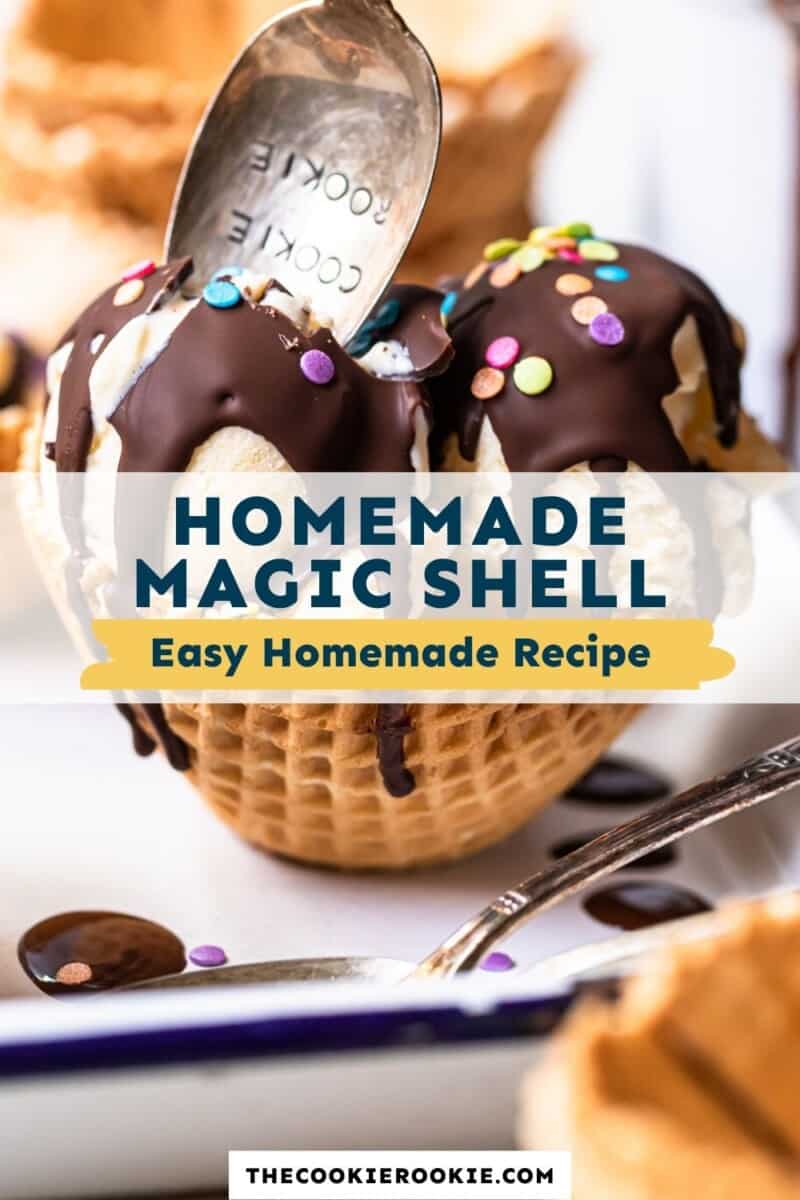
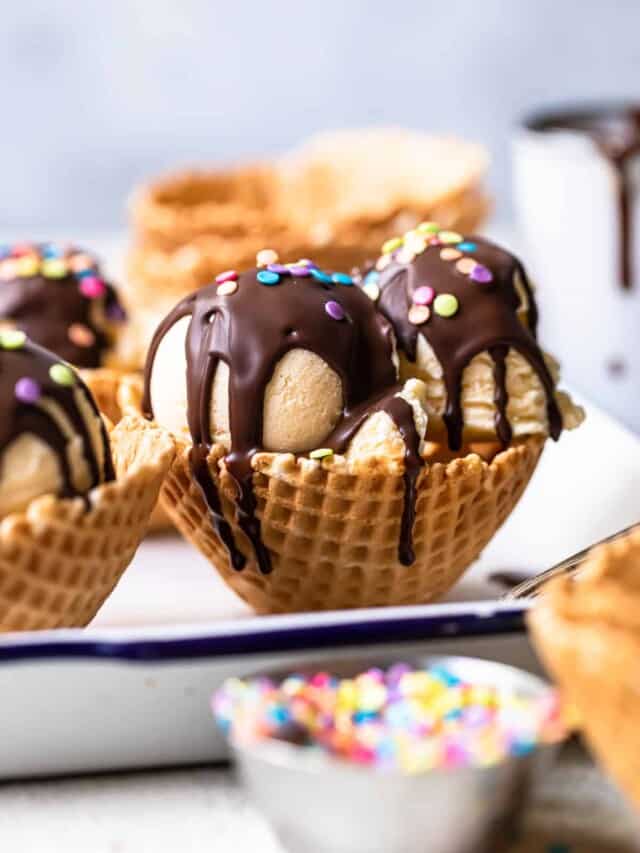
Pour: Wait for few minutes as the magic shell chocolate sauce is warm. Pour it over the ice cream and see the magic. Sauce will harden in few seconds and you will have a shiny magic shell.
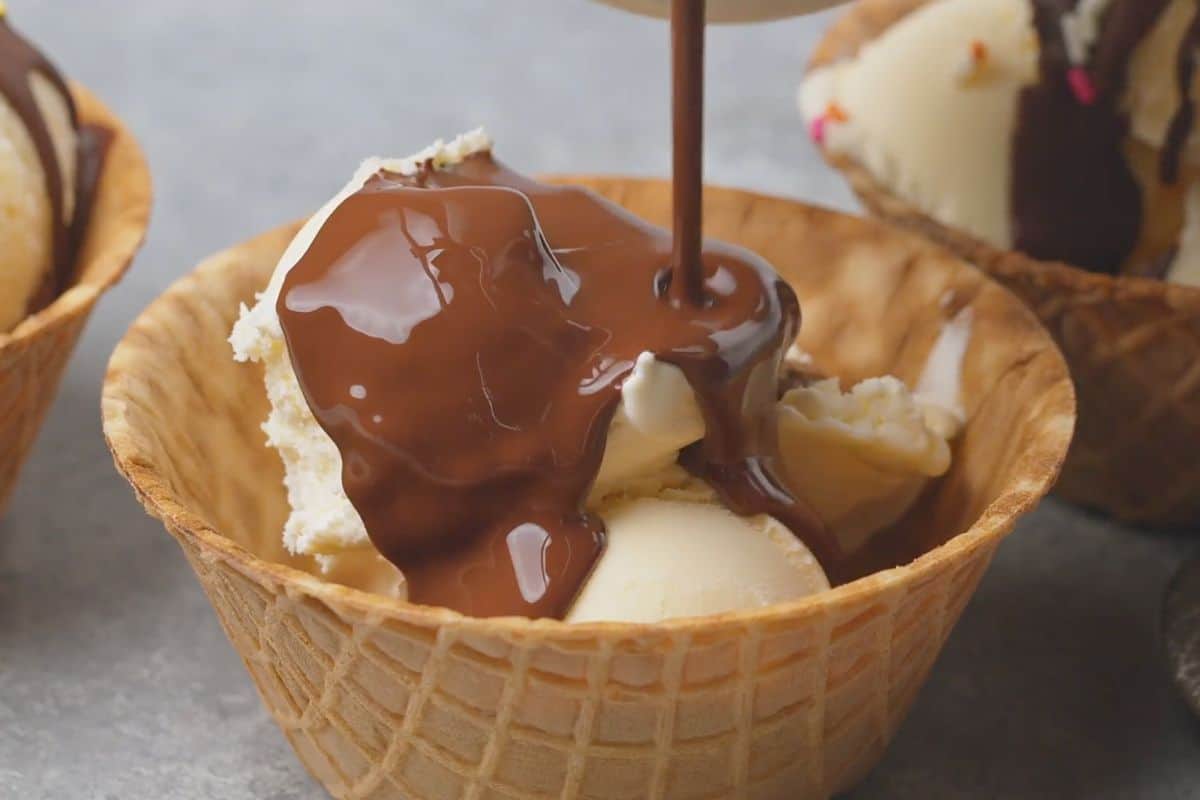
Bring your inner child out and indulge in this magical homemade magic shell.
More Homemade Dessert Sauces We Love
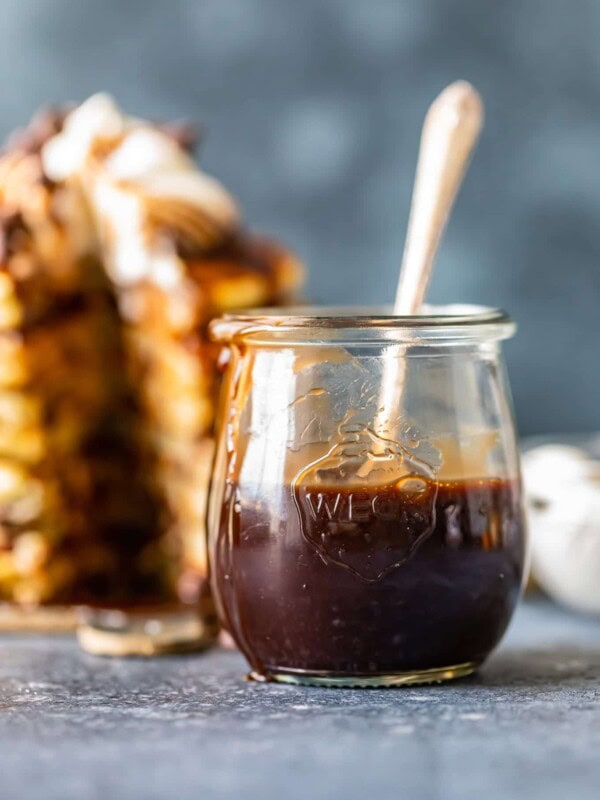
Easy Chocolate Syrup (Chocolate Sauce for Pancakes)
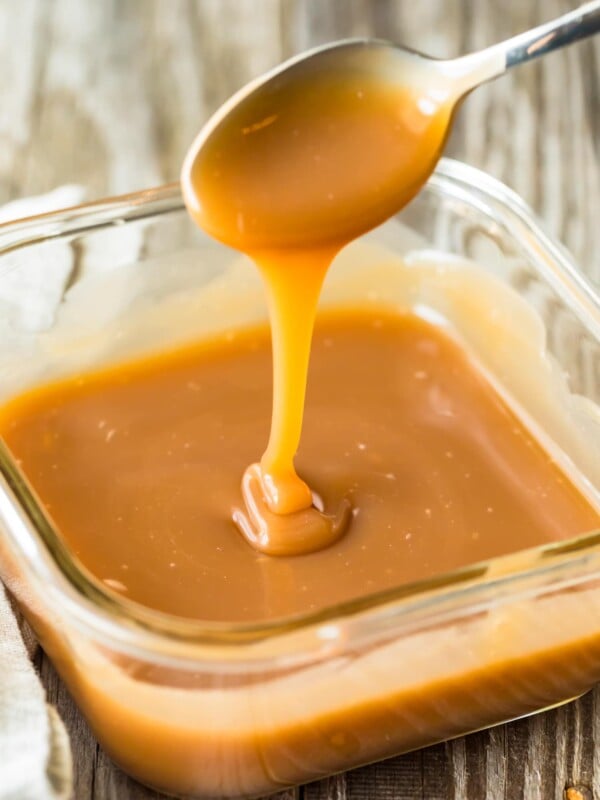
Best Caramel Sauce Recipe
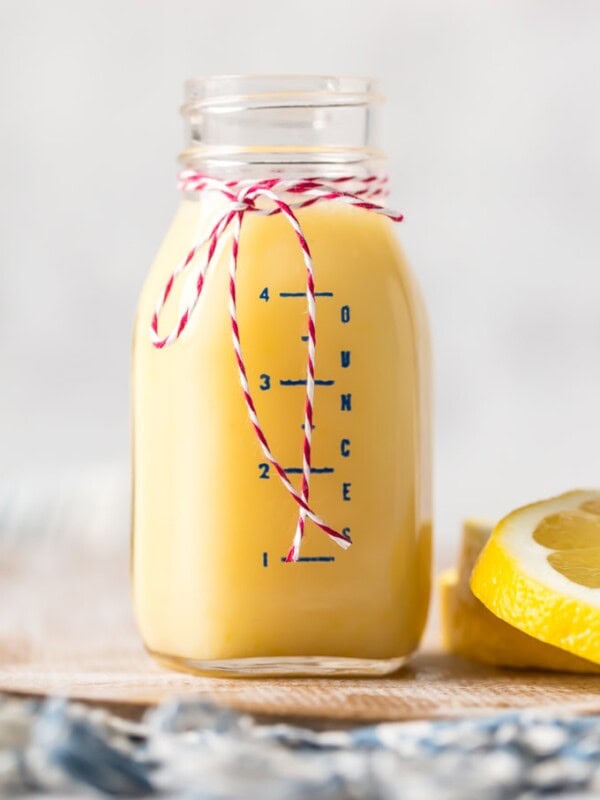
Lemon Sauce Recipe – Lemon Syrup for Pancakes
Peanut Butter Fluff
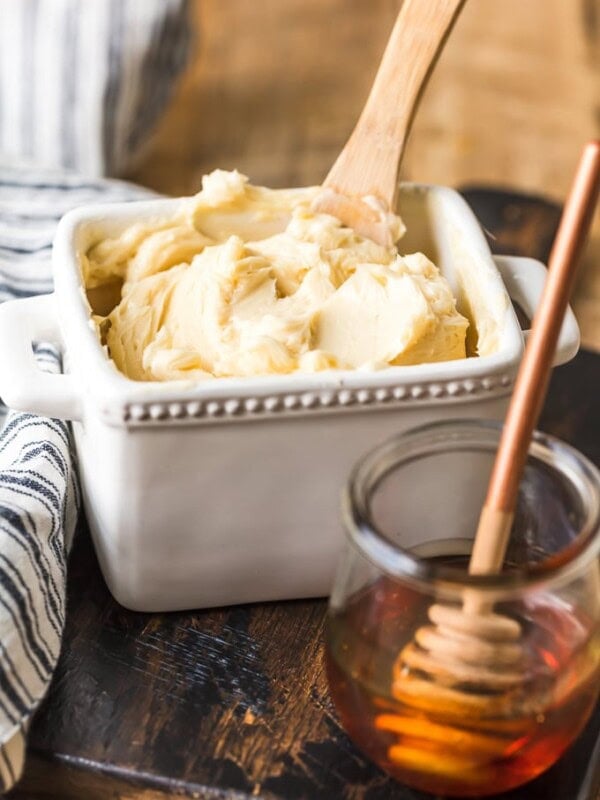
Homemade Honey Butter Recipe
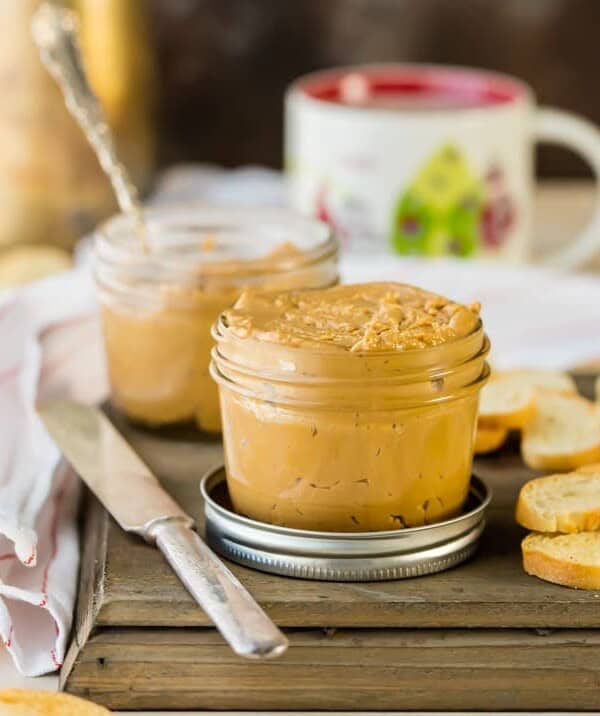
Cookies and Cream Cookie Butter (Trader Joe’s Copycat Recipe)

Homemade Magic Shell Recipe
Equipment
- Kitchen Scale (optional)
Ingredients
- 12 ounces bittersweet (60% cacao) chocolate 340 grams, chopped
- ½ cup refined coconut oil 113 grams
- ¼ teaspoon fine sea salt
Instructions
- Combine the chocolate, coconut oil, and salt together in a microwaveable dish (or in the top of a double boiler set over simmering water). 12 ounces bittersweet (60% cacao) chocolate, ½ cup refined coconut oil, ¼ teaspoon fine sea salt
- Heat the mixture, stirring often, until almost all of the chocolate is melted.
- Remove the mixture from the heat source and stir until all of the chocolate has melted and the mixture is smooth.
- Let the mixture cool for at least 15 minutes before serving. Pour chocolate shell topping onto the ice cream of your choice and enjoy!
Video
Notes
- A microwave is the quickest way to melt everything together, but a double boiler works great, too.
- Try not to overheat the chocolate. Burned chocolate tastes bitter and can’t be saved. I recommend heating the mixture in 30-second increments, stirring well in between each.
- Before pouring onto ice cream, let the shell mixture cool for 15 minutes. It is too hot immediately after heating and will just melt the ice cream instead of forming a shell.
- Use coconut oil for the best result.
- Avoid using candy melts. For dietary limitation use vegan or dairy-free chocolate. Feel free to use your favorite kind of pure chocolate for this topping – white, milk, or bittersweet chocolate are all wonderful choices.
Nutrition
By Becky Hardin
Published Jul 12, 2017


This Essential Grocery List is an absolute life saver for my family on the busy weeks. When I started this journey to learn how to cook, I quickly realized that the first step in cooking is having staple ingredients on hand. I want to avoid having to run out to the grocery store every single time I prepare a new recipe. Having a well-stocked pantry has made my life in the kitchen so much simpler, because when it’s time to cook, I have what I need.

Essential Grocery List
It’s so helpful to have a basic grocery list to help me remember which foods to buy at the store. This food shopping list is my go-to!
It’s better to stock up on things like grains, seasonings and spices, baking essentials, oils, condiments, canned and frozen foods, etc. so I can just grab them when I need them. These things have a long shelf life , so I keep them in my kitchen for convenience.
However, I do have to go to the supermarket sometimes, and there’s a way to make that trip easy and hassle-free: I keep a grocery list! If I go in blindly, I’ll leave with things I don’t need, and nothing that actually helps me prepare a good meal.
In the list below, I’ve compiled everything I always have on my stock-up grocery list.
I’ve got you covered! I created an easy grocery list filled with all of the essentials. Plus there’s a free printable version that you can take with you to the grocery store. It has everything you need to stock your pantry, your freezer, and your refrigerator.

Click to get my Free Printable Grocery List
What to Buy at the Grocery Store
This is the perfect grocery list filled with all the basics and essentials. It should help get you going if you’re new to cooking, or if you’re just left staring helplessly at an empty pantry and don’t know how to fill it.
When I first started cooking, things could seem overwhelming. I quickly realized that they more prepared I could be, the more confident I felt. If you already have the basics in your kitchen, then you can shop stress-free.
So print out our easy grocery list, stock up your pantry and fridge, and you’ll be cooking in no time!
Click to get my Free Printable Grocery List for the perfectly stocked pantry and freezer!
Fresh Produce
- Apples
- Bananas
- Strawberries
- Avocados
- Bell Peppers
- Carrots
- Broccoli
- Garlic
- Lemons/Limes
- Onion
- Parsley
- Cilantro
- Basil
- Potatoes
- Spinach
- Tomatoes
GRAINS
- Breadcrumbs
- Pasta
- Quinoa
- Rice
- Sandwich Bread
- Tortillas
MEAT/PROTEIN
- Chicken
- Eggs
- Ground Beef
- Sliced Turkey
- Lunch Meat
DAIRY
- Butter
- Sliced Cheese
- Shredded Cheese
- Milk
- Sour Cream
- Greek Yogurt
BAKING GOODS
- Baking powder
- Baking Soda
- Granulated Sugar
- Brown Sugar
- Flour
- Honey
- Vanilla Extract
- Dry Yeast
- Chocolate Chips
- Cocoa Powder
- Powdered Sugar
FREEZER
- Fruit and Berries
- Frozen Veggies (Corn, Peas, Broccoli, etc)
- Juice Concentrate
- Pizza or Other Convenience Meals
- Pie Crust
- Cookie Dough
CANNED/DRIED GOODS
- Chicken stock/broth
- Salsa
- Diced Tomatoes
- Jam/Jelly
- Peanut Butter
- Pasta Sauce
- Beans (Black Beans, Chickpeas, Baked Beans, etc)
- Soups
- Tuna
- Green Chiles
- Canned Veggies
- Coffee or Tea
Get more details on the best non-perishable and pantry foods
CONDIMENTS/SPICES
- Black Pepper
- Chili Powder
- Cinnamon
- Crushed Red Pepper
- Cumin
- Garlic Powder
- Ketchup
- Mustard
- Mayo
- Nutmeg
- Paprika
- Salt (Course Sea Salt and Kosher Salt)
- Soy Sauce
- Steak Sauce
- Hot Sauce/ Buffalo Sauce
- Salad Dressings
OILS/VINEGARS
- Apple cider vinegar
- Balsamic vinegar
- Coconut Oil
- Olive Oil
- Vegetable/Canola Oil
- Red Wine Vinegar
- White Vinegar
- Cooking Wine
- White Wine Vinegar
SNACKS
- Crackers
- Nuts
- Quick Oats
- Popcorn
- Tortilla Chips
- Cereal
Click to get my Free Printable Grocery List for the perfectly stocked pantry and freezer!

Click ☝🏻 for my FREE Grocery List Printable!
I hope this essential grocery list can help you buy what you need and make your home cooking so much easier!
Stock Your Kitchen
Find more ideas for your grocery list, stock up your kitchen, and print more cooking guides and charts to keep handy!

Non-Perishable Foods to Stock Up On

Frozen Vegetables to Stock Up On (and Recipes to Make)

Ultimate List of Cooking Herbs for Your Kitchen

Ultimate List of Cooking Spices for Your Kitchen

Cooking Oil 101: Types of Cooking Oils to Use

26 Types of Pasta and When to Use Them

What Fruits and Vegetables are in Season?

Meat Temperature Chart (Free Printable)

How to Meal Prep (Guide for Beginners)

Basic Cooking Measurements & Kitchen Conversion Chart

