
By Becky Hardin
Published Oct 13, 2025
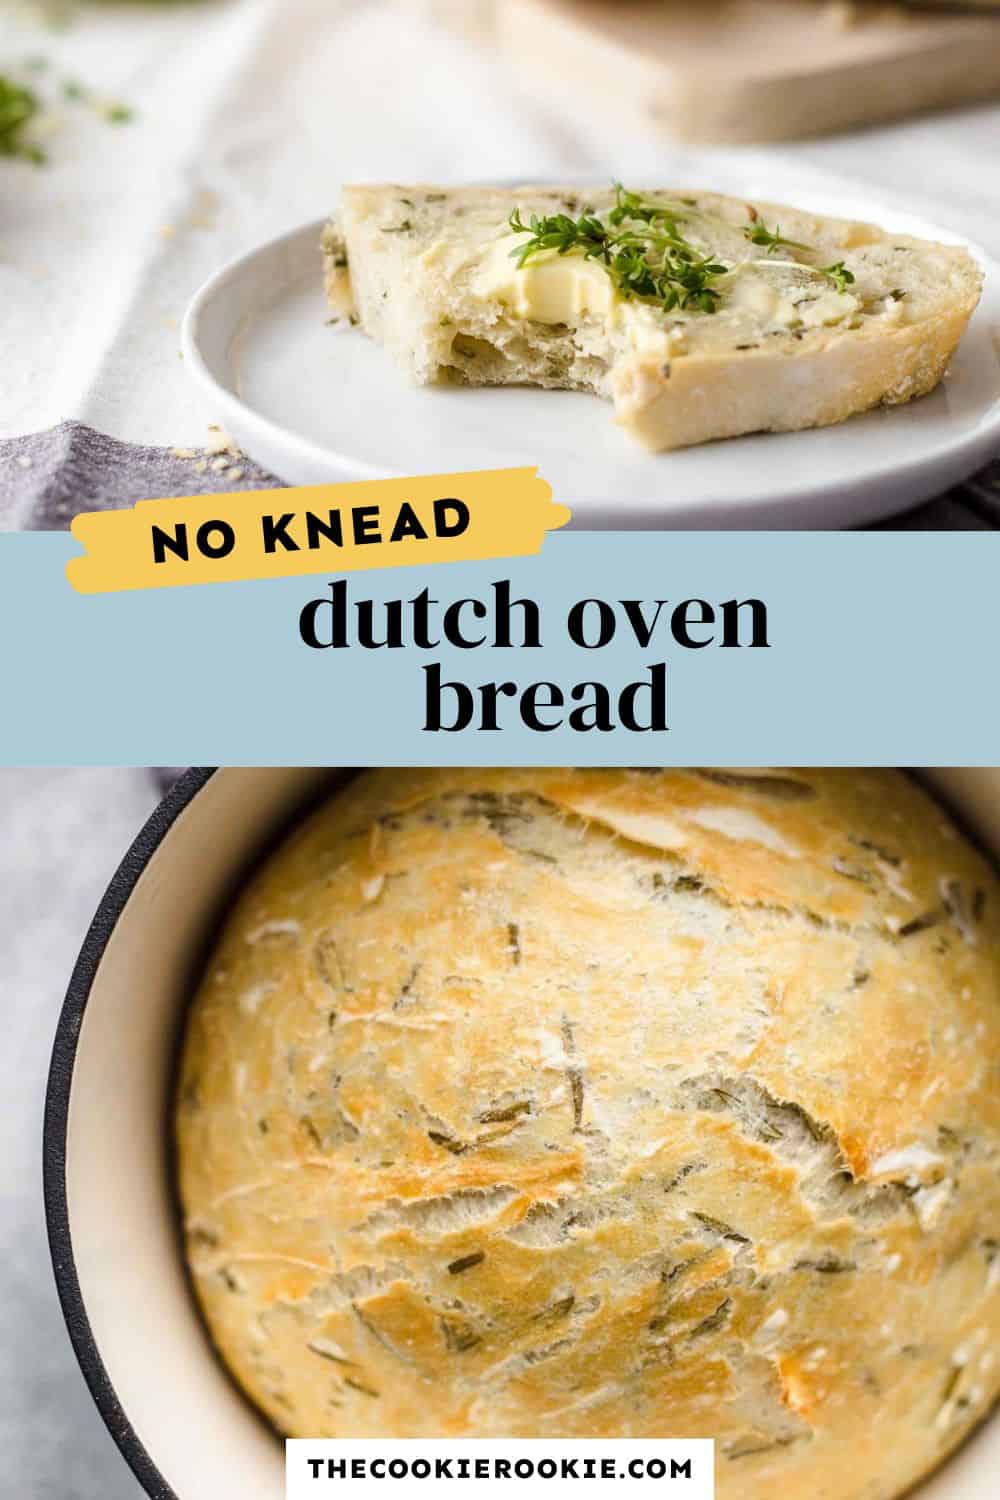
No Knead Dutch Oven Bread is a simple and easy way to make bakery-style bread right in your own kitchen—it’s completely changed the way I think about baking bread! The crust comes out golden and crisp, while the inside stays soft and chewy with that perfect airy texture. The best part? You don’t need any special skills or endless kneading to make it happen. If you’ve always been intimidated about making bread, this no knead recipe is for you.
Pin this recipe for later!
5-Star Review
“This was so simple and so delicious. Wonderful crust while still having a wonderful soft doughy center. Yeast recipes and I have a love/hate relationship but this was perfection. Definitely going into my favorite recipe book.” – Mary
Easy No Knead Dutch Oven Bread Recipe
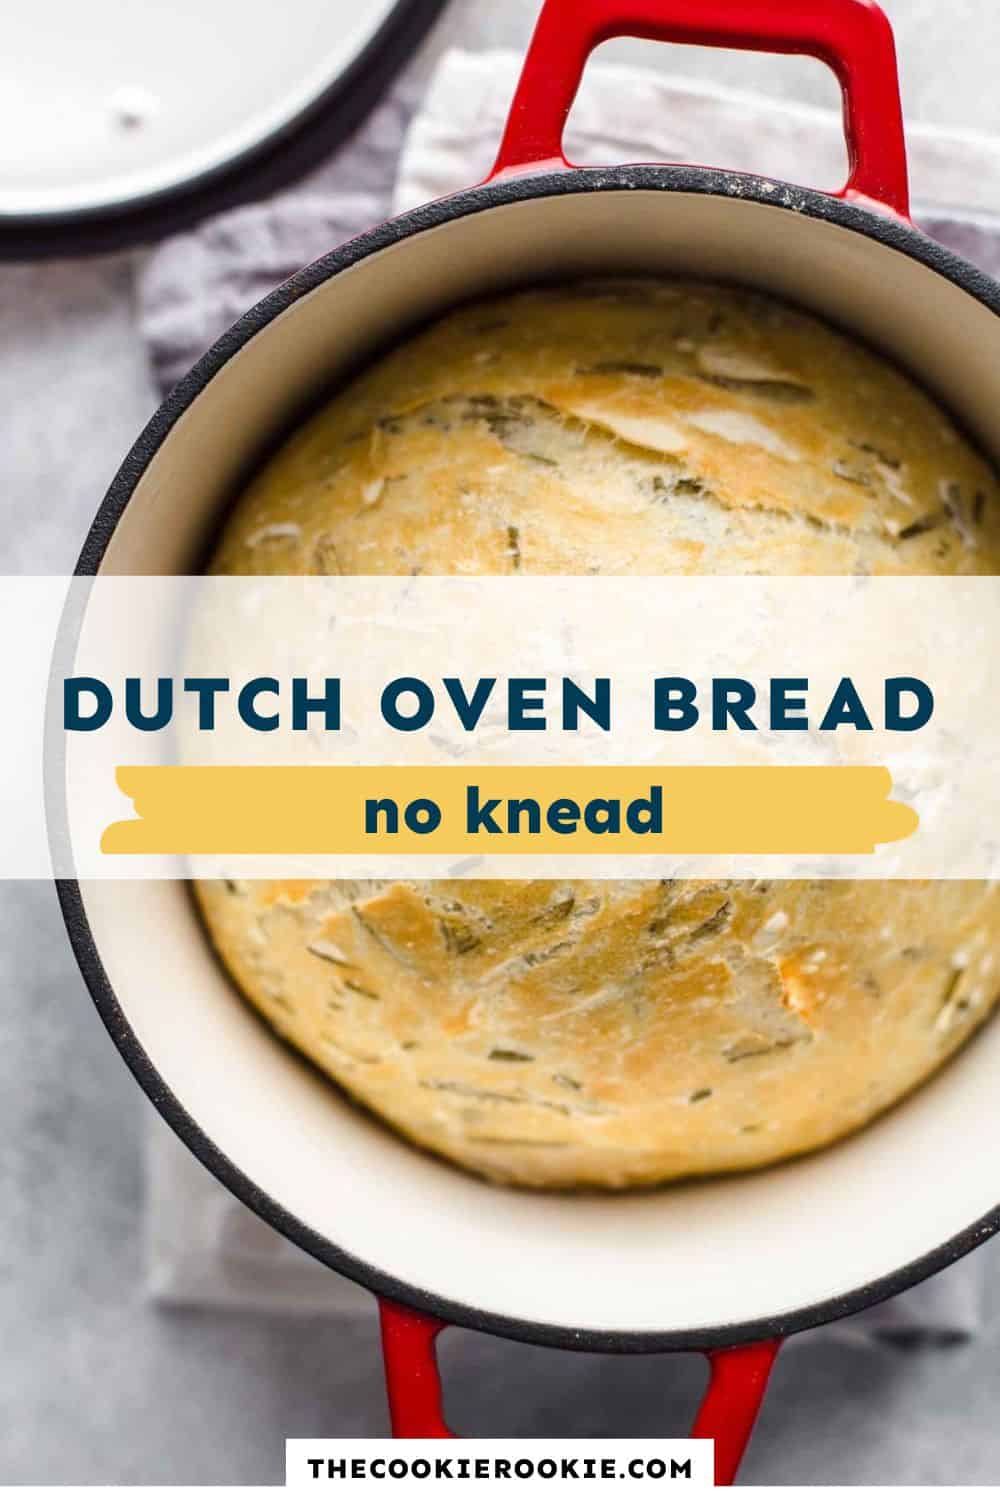
This no knead Dutch oven bread recipe couldn’t be easier. I’m using my 4½-quart Dutch oven (Cherry Red, it’s a beaut!) but you can use a 5-quart or 5.5-quart, just check the loaf a few minutes before the recommended bake time to ensure it doesn’t overbake. In terms of ingredients, all you need is all-purpose flour, water, yeast, and sea salt. However, I’ve added fresh rosemary to add a touch more flavor, but it isn’t required. Not only is this home-baked bread recipe simple, it’s also delicious.
This bread recipe is mostly hands-off and doesn’t require a lot of guesswork. With kneaded bread, I’m always wondering if I’ve over- or under-kneaded it. This no knead recipe takes all that guesswork out, so I get an amazing, fresh bread every time!
Tips for Beginners
- Do not grease the Dutch oven. This could cause oil to polymerize onto the surface of the Dutch oven, which is harmless but doesn’t look nice. Always place the bread directly in the dry Dutch oven or on a piece of parchment paper.
- Use the spoon and level method. Make sure to measure your flour using the spoon-and-level method to avoid adding too much, and check your oven temperature with a thermometer to ensure it is correct. This will reduce your risk of getting hard bread.
- Turn down temperature if needed. If your bread is gummy and dense, this too may be a result of your oven temperature. Gummy bread is usually the result of the crust forming before the bread inside has had a chance to fully expand.
- Test your yeast. If, after the 12-hour rest, your dough is dense and has not doubled in size, your yeast may have expired. To test your yeast, place 2¼ teaspoons of yeast and 1 teaspoon of sugar into a cup of warm water. If it starts to bubble within 5-10 minutes, it’s good; if it doesn’t, throw it away.
Ingredients1x2x3x
- ▢ 3 cups all-purpose flour 360g
- ▢ 1¾ tsp sea salt 9g
- ▢ ¾ cup fresh rosemary leaves 22g, chopped, or 2-4 tbsp dried also works
- ▢ ½ tsp active dry yeast 2g
- ▢ 1½ cups water 341g, room temperature
Video
Instructions
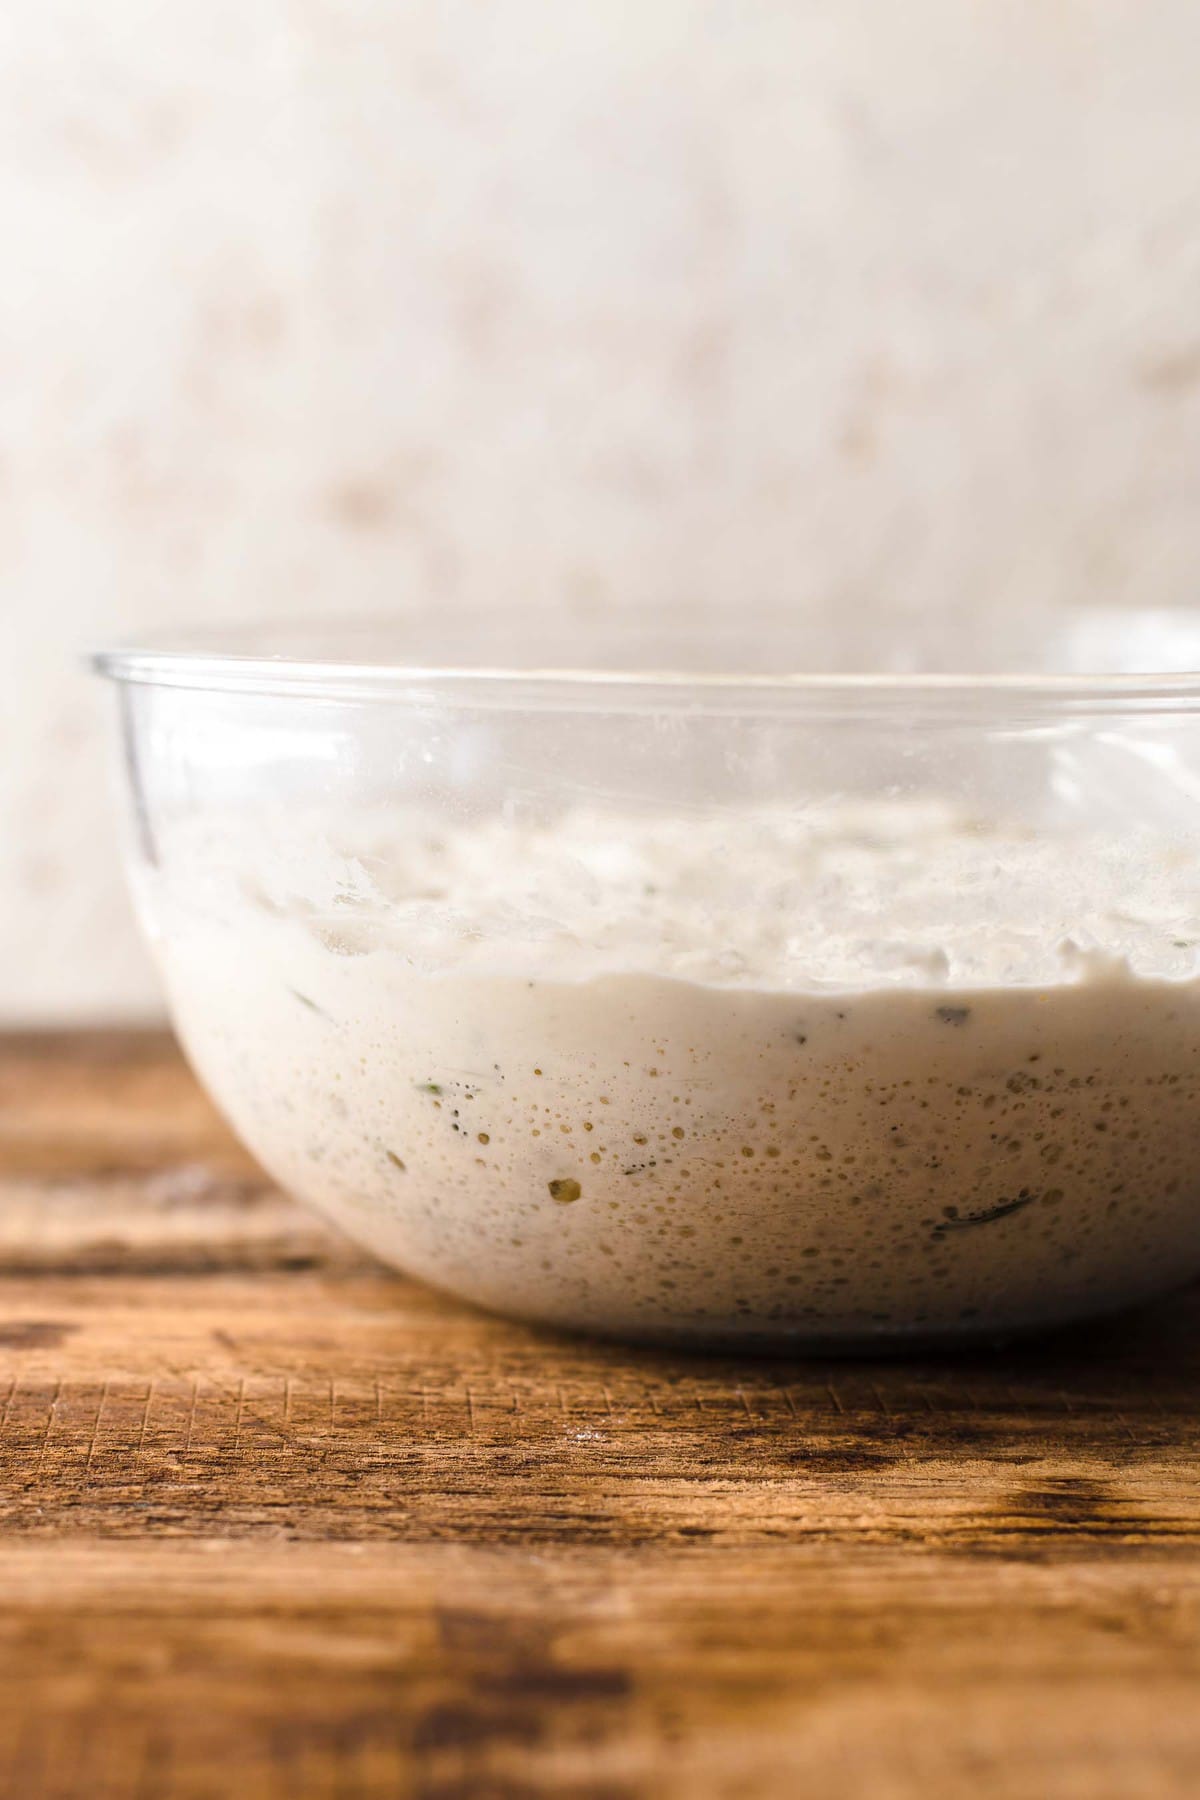
- In a large bowl, mix the flour, sea salt, rosemary, and yeast together. Mix in the water and use a spatula to blend until well combined. 3 cups all-purpose flour, 1¾ tsp sea salt, ¾ cup fresh rosemary leaves, ½ tsp active dry yeast, 1½ cups water
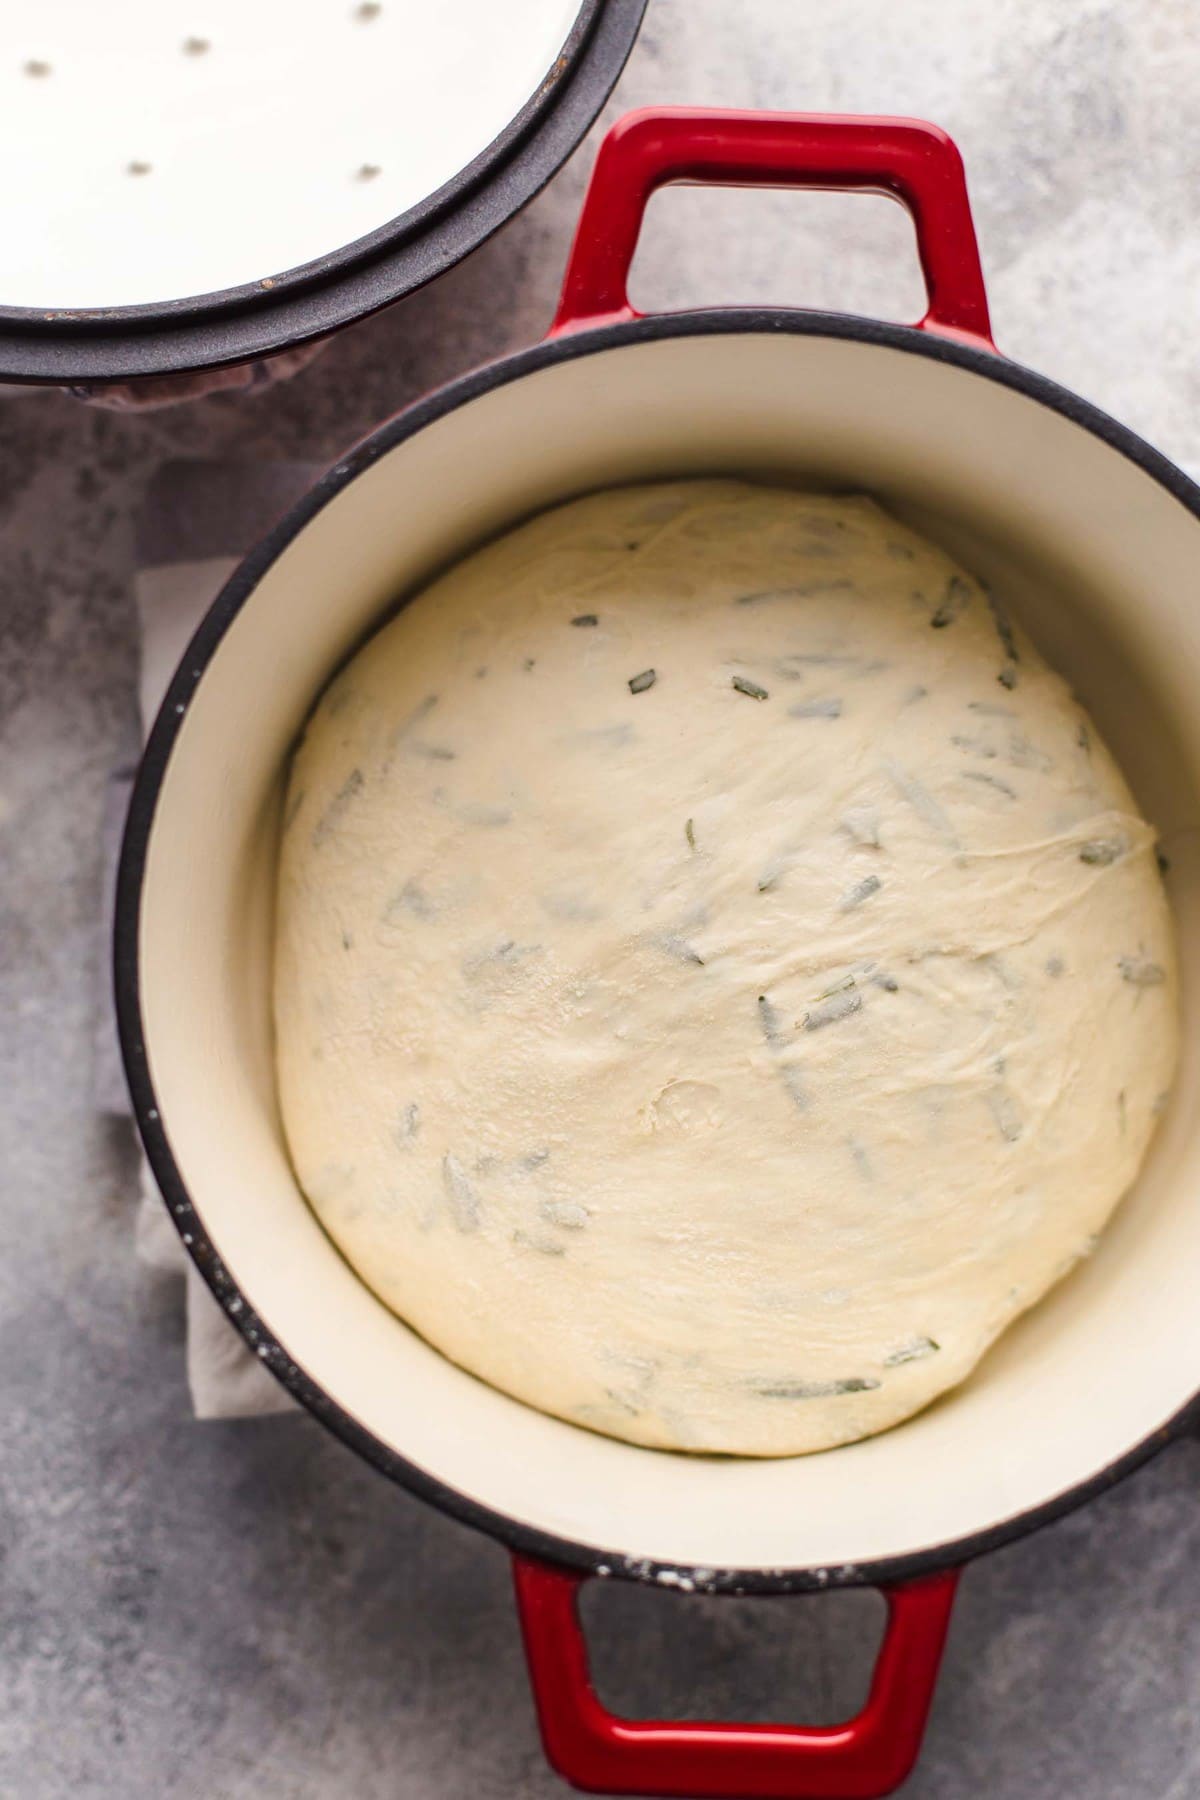
- Cover the bowl with plastic wrap or a clean, damp dish towel and allow it to sit on the counter overnight, at least 12 hours. (Patience is a virtue!)
- Preheat oven to 450°F degrees with a Dutch oven inside.
- Once preheated, carefully remove the Dutch oven from the hot oven and remove the lid from it. Use oven mitts!
- Flour a clean work surface as well as your hands. Remove the dough from the bowl and form it into a ball. This is a no-knead recipe, but you may have to fold it a couple of times to get it to form the shape you want. Place the dough into the bottom of the Dutch Oven (be careful not to burn your hands; the cast iron will be HOT!)
- Bake for 30 minutes with the lid on, then remove the lid and bake another 15-20 minutes, until the bread is golden brown.
- The loaf should be nice and browned on top, and the crust should look crisp. If you gently tap on the bottom of the loaf with your finger, it should sound hollow. The proper internal temperature for baked bread is 195-210°F.
- Remove from the oven and allow to cool. Cut and serve.
Equipment
- Kitchen Scale (optional)
- Dutch Oven
Nutrition information is automatically calculated, so should only be used as an approximation.
How to Make No Knead Dutch Oven Bread Step by Step
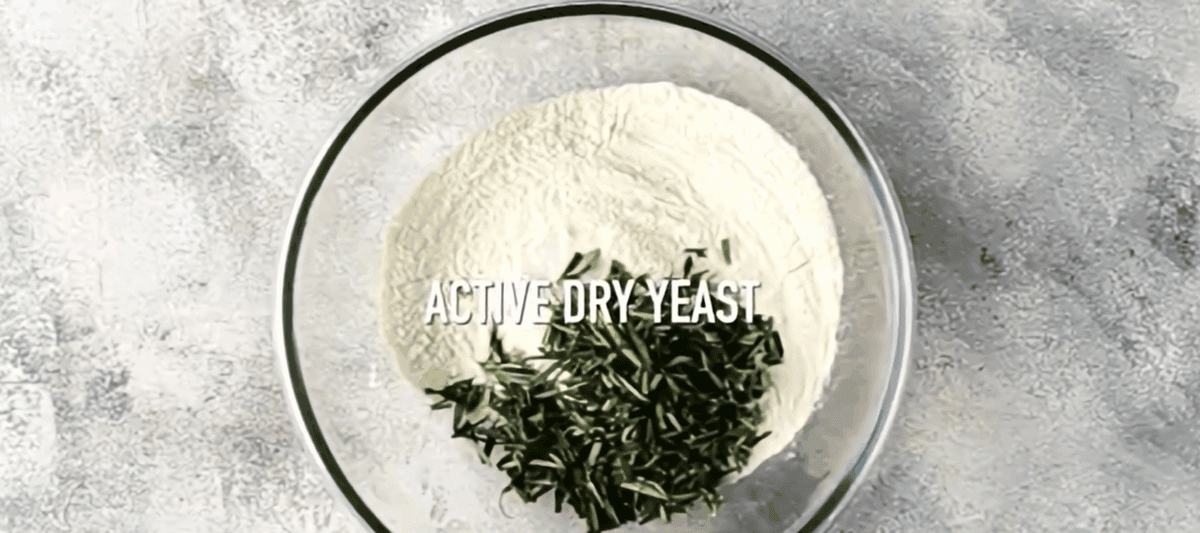
Prepare the dough : In a large bowl, mix 3 cups flour, 1¾ tsp sea salt, ¾ cup rosemary, and ½ tsp yeast. Mix in 1½ cups water and use a spatula to blend until well combined

Proof the dough: Cover the bowl with plastic wrap or a clean, damp dish towel and allow it to sit on the counter overnight, at least 12 hours. (Patience is a virtue!)
Preheat the oven and get the Dutch oven ready: Preheat the oven to 450°F with the Dutch oven inside.
Once preheated, carefully remove the Dutch oven from the hot oven and remove the lid from it. Use oven mitts!
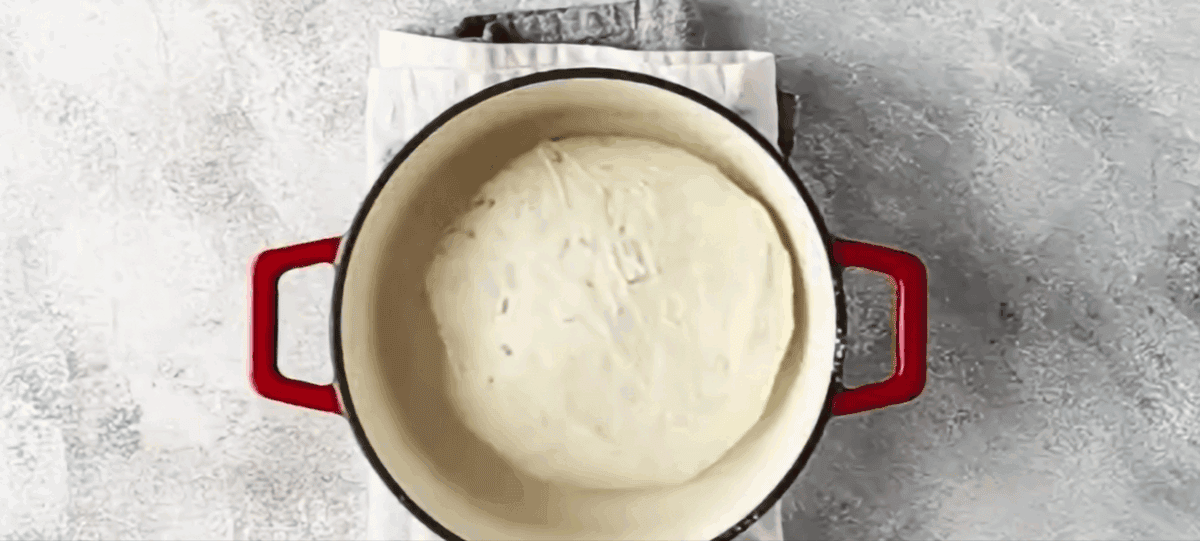
Fold the dough: Flour a clean work surface as well as your hands. Remove the dough from the bowl and form it into a ball. This is a no-knead recipe, but you may have to fold it a couple of times to get it to form the shape you want. Place the dough into the bottom of the Dutch Oven. Be careful not to burn your hands—the Dutch oven will be HOT.
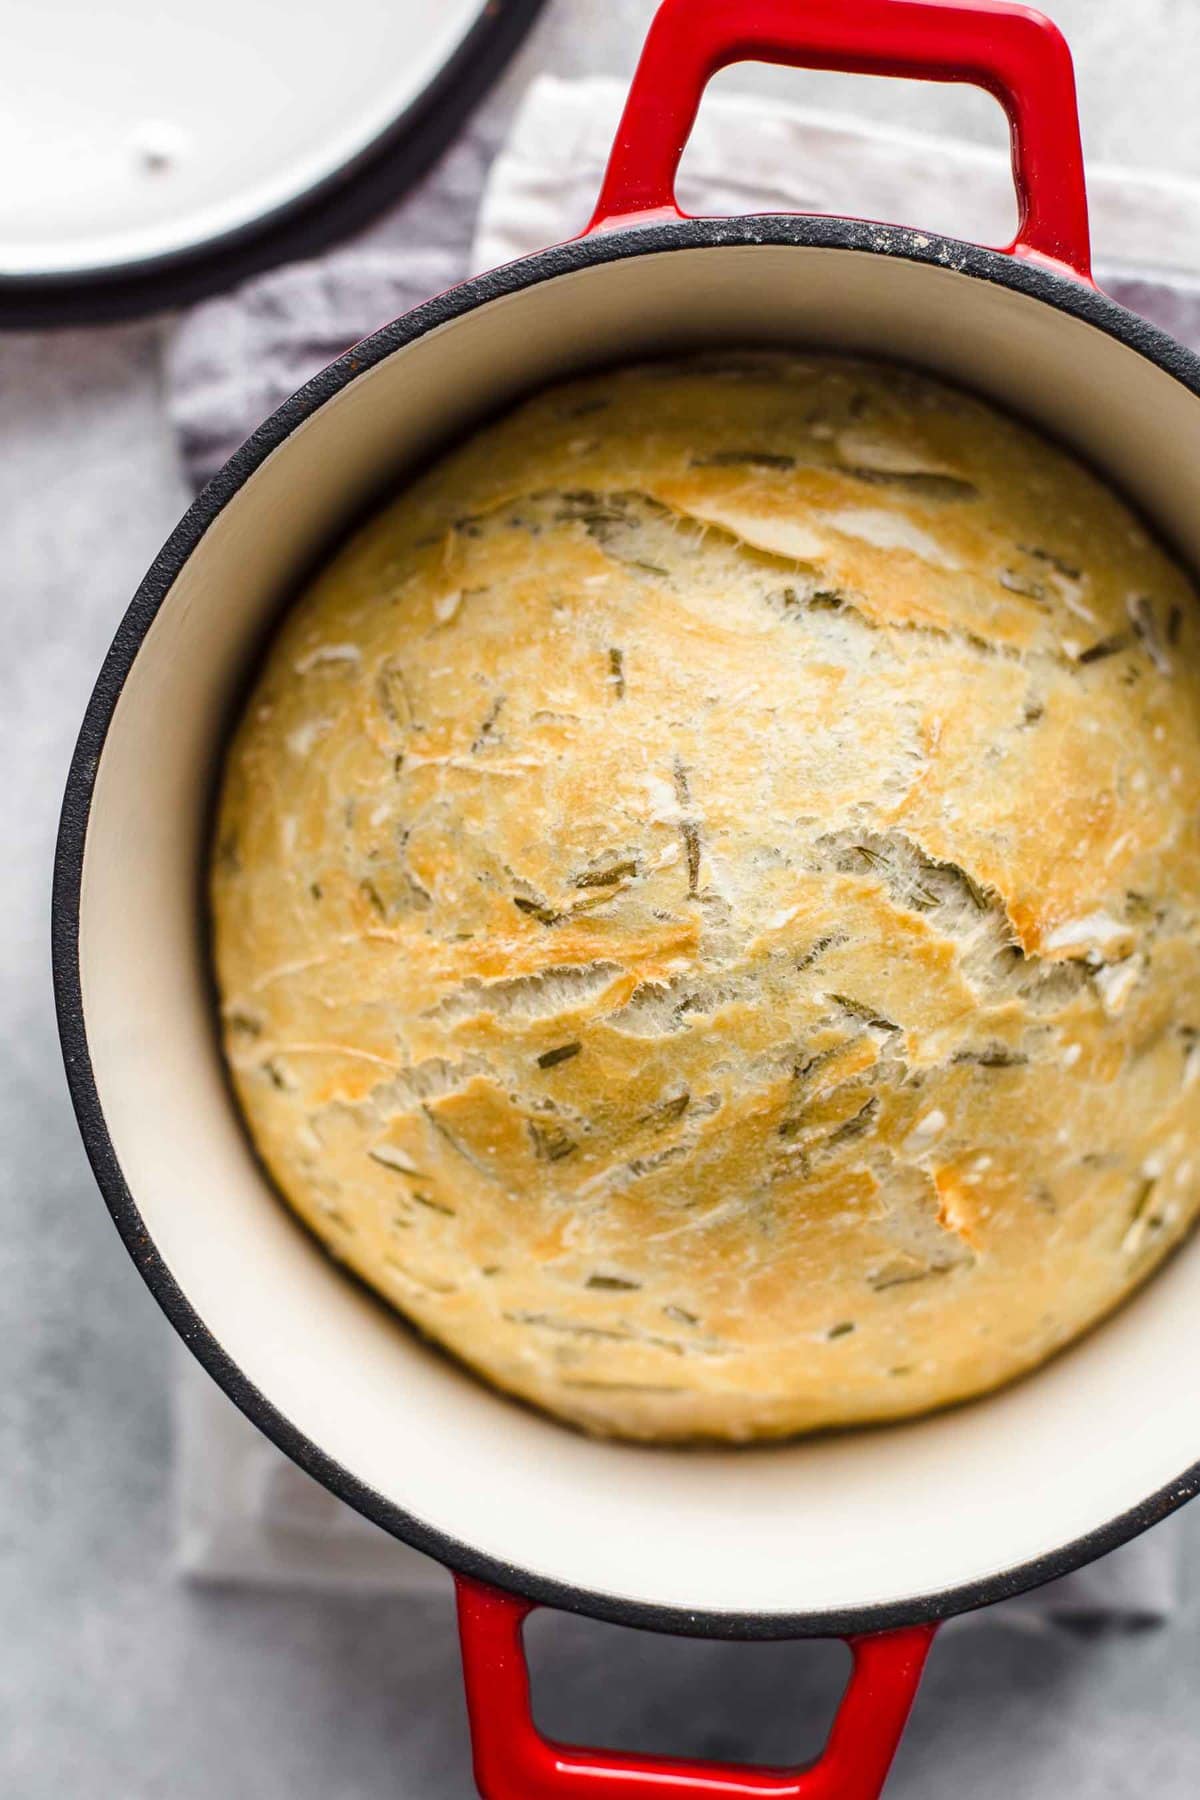
Bake: Bake for 30 minutes with the lid on, then remove the lid and bake another 15-20 minutes, until the bread is golden brown.
The loaf should be nice and browned on top, and the crust should look crisp. If you gently tap on the bottom of the loaf with your finger, it should sound hollow. The proper internal temperature for baked bread is 195-210°F.
Remove from the oven and allow to cool.

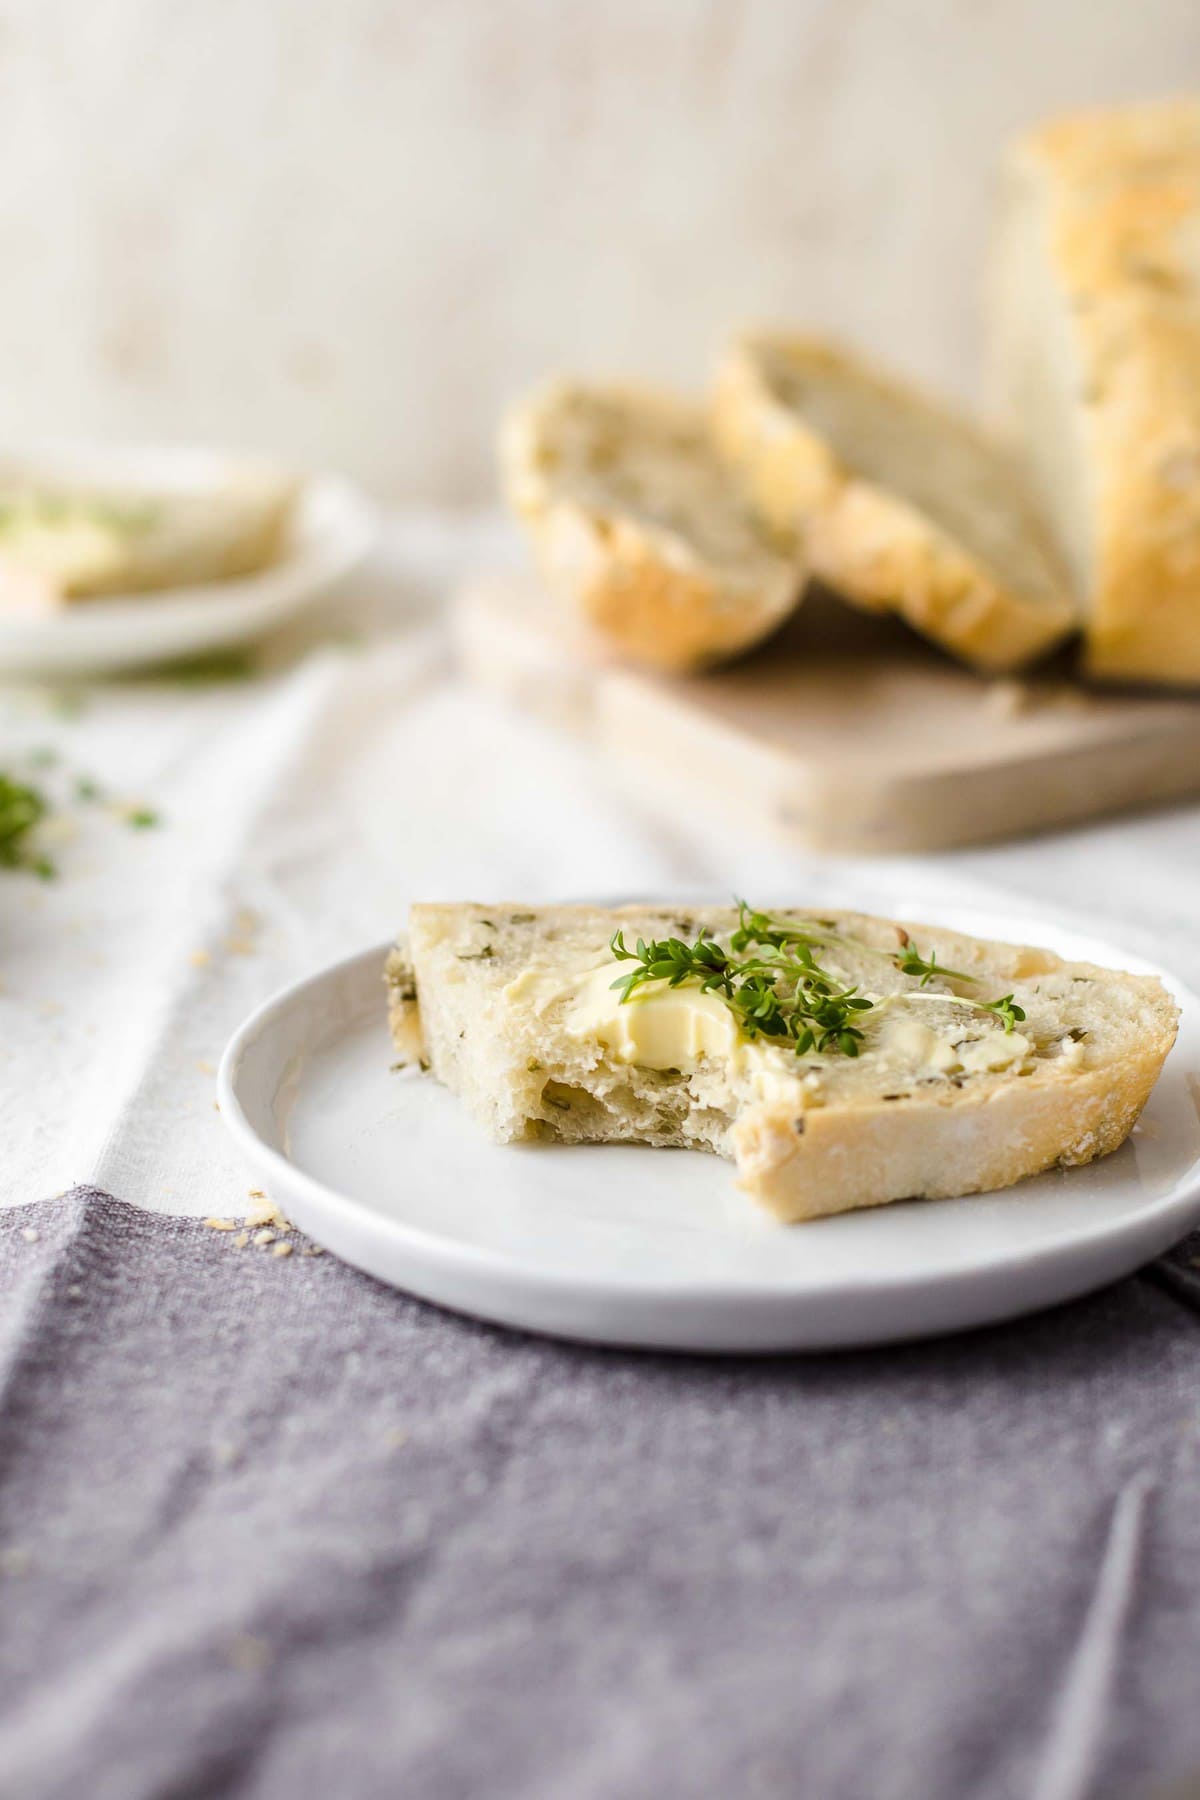
Serve and enjoy: Cut and serve.
Variations on Dutch Oven No Knead Bread
You can flavor this delicious bread with just about any fresh herb or spice you like, add cheese, or even spice it up. Here are a few options:
Herbs: Sage, thyme, oregano, basil, or dill are just a few, though the possibilities are endless.
Spices: Garlic or onion powder, chili flakes, ginger, or for sweet bread, add cinnamon, nutmeg, or cardamom.
Cheese: Fold in up to ½ cup of freshly shredded cheese; Parmesan or mozzarella would go great with rosemary or any other herb.
Fruit: Chopped cranberries, raisins, currants, dates, and even diced apples or pears would taste great. Or, throw in chopped olives, any type works.
Nuts: Any chopped nuts would add great texture and taste, try walnuts or pecans.
Seeds: Seeds also add flavor and texture, so feel free to throw in pumpkin or sunflower seeds or top the bread with a sprinkling of sesame seeds.
Chilis: Stir in chopped jalapenos or green chilies, or add red chili flakes to the batter.
How to Store
Store leftover no knead Dutch oven bread in an airtight container at room temperature for up to 3 days. I do not recommend storing homemade bread in the refrigerator.
To freeze this rosemary bread, cut it into individual slices, then freeze in an airtight container or tightly wrapped in plastic wrap. It will keep for up to 3 months. Remove individual slices and thaw in the refrigerator or microwave before enjoying.
Serving Suggestions
I like to serve this delicious no knead Dutch oven bread simply with butter or olive oil. However, it’s great for eating with your favorite dips, such as a cheesy Caprese dip and a super savory bacon spinach dip . It also goes great with 15 bean soup or on the side of chicken mushroom pasta .
more homemade bread recipes
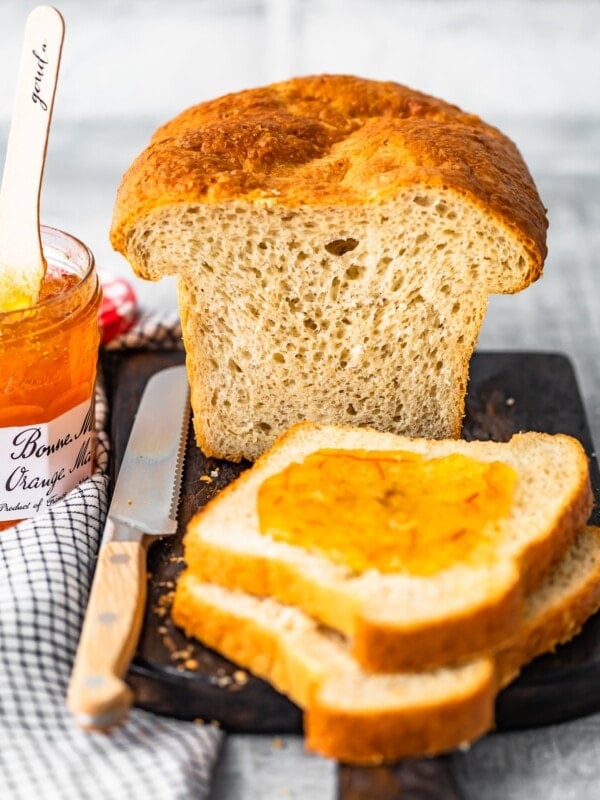
No Knead Sandwich Bread
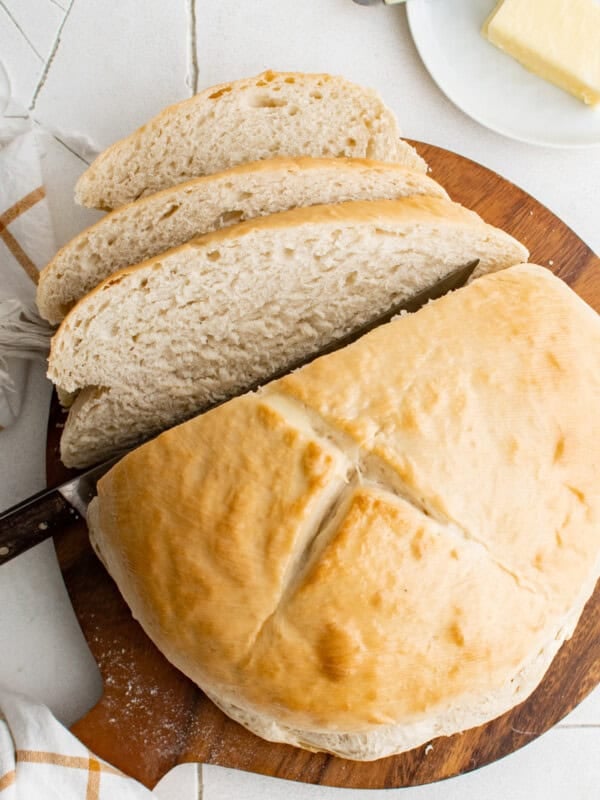
Skillet Bread
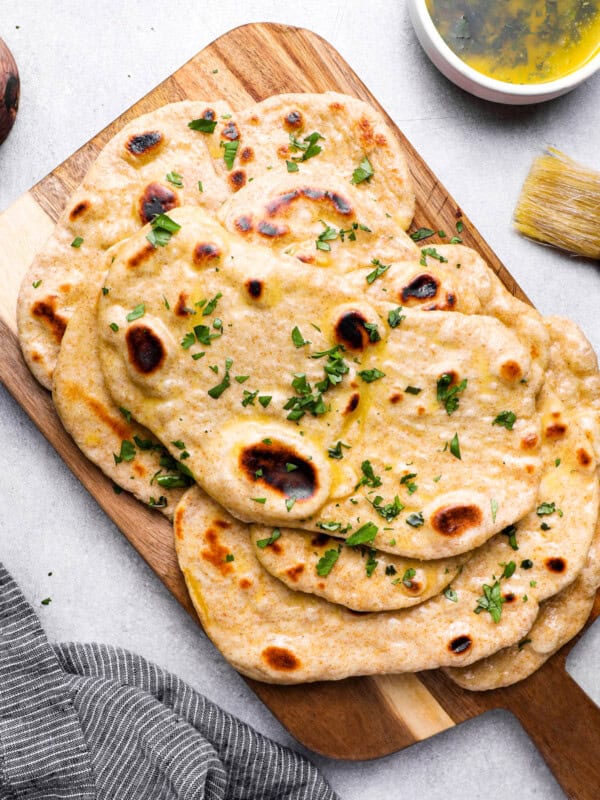
Naan Bread

How to Make Focaccia
Our No Knead Dutch Oven Bread recipe was originally published on 01/26/19. It was retested, reworked, and republished to be better than ever on 10/15/25.

No Knead Dutch Oven Bread
Equipment
- Kitchen Scale (optional)
- Dutch Oven
Ingredients
- 3 cups all-purpose flour 360g
- 1¾ tsp sea salt 9g
- ¾ cup fresh rosemary leaves 22g, chopped, or 2-4 tbsp dried also works
- ½ tsp active dry yeast 2g
- 1½ cups water 341g, room temperature
Instructions
- In a large bowl, mix the flour, sea salt, rosemary, and yeast together. Mix in the water and use a spatula to blend until well combined. 3 cups all-purpose flour, 1¾ tsp sea salt, ¾ cup fresh rosemary leaves, ½ tsp active dry yeast, 1½ cups water
- Cover the bowl with plastic wrap or a clean, damp dish towel and allow it to sit on the counter overnight, at least 12 hours. (Patience is a virtue!)
- Preheat oven to 450°F degrees with a Dutch oven inside.
- Once preheated, carefully remove the Dutch oven from the hot oven and remove the lid from it. Use oven mitts!
- Flour a clean work surface as well as your hands. Remove the dough from the bowl and form it into a ball. This is a no-knead recipe, but you may have to fold it a couple of times to get it to form the shape you want. Place the dough into the bottom of the Dutch Oven (be careful not to burn your hands; the cast iron will be HOT!)
- Bake for 30 minutes with the lid on, then remove the lid and bake another 15-20 minutes, until the bread is golden brown.
- The loaf should be nice and browned on top, and the crust should look crisp. If you gently tap on the bottom of the loaf with your finger, it should sound hollow. The proper internal temperature for baked bread is 195-210°F.
- Remove from the oven and allow to cool. Cut and serve.
Video
Nutrition
By Becky Hardin
Published Jul 12, 2017


This Essential Grocery List is an absolute life saver for my family on the busy weeks. When I started this journey to learn how to cook, I quickly realized that the first step in cooking is having staple ingredients on hand. I want to avoid having to run out to the grocery store every single time I prepare a new recipe. Having a well-stocked pantry has made my life in the kitchen so much simpler, because when it’s time to cook, I have what I need.

Essential Grocery List
It’s so helpful to have a basic grocery list to help me remember which foods to buy at the store. This food shopping list is my go-to!
It’s better to stock up on things like grains, seasonings and spices, baking essentials, oils, condiments, canned and frozen foods, etc. so I can just grab them when I need them. These things have a long shelf life , so I keep them in my kitchen for convenience.
However, I do have to go to the supermarket sometimes, and there’s a way to make that trip easy and hassle-free: I keep a grocery list! If I go in blindly, I’ll leave with things I don’t need, and nothing that actually helps me prepare a good meal.
In the list below, I’ve compiled everything I always have on my stock-up grocery list.
I’ve got you covered! I created an easy grocery list filled with all of the essentials. Plus there’s a free printable version that you can take with you to the grocery store. It has everything you need to stock your pantry, your freezer, and your refrigerator.

Click to get my Free Printable Grocery List
What to Buy at the Grocery Store
This is the perfect grocery list filled with all the basics and essentials. It should help get you going if you’re new to cooking, or if you’re just left staring helplessly at an empty pantry and don’t know how to fill it.
When I first started cooking, things could seem overwhelming. I quickly realized that they more prepared I could be, the more confident I felt. If you already have the basics in your kitchen, then you can shop stress-free.
So print out our easy grocery list, stock up your pantry and fridge, and you’ll be cooking in no time!
Click to get my Free Printable Grocery List for the perfectly stocked pantry and freezer!
Fresh Produce
- Apples
- Bananas
- Strawberries
- Avocados
- Bell Peppers
- Carrots
- Broccoli
- Garlic
- Lemons/Limes
- Onion
- Parsley
- Cilantro
- Basil
- Potatoes
- Spinach
- Tomatoes
GRAINS
- Breadcrumbs
- Pasta
- Quinoa
- Rice
- Sandwich Bread
- Tortillas
MEAT/PROTEIN
- Chicken
- Eggs
- Ground Beef
- Sliced Turkey
- Lunch Meat
DAIRY
- Butter
- Sliced Cheese
- Shredded Cheese
- Milk
- Sour Cream
- Greek Yogurt
BAKING GOODS
- Baking powder
- Baking Soda
- Granulated Sugar
- Brown Sugar
- Flour
- Honey
- Vanilla Extract
- Dry Yeast
- Chocolate Chips
- Cocoa Powder
- Powdered Sugar
FREEZER
- Fruit and Berries
- Frozen Veggies (Corn, Peas, Broccoli, etc)
- Juice Concentrate
- Pizza or Other Convenience Meals
- Pie Crust
- Cookie Dough
CANNED/DRIED GOODS
- Chicken stock/broth
- Salsa
- Diced Tomatoes
- Jam/Jelly
- Peanut Butter
- Pasta Sauce
- Beans (Black Beans, Chickpeas, Baked Beans, etc)
- Soups
- Tuna
- Green Chiles
- Canned Veggies
- Coffee or Tea
Get more details on the best non-perishable and pantry foods
CONDIMENTS/SPICES
- Black Pepper
- Chili Powder
- Cinnamon
- Crushed Red Pepper
- Cumin
- Garlic Powder
- Ketchup
- Mustard
- Mayo
- Nutmeg
- Paprika
- Salt (Course Sea Salt and Kosher Salt)
- Soy Sauce
- Steak Sauce
- Hot Sauce/ Buffalo Sauce
- Salad Dressings
OILS/VINEGARS
- Apple cider vinegar
- Balsamic vinegar
- Coconut Oil
- Olive Oil
- Vegetable/Canola Oil
- Red Wine Vinegar
- White Vinegar
- Cooking Wine
- White Wine Vinegar
SNACKS
- Crackers
- Nuts
- Quick Oats
- Popcorn
- Tortilla Chips
- Cereal
Click to get my Free Printable Grocery List for the perfectly stocked pantry and freezer!

Click ☝🏻 for my FREE Grocery List Printable!
I hope this essential grocery list can help you buy what you need and make your home cooking so much easier!
Stock Your Kitchen
Find more ideas for your grocery list, stock up your kitchen, and print more cooking guides and charts to keep handy!

Non-Perishable Foods to Stock Up On

Frozen Vegetables to Stock Up On (and Recipes to Make)

Ultimate List of Cooking Herbs for Your Kitchen

Ultimate List of Cooking Spices for Your Kitchen

Cooking Oil 101: Types of Cooking Oils to Use

26 Types of Pasta and When to Use Them

What Fruits and Vegetables are in Season?

Meat Temperature Chart (Free Printable)

How to Meal Prep (Guide for Beginners)

Basic Cooking Measurements & Kitchen Conversion Chart

