
By Becky Hardin
Updated Oct 26, 2024
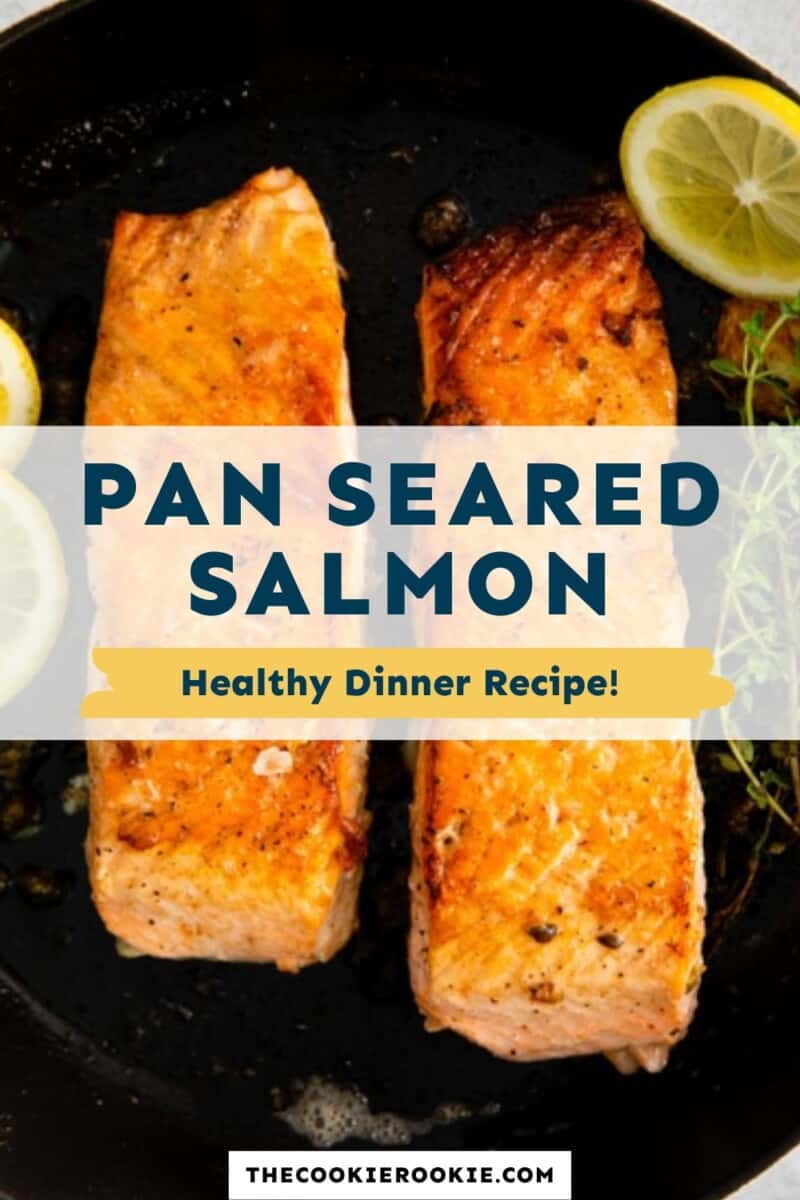

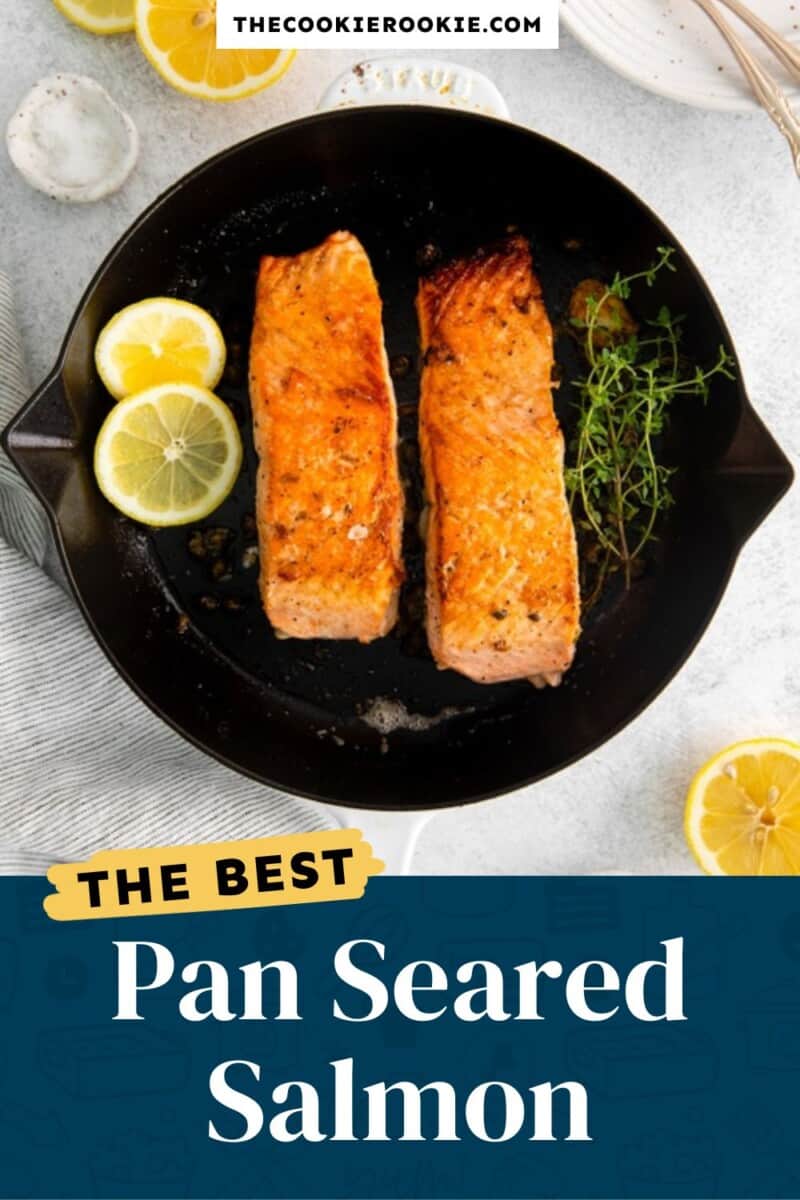
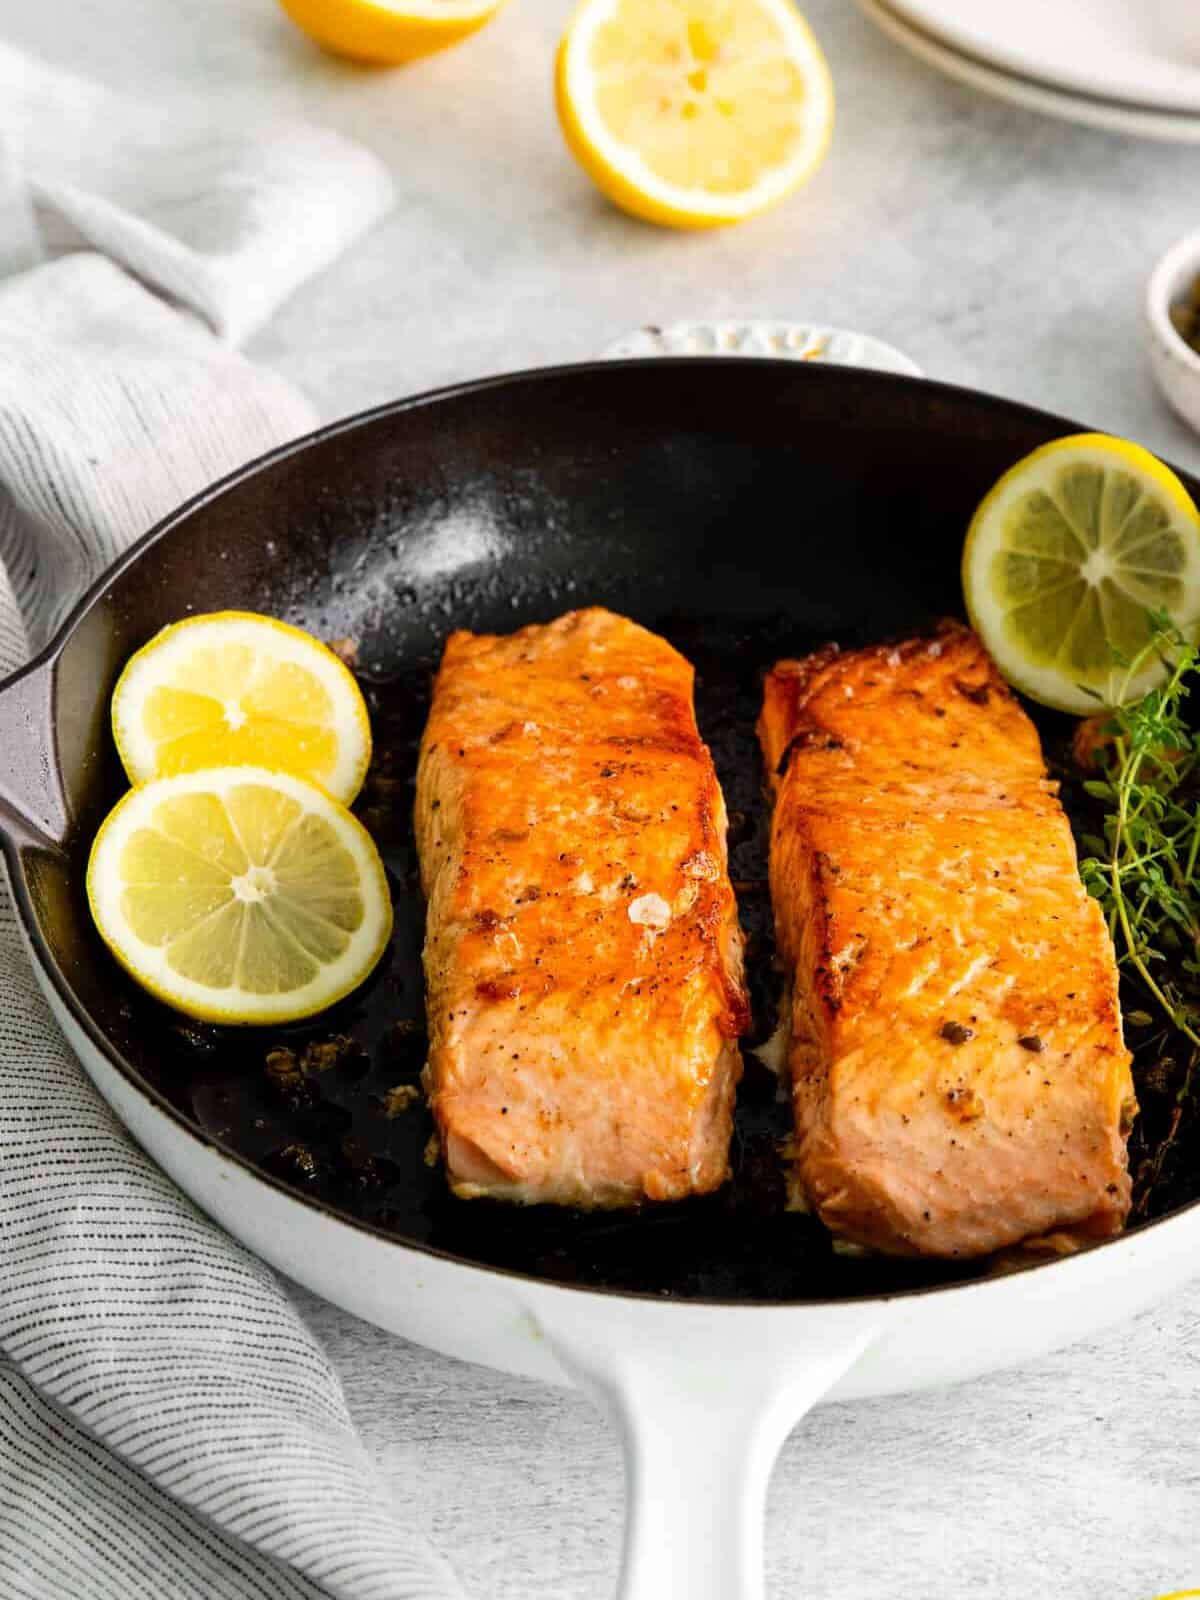
Pan Seared Salmon checks all of the right boxes – it’s got a crispy exterior, flaky interior, and the flavors created by ingredients like lemon juice and capers compliment the fish beautifully! Made with easy to follow steps in just 15 minutes, this entree is ideal for busy weeknights when you need something flavorful and filling on the table. It’s a tried and true recipe that never disappoints!
What’s in Seared Salmon?
Salmon filets already have a naturally delicious flavor, so we’ll be enhancing that here with simple, yet flavorful additions!
- Salmon: I’m using center-cut salmon filets because they’re an even thickness and therefore cook more evenly.
- Oil: Olive oil helps sear the salmon. You can substitute the olive oil for your favorite neutral cooking oil.
- Butter: Adds delicious flavor and helps create the pan sauce.
- Thyme: Adds a subtle herbaceousness to the sauce. Rosemary or sage would also be delicious!
- Garlic: Garlic is a classic flavor used with salmon— it adds an earthy bite to the sauce.
- Capers: Add a briny saltiness to the sauce. Just make sure to drain them well— we only want the capers, not the brine!
- Lemon: Brightens up the sauce by adding freshness and acidity. Freshly squeezed lemon juice is always preferred!
I prefer using salmon with the skin still on for two big reasons. One, the skin actually lends a ton of flavor to the filet! Two, there’s a fatty layer between the skin and meat that does wonders for the consistency when kept in place while cooking.
Variations on Crispy Pan Seared Salmon
If you’re not a fan of salmon, this recipe can be made with 2-inch thick filets of Mahi Mahi or Monkfish!

Yes, you can use frozen salmon. Just make sure to let it thaw overnight in the refrigerator before cooking it.
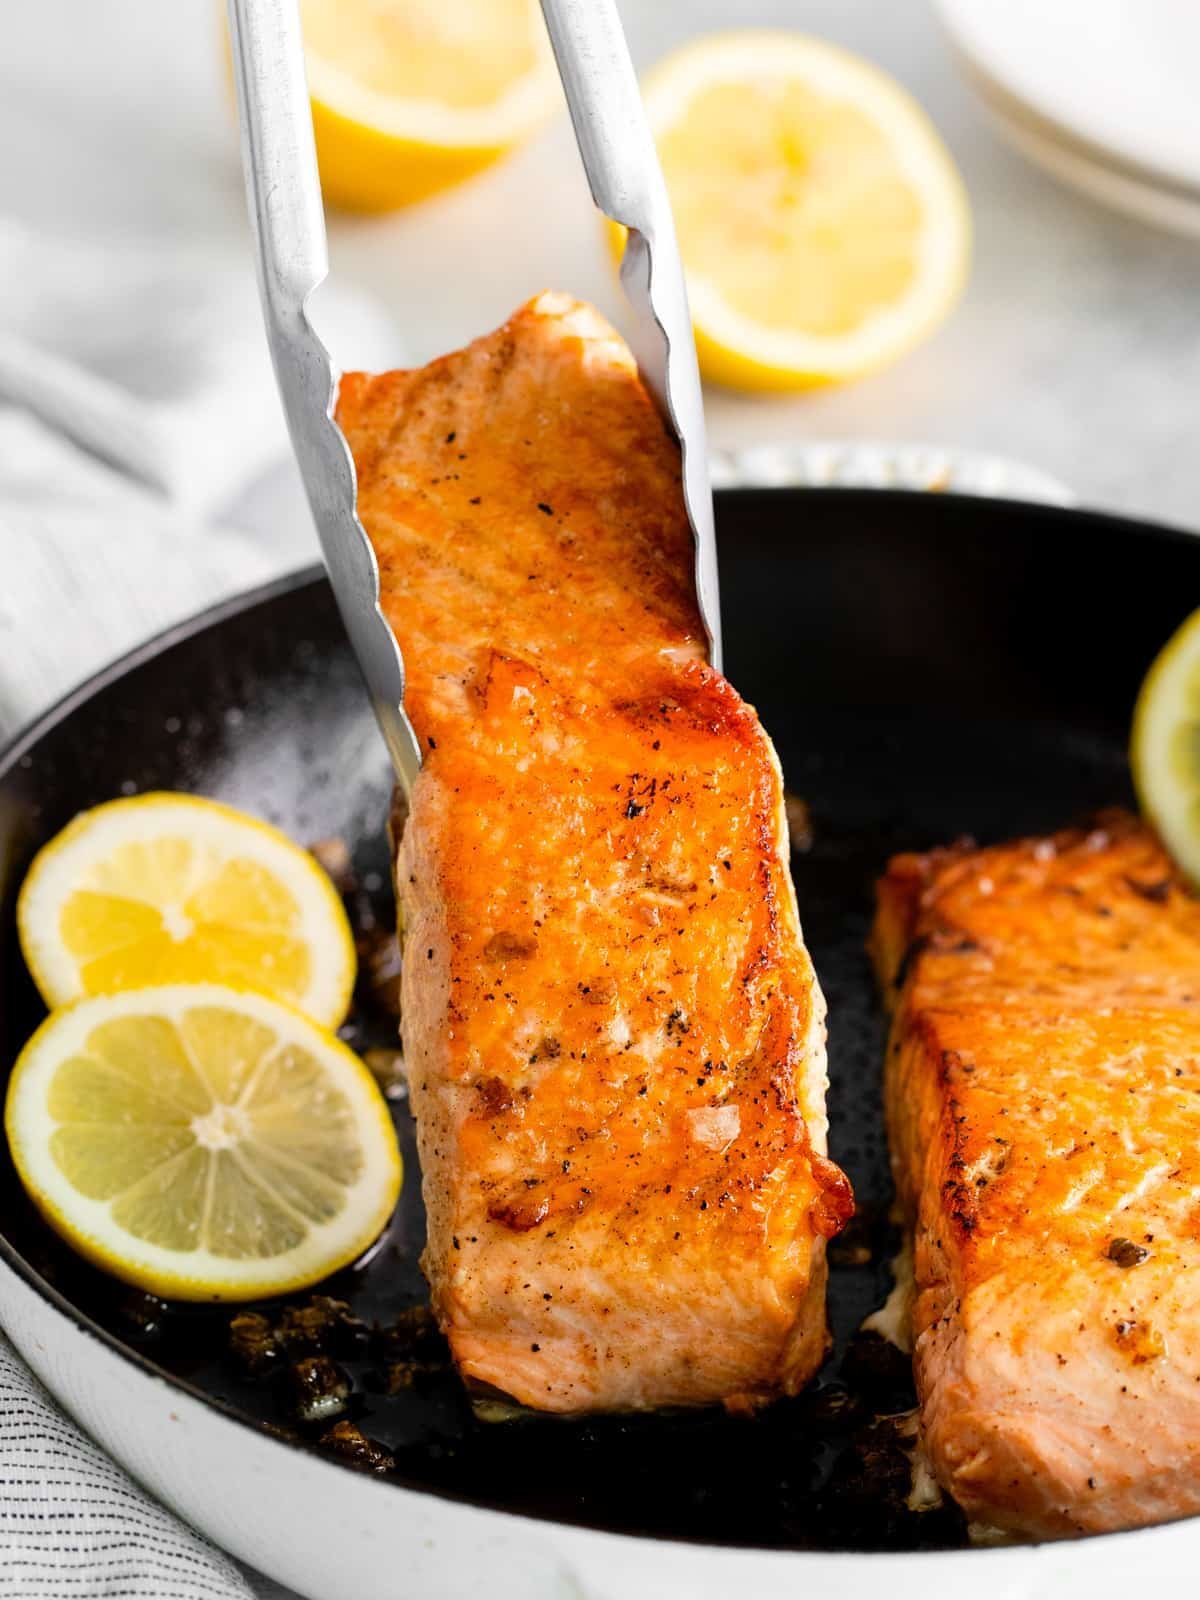
There’s a bit of debate about which side is best to sear first. I like to start skin side down to protect the delicate fish from the heat. It also makes the fish easier to flip when the time comes. However, if you’re feeling extra confident, you can try flesh side down for an extra crispy crust.
Salmon should take about 3-4 minutes per side to cook in a pan.
Yes! It is important to flip the salmon halfway through cooking to ensure that it cooks evenly all the way through.
Salmon can stick to the pan for a number of reasons. To combat this, it’s important to let the pan fully heat up with oil before adding the filets. It’s also important to allow the filets to naturally release before flipping. If it seems stuck, wait an extra minute before trying again. Use a long, thin fish spatula to get underneath the filet without breaking it.
The easiest way to see if your salmon has finished cooking is to gently press down on the top of the fillet with a fork or your finger. If the flesh of the salmon flakes, it’s finished cooking. The proper internal temperature of cooked salmon is 145°F.
How to Store and Reheat Pan Seared Salmon with Skin
Store leftover pan seared salmon in an airtight container in the refrigerator for up to 2 days. Gently rewarm leftovers in a skillet set over medium-low heat or enjoy chilled.
How to Freeze Lemon Butter Salmon
Freeze pan seared salmon in an airtight container for up to 3 months. Let thaw overnight in the refrigerator before reheating.
What to Serve with Skin On Pan Seared Salmon
This simple pan seared salmon pairs well with a wide variety of side dishes. Bulk up your plate with heartier sides like Mashed Potatoes or a simple serving of buttered noodles. On the other hand, you can always keep things on the lighter side with Garlic Mashed Cauliflower , Lemon Parmesan Roasted Broccoli , or Classic Caesar Salad !
Ingredients1x2x3x
- ▢ 2 (6-ounce) center-cut salmon filets about 2-inches thick
- ▢ 2 tablespoons olive oil
- ▢ 3 tablespoons unsalted butter (⅜ stick)
- ▢ 4 sprigs fresh thyme
- ▢ 3 cloves garlic smashed
- ▢ 1 tablespoon capers drained
- ▢ ½ lemon juiced
Video
Instructions
- Preheat a large heavy-bottomed (preferably cast iron) skillet over medium heat.
- Pat the salmon filets dry with a paper towel and season them with generously with kosher salt and black pepper. 2 (6-ounce) center-cut salmon filets
- Add the oil to the skillet (we recommend using a coated cast iron or a stainless steel skillet) and allow it to heat— when the oil is hot (but not quite smoking), add the salmon filets skin side down. 2 tablespoons olive oil
- Sear the salmon for 3-4 minutes, or until the skin releases naturally from the pan. You shouldn’t have to tug on the salmon— it will release easily when it’s ready to flip.
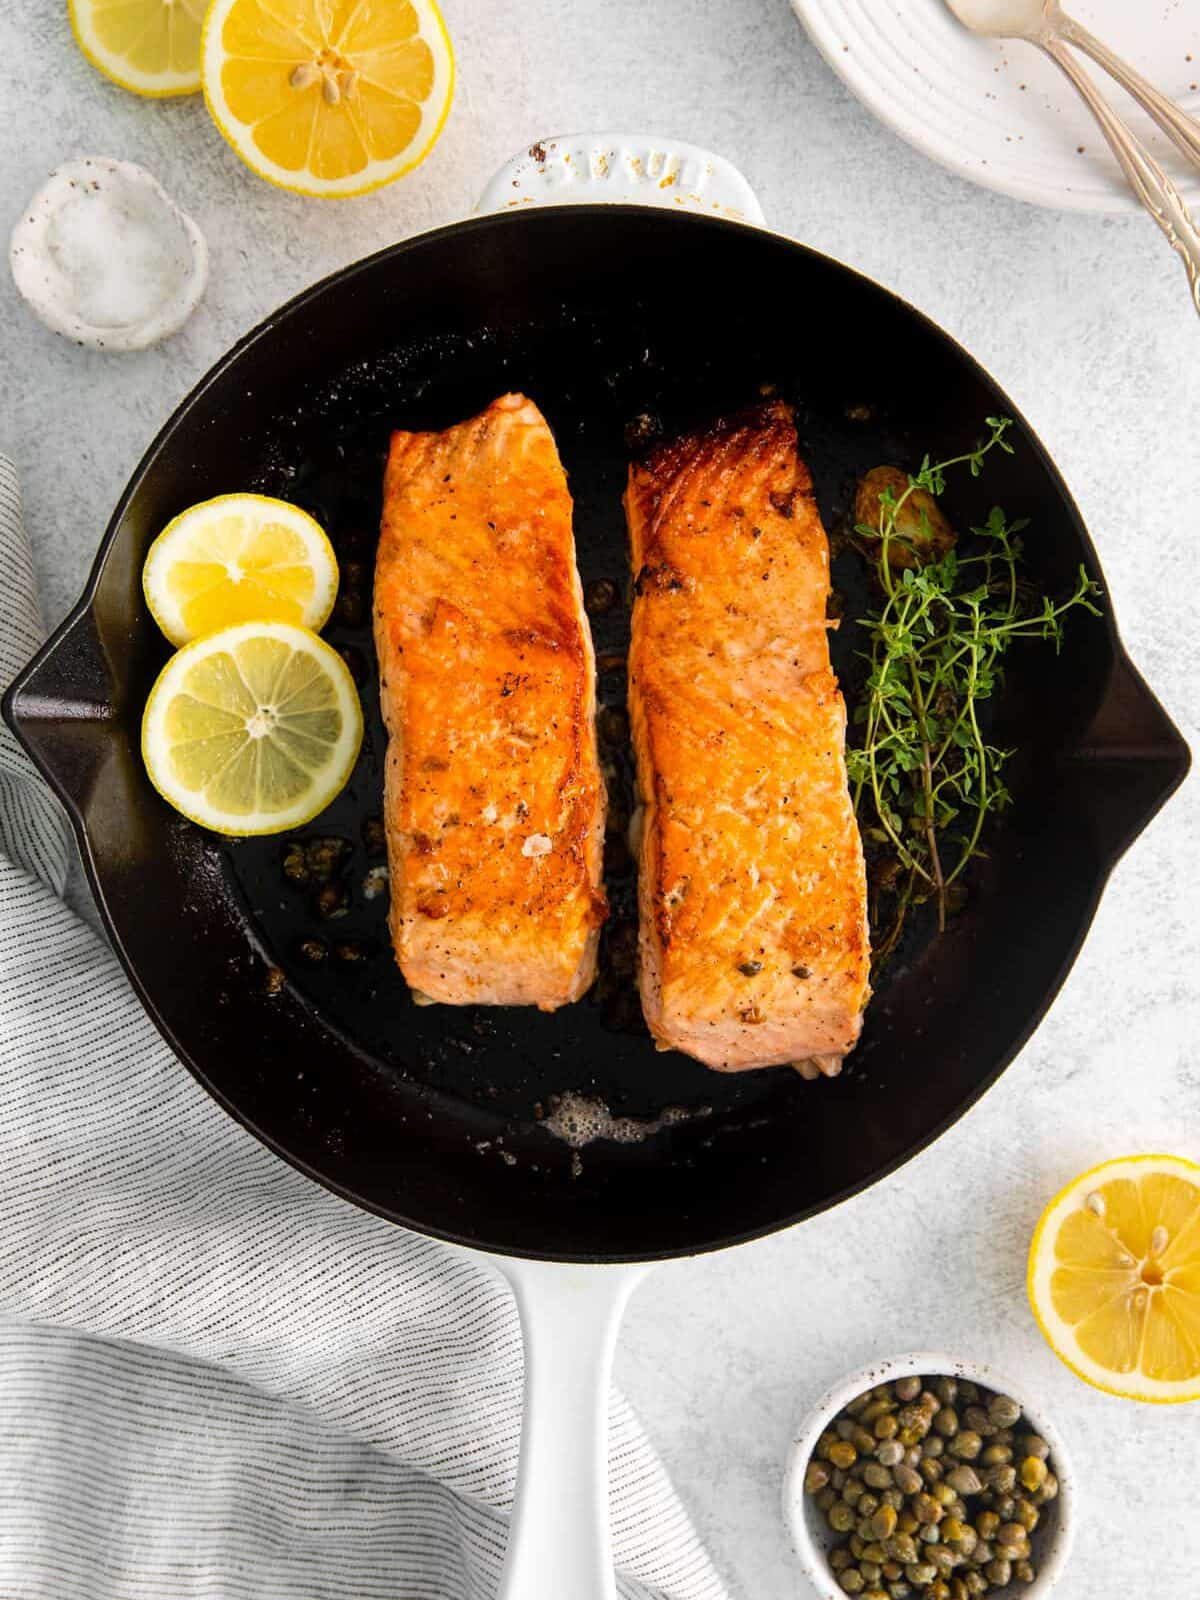
- Flip the salmon and add the butter, thyme, garlic, capers, and lemon juice. Cook the salmon for an additional 3-4 minutes, or until your desired doneness. 3 tablespoons unsalted butter, 4 sprigs fresh thyme, 3 cloves garlic, 1 tablespoon capers, ½ lemon
- While the salmon sears on the second side, baste the skin with butter from the pan.
- Serve the salmon with your desired sides— orzo, salad, or pasta would all be delicious!
Equipment
- Cast Iron Skillet
Becky’s Tips
- You can use a different fish, like Mahi Mahi or Monkfish, if you prefer.
- Feel free to swap the thyme for you favorite fresh herbs, like rosemary or sage.
- Let the salmon filets come to room temperature for 30 minutes before cooking to allow them to cook more evenly.
- Do not add the salmon to the pan until it is extremely hot! This will help keep it from sticking.
- If the salmon isn’t releasing from the pan, give it more time. Use a fish spatula to gently separate it from the pan without breaking the fish.
- The proper internal temperature for cooked salmon is 145°F.
Nutrition information is automatically calculated, so should only be used as an approximation.
More Pan Seared Recipes We Love
- Seared Scallops
- Juicy Pan Seared Chicken Breasts
- Seared Ahi Tuna
- Seared New York Strip Steak
Pan Seared Salmon Recipe
Equipment
- Cast Iron Skillet
Ingredients
- 2 (6-ounce) center-cut salmon filets about 2-inches thick
- 2 tablespoons olive oil
- 3 tablespoons unsalted butter (⅜ stick)
- 4 sprigs fresh thyme
- 3 cloves garlic smashed
- 1 tablespoon capers drained
- ½ lemon juiced
Instructions
- Preheat a large heavy-bottomed (preferably cast iron) skillet over medium heat.
- Pat the salmon filets dry with a paper towel and season them with generously with kosher salt and black pepper. 2 (6-ounce) center-cut salmon filets
- Add the oil to the skillet (we recommend using a coated cast iron or a stainless steel skillet) and allow it to heat— when the oil is hot (but not quite smoking), add the salmon filets skin side down. 2 tablespoons olive oil
- Sear the salmon for 3-4 minutes, or until the skin releases naturally from the pan. You shouldn’t have to tug on the salmon— it will release easily when it’s ready to flip.
- Flip the salmon and add the butter, thyme, garlic, capers, and lemon juice. Cook the salmon for an additional 3-4 minutes, or until your desired doneness. 3 tablespoons unsalted butter, 4 sprigs fresh thyme, 3 cloves garlic, 1 tablespoon capers, ½ lemon
- While the salmon sears on the second side, baste the skin with butter from the pan.
- Serve the salmon with your desired sides— orzo, salad, or pasta would all be delicious!
Video
Notes
- You can use a different fish, like Mahi Mahi or Monkfish, if you prefer.
- Feel free to swap the thyme for you favorite fresh herbs, like rosemary or sage.
- Let the salmon filets come to room temperature for 30 minutes before cooking to allow them to cook more evenly.
- Do not add the salmon to the pan until it is extremely hot! This will help keep it from sticking.
- If the salmon isn’t releasing from the pan, give it more time. Use a fish spatula to gently separate it from the pan without breaking the fish.
- The proper internal temperature for cooked salmon is 145°F.
Nutrition
By Becky Hardin
Published Jul 12, 2017


This Essential Grocery List is an absolute life saver for my family on the busy weeks. When I started this journey to learn how to cook, I quickly realized that the first step in cooking is having staple ingredients on hand. I want to avoid having to run out to the grocery store every single time I prepare a new recipe. Having a well-stocked pantry has made my life in the kitchen so much simpler, because when it’s time to cook, I have what I need.

Essential Grocery List
It’s so helpful to have a basic grocery list to help me remember which foods to buy at the store. This food shopping list is my go-to!
It’s better to stock up on things like grains, seasonings and spices, baking essentials, oils, condiments, canned and frozen foods, etc. so I can just grab them when I need them. These things have a long shelf life , so I keep them in my kitchen for convenience.
However, I do have to go to the supermarket sometimes, and there’s a way to make that trip easy and hassle-free: I keep a grocery list! If I go in blindly, I’ll leave with things I don’t need, and nothing that actually helps me prepare a good meal.
In the list below, I’ve compiled everything I always have on my stock-up grocery list.
I’ve got you covered! I created an easy grocery list filled with all of the essentials. Plus there’s a free printable version that you can take with you to the grocery store. It has everything you need to stock your pantry, your freezer, and your refrigerator.

Click to get my Free Printable Grocery List
What to Buy at the Grocery Store
This is the perfect grocery list filled with all the basics and essentials. It should help get you going if you’re new to cooking, or if you’re just left staring helplessly at an empty pantry and don’t know how to fill it.
When I first started cooking, things could seem overwhelming. I quickly realized that they more prepared I could be, the more confident I felt. If you already have the basics in your kitchen, then you can shop stress-free.
So print out our easy grocery list, stock up your pantry and fridge, and you’ll be cooking in no time!
Click to get my Free Printable Grocery List for the perfectly stocked pantry and freezer!
Fresh Produce
- Apples
- Bananas
- Strawberries
- Avocados
- Bell Peppers
- Carrots
- Broccoli
- Garlic
- Lemons/Limes
- Onion
- Parsley
- Cilantro
- Basil
- Potatoes
- Spinach
- Tomatoes
GRAINS
- Breadcrumbs
- Pasta
- Quinoa
- Rice
- Sandwich Bread
- Tortillas
MEAT/PROTEIN
- Chicken
- Eggs
- Ground Beef
- Sliced Turkey
- Lunch Meat
DAIRY
- Butter
- Sliced Cheese
- Shredded Cheese
- Milk
- Sour Cream
- Greek Yogurt
BAKING GOODS
- Baking powder
- Baking Soda
- Granulated Sugar
- Brown Sugar
- Flour
- Honey
- Vanilla Extract
- Dry Yeast
- Chocolate Chips
- Cocoa Powder
- Powdered Sugar
FREEZER
- Fruit and Berries
- Frozen Veggies (Corn, Peas, Broccoli, etc)
- Juice Concentrate
- Pizza or Other Convenience Meals
- Pie Crust
- Cookie Dough
CANNED/DRIED GOODS
- Chicken stock/broth
- Salsa
- Diced Tomatoes
- Jam/Jelly
- Peanut Butter
- Pasta Sauce
- Beans (Black Beans, Chickpeas, Baked Beans, etc)
- Soups
- Tuna
- Green Chiles
- Canned Veggies
- Coffee or Tea
Get more details on the best non-perishable and pantry foods
CONDIMENTS/SPICES
- Black Pepper
- Chili Powder
- Cinnamon
- Crushed Red Pepper
- Cumin
- Garlic Powder
- Ketchup
- Mustard
- Mayo
- Nutmeg
- Paprika
- Salt (Course Sea Salt and Kosher Salt)
- Soy Sauce
- Steak Sauce
- Hot Sauce/ Buffalo Sauce
- Salad Dressings
OILS/VINEGARS
- Apple cider vinegar
- Balsamic vinegar
- Coconut Oil
- Olive Oil
- Vegetable/Canola Oil
- Red Wine Vinegar
- White Vinegar
- Cooking Wine
- White Wine Vinegar
SNACKS
- Crackers
- Nuts
- Quick Oats
- Popcorn
- Tortilla Chips
- Cereal
Click to get my Free Printable Grocery List for the perfectly stocked pantry and freezer!

Click ☝🏻 for my FREE Grocery List Printable!
I hope this essential grocery list can help you buy what you need and make your home cooking so much easier!
Stock Your Kitchen
Find more ideas for your grocery list, stock up your kitchen, and print more cooking guides and charts to keep handy!

Non-Perishable Foods to Stock Up On

Frozen Vegetables to Stock Up On (and Recipes to Make)

Ultimate List of Cooking Herbs for Your Kitchen

Ultimate List of Cooking Spices for Your Kitchen

Cooking Oil 101: Types of Cooking Oils to Use

26 Types of Pasta and When to Use Them

What Fruits and Vegetables are in Season?

Meat Temperature Chart (Free Printable)

How to Meal Prep (Guide for Beginners)

Basic Cooking Measurements & Kitchen Conversion Chart

