
By Becky Hardin
Updated Jun 24, 2025
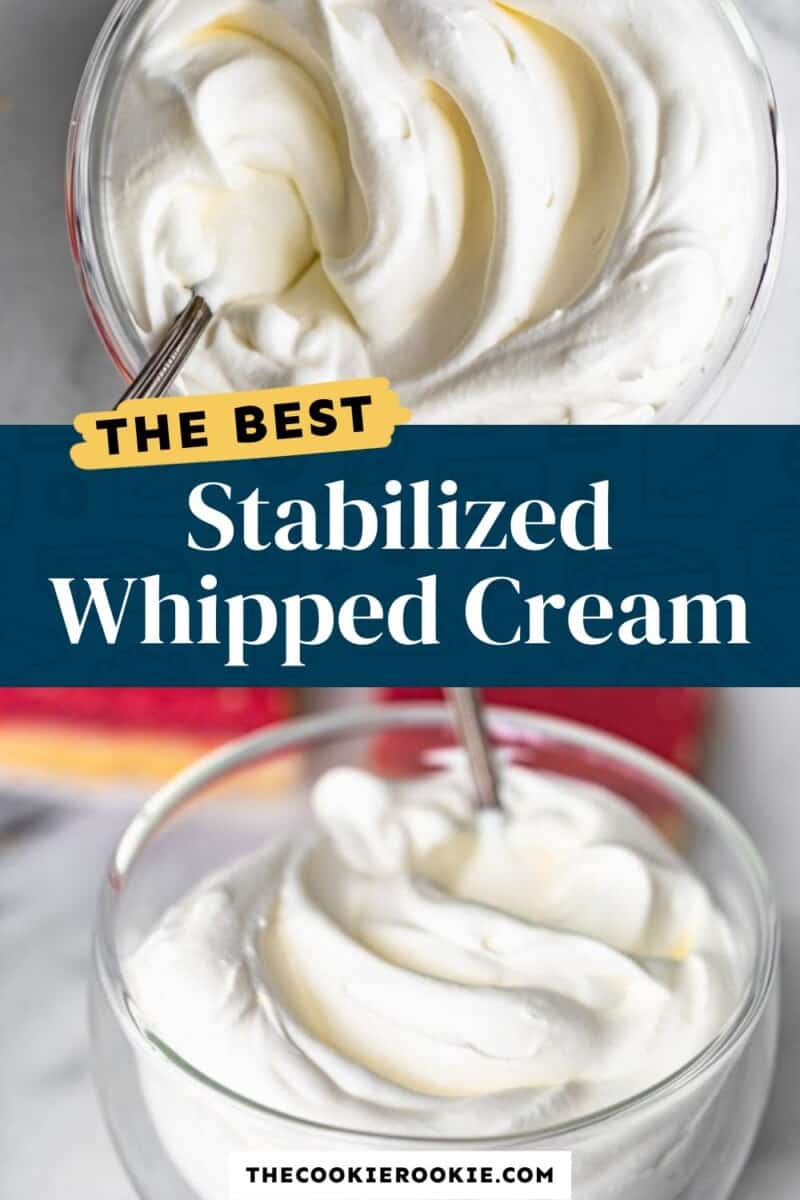
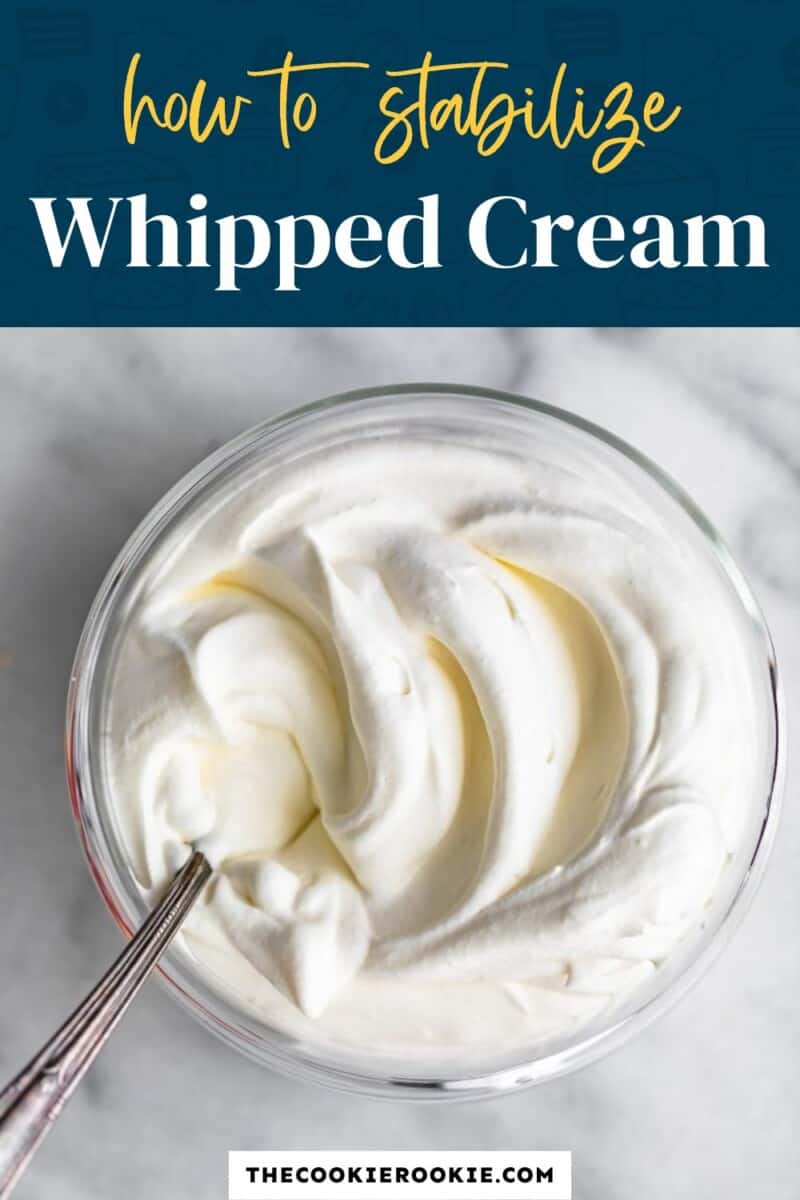
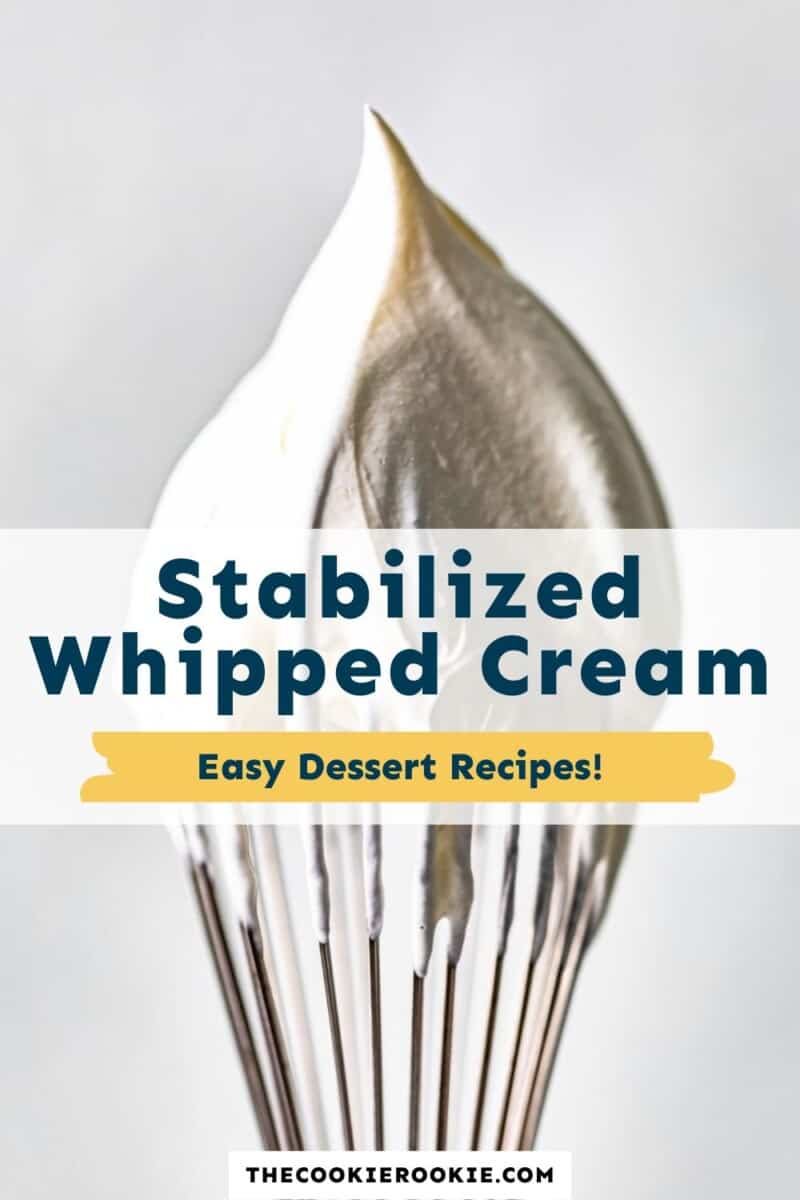
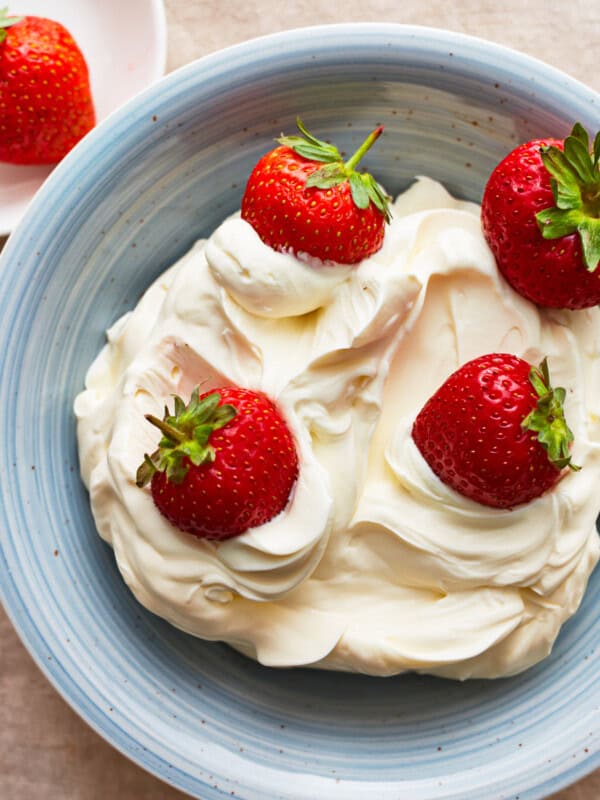
Stabilized Whipped Cream comes in handy when making desserts. I like to use this easy-to-make Homemade Cool Whip as a replacement for store-bought whipped topping. Read on to learn how I prepare stabilized whipped cream!
Pin this recipe for later!
5-Star Review
“This was so fluffy and delicious! Held up very well and was so easy to make.” -Lindsay
Easy Stabilized Whipped Cream
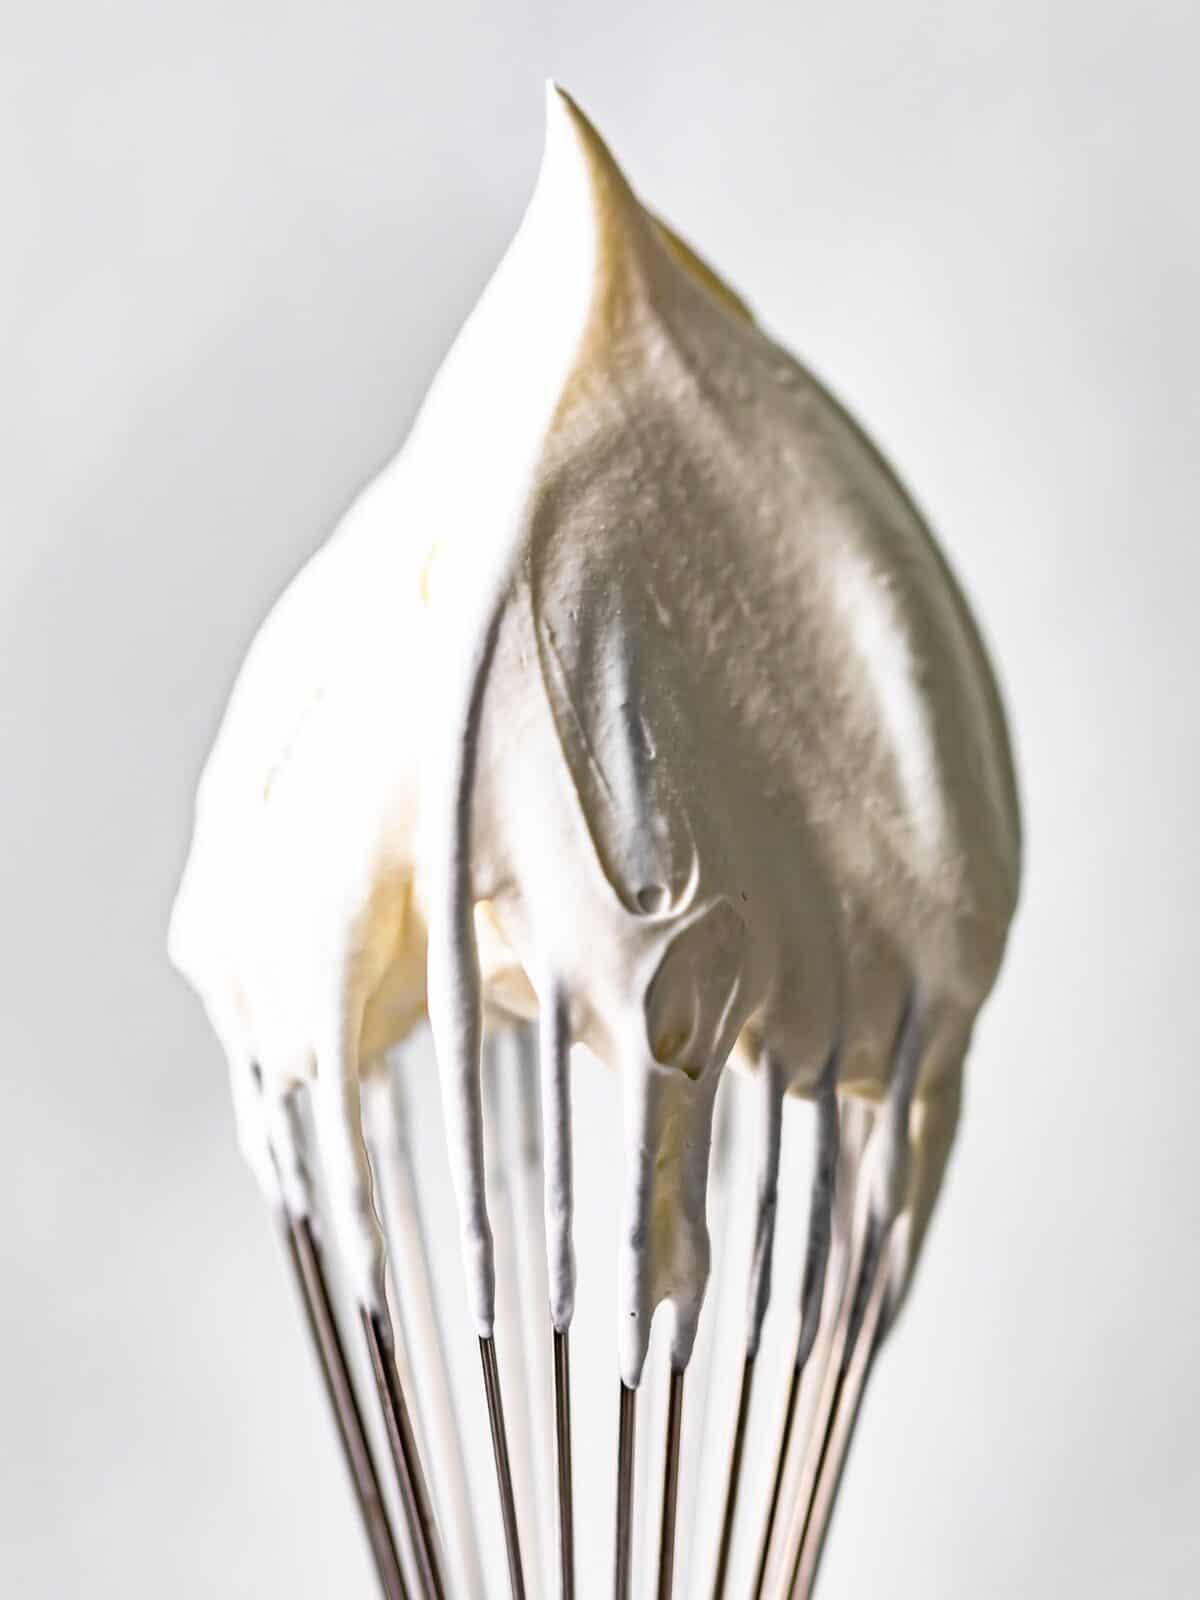
Homemade whipped cream tends to deflate and get watery pretty quickly. But this recipe solves that problem! It will stay fluffy and beautiful and delicious, so I can make it in advance and have it ready for my desserts.
Tips for Beginners
- Make sure both the mixing bowl and the beaters are extremely cold. If you live in a hot/humid climate, place a bowl of ice water under the bowl of whipping cream to help keep it cold.
- If your whipped cream is not coming to stiff peaks, chill it in the refrigerator for 10 minutes, then try again.
- Adding more gelatin will not stabilize the whipped cream more, and it will not taste good!
- Ensure the gelatin is fully dissolved and mixed with the cream before whipping. This will help ensure the stabilizer is evenly distributed throughout the whipped cream, resulting in a smooth and consistent texture.
Ingredients1x2x3x
- ▢ 1½ tsp water 7 grams
- ▢ ½ tsp unflavored powdered gelatin
- ▢ 1½ cups heavy cream 341 grams, cold
- ▢ 2 tsp powdered sugar 5 grams
- ▢ ½ tsp pure vanilla extract 2 grams, optional
Video
Instructions
- Add the water to a microwave-safe bowl and sprinkle the gelatin on top. Give it a few stirs and let it stand 3 minutes. After 3 minutes, stir gently and microwave on high 5 seconds. Stir and microwave another 5 seconds. The gelatin should be dissolved and liquefied – if not, microwave an additional 3-5 seconds. Set aside to cool. 1½ tsp water, ½ tsp unflavored powdered gelatin
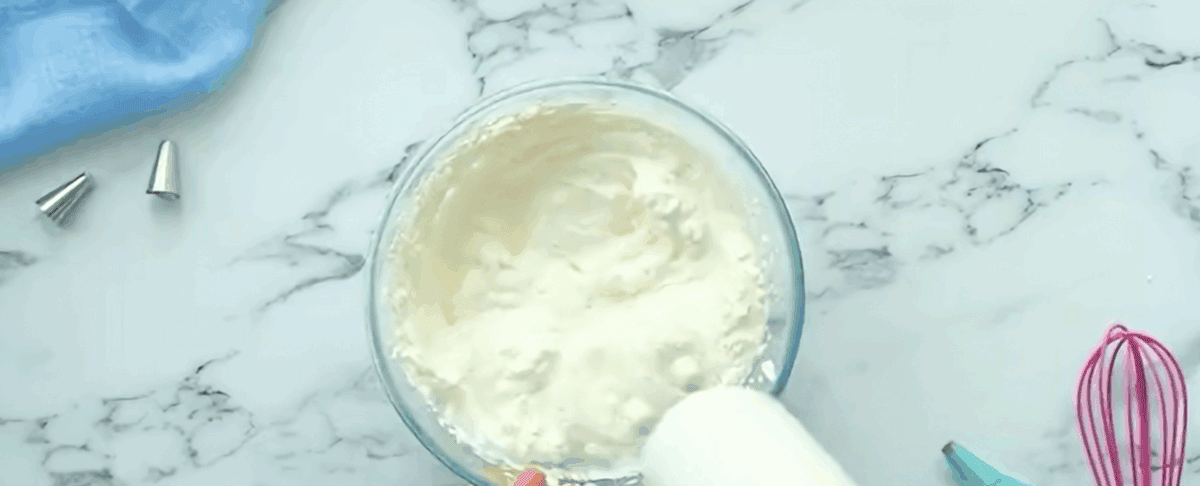
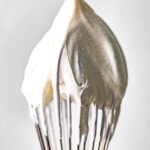
- In the bowl of a stand mixer fitted with the whisk attachment, whip the heavy cream, sugar, and vanilla on low speed until small bubbles appear. Make sure not to overwhip. Overwhipping the cream will lead to separation of the cream into buttermilk and butter. 1½ cups heavy cream, 2 tsp powdered sugar, ½ tsp pure vanilla extract
- Increase the speed to medium, and when the mixture visibly thickens and begins leaving a trail in the cream, slowly add the gelatin water.
- Increase the speed to high and beat until medium peaks form.
- Keep the whipped cream refrigerated and in an airtight container until ready to use.
Equipment
- Kitchen Scale (optional)
- Stand Mixer
Becky’s Tips
Nutrition information is automatically calculated, so should only be used as an approximation.
How to Make Stabilized Whipped Cream Step by Step

Dissolve the gelatin : Add 1½ tsp water to a microwave-safe bowl and sprinkle ½ tsp gelatin on top. Give it a few stirs and let it stand for 3 minutes. After 3 minutes, stir gently and microwave on high for 5 seconds. Stir and microwave another 5 seconds. The gelatin should be dissolved and liquefied – if not, microwave an additional 3-5 seconds. Set aside to cool.

Whip the cream : In the bowl of a stand mixer fitted with the whisk attachment, whip 1½ cup s heavy cream, 2 tsp sugar, and ½ tsp vanilla on low speed until small bubbles appear.
Add gelatin mixture : Increase the speed to medium, and when the mixture visibly thickens and begins leaving a trail in the cream, slowly add the gelatin water.
Beat: Increase the speed to high and beat until medium peaks form.
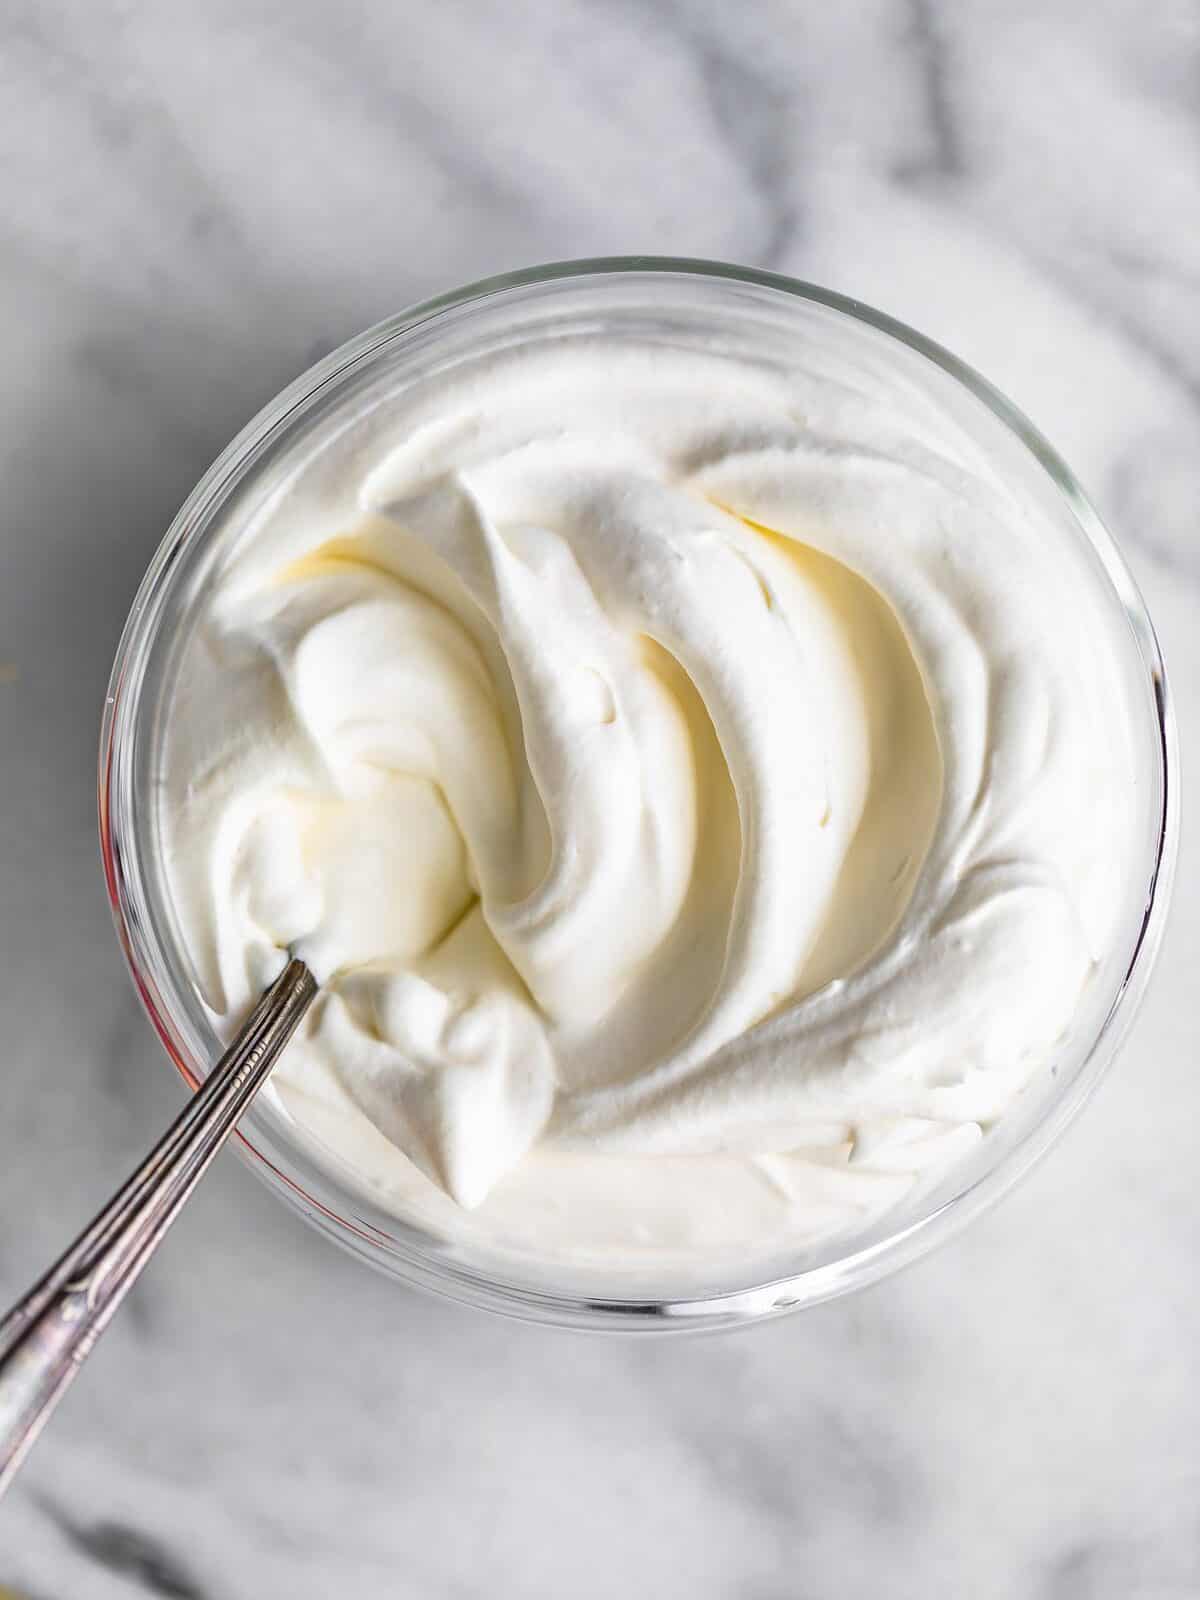
Store and enjoy : Keep the whipped cream refrigerated in an airtight container until ready to use.
Others Ways to Stabilize Whipped Cream
This is only one of several methods for stabilizing whipped cream. You can also use starches like cornstarch, powdered sugar, milk powder, or instant pudding mix.
- Cornstarch: Mix 2 tbsp cornstarch and 4 tbsp powdered sugar with the heavy cream and whip to firm peaks.
- Powdered Sugar: Mix 6 tbsp powdered sugar with the heavy cream and whip to firm peaks.
- Milk Powder: Mix 6 tbsp of cornstarch and 4 tbsp of powdered sugar with the whipped cream and whip to firm peaks.
- Instant Pudding Mix: Mix 1 tbsp of dry instant pudding mix and ⅓ cup powdered sugar with the whipping cream and whip to firm peaks.
How to Store
The stabilized whipped cream should be stored in an airtight container, in the refrigerator. It will keep (stay stable) for up to 24 hours.
I do not recommend freezing stabilized whipped cream on its own, as it can become difficult to spread/pipe once frozen. However, it can be frozen after it has been piped/spread onto a dessert, and it will keep well for up to 3 months.
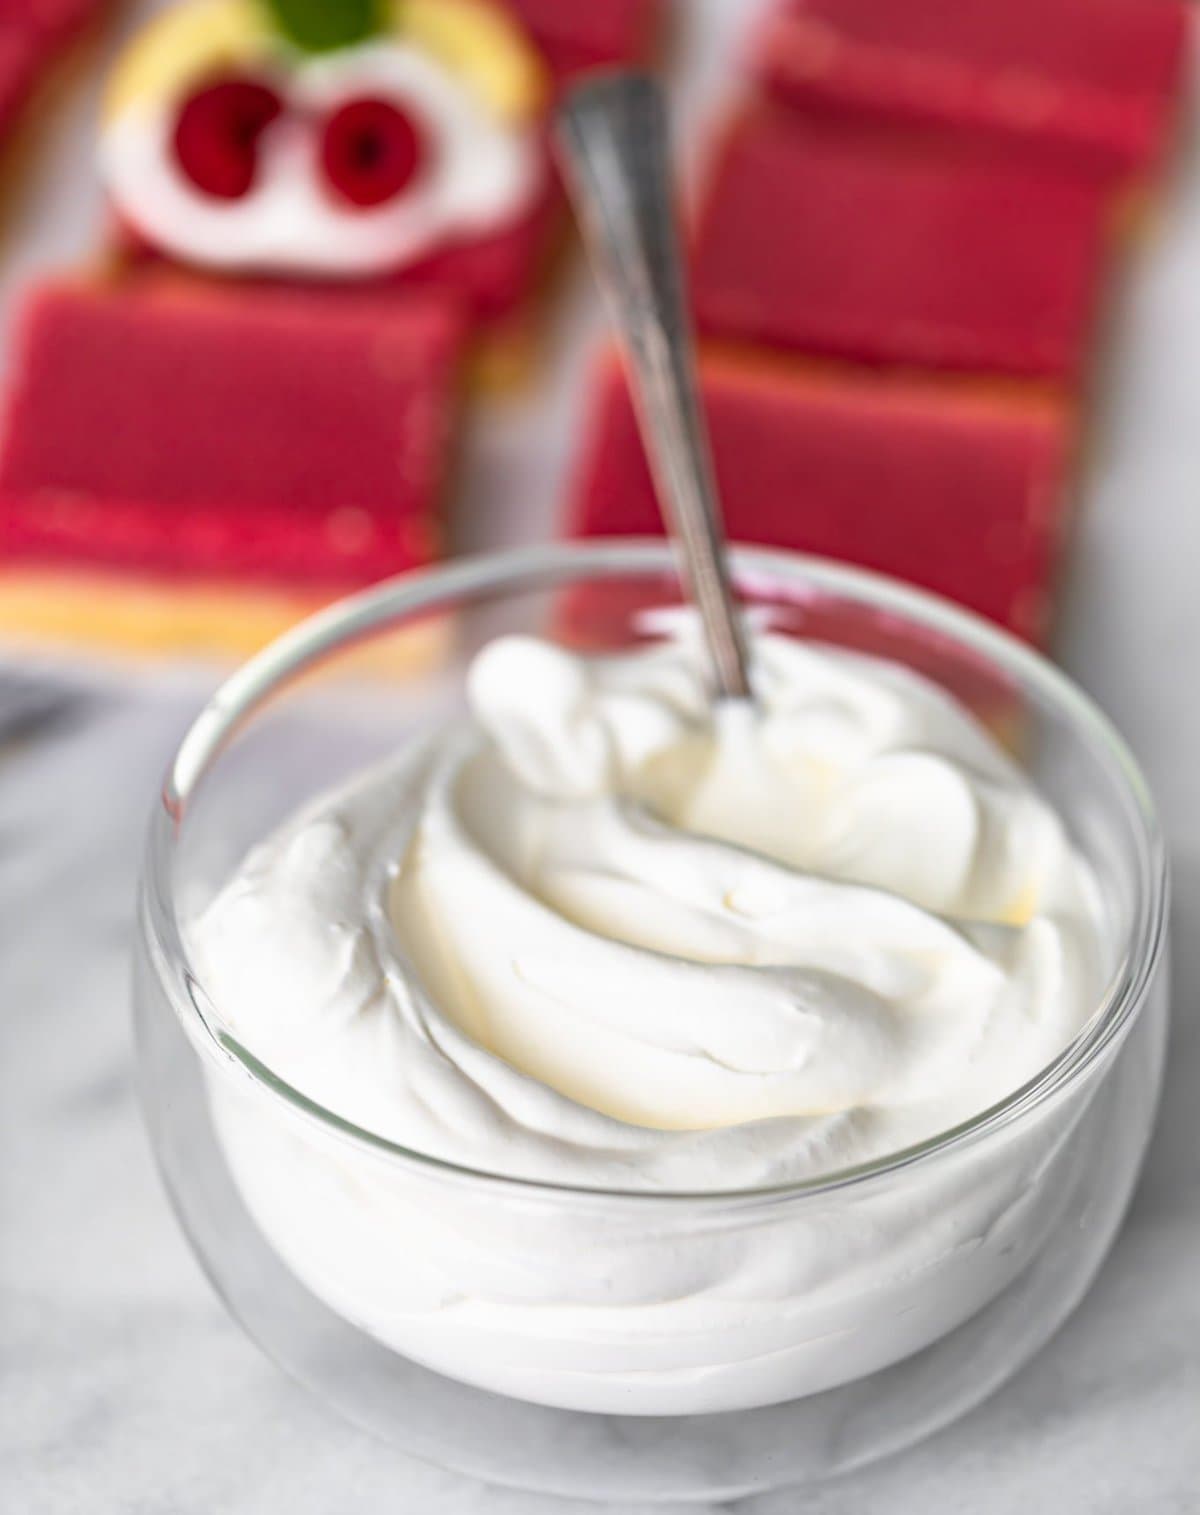
Serving Suggestions
I’ll be the first to admit that eating whipped topping with a spoon is a pretty tasty treat, but if you’re making this recipe, you’re probably hoping to use it as a topping for other delicious desserts such as:
- Key lime pie
- Blueberry crisp
- Lemon raspberry bars
- French silk pie
- Chocolate pudding
more how to recipes we love
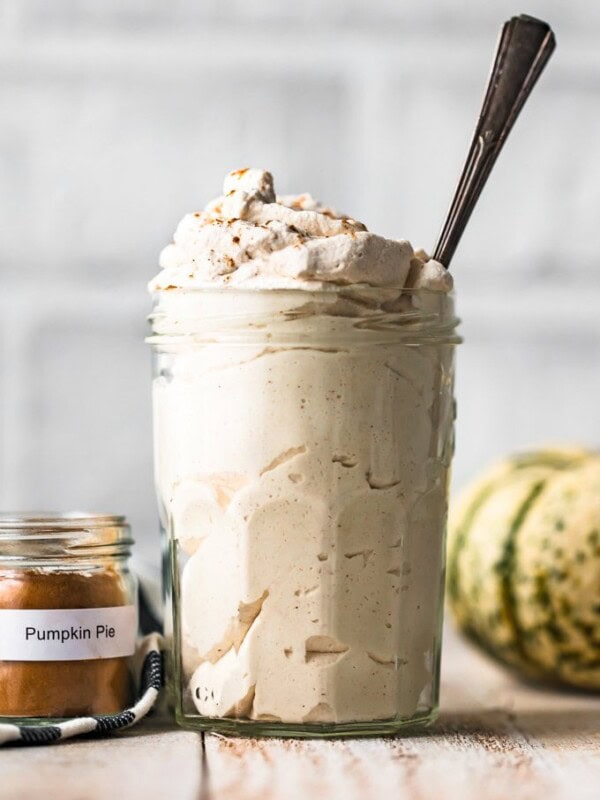
Pumpkin Spice Flavored Whipped Cream Recipe
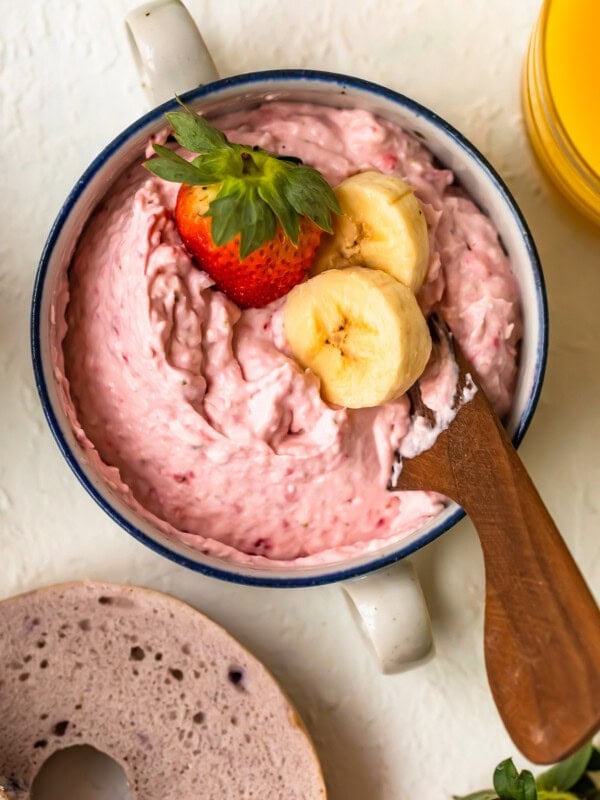
Banana Strawberry Cream Cheese Spread
Homemade Mascarpone Cheese

Vanilla Frosting
Stabilized Whipped Cream Recipe
Equipment
- Kitchen Scale (optional)
- Stand Mixer
Ingredients
- 1½ tsp water 7 grams
- ½ tsp unflavored powdered gelatin
- 1½ cups heavy cream 341 grams, cold
- 2 tsp powdered sugar 5 grams
- ½ tsp pure vanilla extract 2 grams, optional
Instructions
- Add the water to a microwave-safe bowl and sprinkle the gelatin on top. Give it a few stirs and let it stand 3 minutes. After 3 minutes, stir gently and microwave on high 5 seconds. Stir and microwave another 5 seconds. The gelatin should be dissolved and liquefied – if not, microwave an additional 3-5 seconds. Set aside to cool. 1½ tsp water, ½ tsp unflavored powdered gelatin
- In the bowl of a stand mixer fitted with the whisk attachment, whip the heavy cream, sugar, and vanilla on low speed until small bubbles appear. Make sure not to overwhip. Overwhipping the cream will lead to separation of the cream into buttermilk and butter. 1½ cups heavy cream, 2 tsp powdered sugar, ½ tsp pure vanilla extract
- Increase the speed to medium, and when the mixture visibly thickens and begins leaving a trail in the cream, slowly add the gelatin water.
- Increase the speed to high and beat until medium peaks form.
- Keep the whipped cream refrigerated and in an airtight container until ready to use.
Video
Notes
Nutrition
By Becky Hardin
Published Jul 12, 2017


This Essential Grocery List is an absolute life saver for my family on the busy weeks. When I started this journey to learn how to cook, I quickly realized that the first step in cooking is having staple ingredients on hand. I want to avoid having to run out to the grocery store every single time I prepare a new recipe. Having a well-stocked pantry has made my life in the kitchen so much simpler, because when it’s time to cook, I have what I need.

Essential Grocery List
It’s so helpful to have a basic grocery list to help me remember which foods to buy at the store. This food shopping list is my go-to!
It’s better to stock up on things like grains, seasonings and spices, baking essentials, oils, condiments, canned and frozen foods, etc. so I can just grab them when I need them. These things have a long shelf life , so I keep them in my kitchen for convenience.
However, I do have to go to the supermarket sometimes, and there’s a way to make that trip easy and hassle-free: I keep a grocery list! If I go in blindly, I’ll leave with things I don’t need, and nothing that actually helps me prepare a good meal.
In the list below, I’ve compiled everything I always have on my stock-up grocery list.
I’ve got you covered! I created an easy grocery list filled with all of the essentials. Plus there’s a free printable version that you can take with you to the grocery store. It has everything you need to stock your pantry, your freezer, and your refrigerator.

Click to get my Free Printable Grocery List
What to Buy at the Grocery Store
This is the perfect grocery list filled with all the basics and essentials. It should help get you going if you’re new to cooking, or if you’re just left staring helplessly at an empty pantry and don’t know how to fill it.
When I first started cooking, things could seem overwhelming. I quickly realized that they more prepared I could be, the more confident I felt. If you already have the basics in your kitchen, then you can shop stress-free.
So print out our easy grocery list, stock up your pantry and fridge, and you’ll be cooking in no time!
Click to get my Free Printable Grocery List for the perfectly stocked pantry and freezer!
Fresh Produce
- Apples
- Bananas
- Strawberries
- Avocados
- Bell Peppers
- Carrots
- Broccoli
- Garlic
- Lemons/Limes
- Onion
- Parsley
- Cilantro
- Basil
- Potatoes
- Spinach
- Tomatoes
GRAINS
- Breadcrumbs
- Pasta
- Quinoa
- Rice
- Sandwich Bread
- Tortillas
MEAT/PROTEIN
- Chicken
- Eggs
- Ground Beef
- Sliced Turkey
- Lunch Meat
DAIRY
- Butter
- Sliced Cheese
- Shredded Cheese
- Milk
- Sour Cream
- Greek Yogurt
BAKING GOODS
- Baking powder
- Baking Soda
- Granulated Sugar
- Brown Sugar
- Flour
- Honey
- Vanilla Extract
- Dry Yeast
- Chocolate Chips
- Cocoa Powder
- Powdered Sugar
FREEZER
- Fruit and Berries
- Frozen Veggies (Corn, Peas, Broccoli, etc)
- Juice Concentrate
- Pizza or Other Convenience Meals
- Pie Crust
- Cookie Dough
CANNED/DRIED GOODS
- Chicken stock/broth
- Salsa
- Diced Tomatoes
- Jam/Jelly
- Peanut Butter
- Pasta Sauce
- Beans (Black Beans, Chickpeas, Baked Beans, etc)
- Soups
- Tuna
- Green Chiles
- Canned Veggies
- Coffee or Tea
Get more details on the best non-perishable and pantry foods
CONDIMENTS/SPICES
- Black Pepper
- Chili Powder
- Cinnamon
- Crushed Red Pepper
- Cumin
- Garlic Powder
- Ketchup
- Mustard
- Mayo
- Nutmeg
- Paprika
- Salt (Course Sea Salt and Kosher Salt)
- Soy Sauce
- Steak Sauce
- Hot Sauce/ Buffalo Sauce
- Salad Dressings
OILS/VINEGARS
- Apple cider vinegar
- Balsamic vinegar
- Coconut Oil
- Olive Oil
- Vegetable/Canola Oil
- Red Wine Vinegar
- White Vinegar
- Cooking Wine
- White Wine Vinegar
SNACKS
- Crackers
- Nuts
- Quick Oats
- Popcorn
- Tortilla Chips
- Cereal
Click to get my Free Printable Grocery List for the perfectly stocked pantry and freezer!

Click ☝🏻 for my FREE Grocery List Printable!
I hope this essential grocery list can help you buy what you need and make your home cooking so much easier!
Stock Your Kitchen
Find more ideas for your grocery list, stock up your kitchen, and print more cooking guides and charts to keep handy!

Non-Perishable Foods to Stock Up On

Frozen Vegetables to Stock Up On (and Recipes to Make)

Ultimate List of Cooking Herbs for Your Kitchen

Ultimate List of Cooking Spices for Your Kitchen

Cooking Oil 101: Types of Cooking Oils to Use

26 Types of Pasta and When to Use Them

What Fruits and Vegetables are in Season?

Meat Temperature Chart (Free Printable)

How to Meal Prep (Guide for Beginners)

Basic Cooking Measurements & Kitchen Conversion Chart

