
By Becky Hardin
Published May 6, 2023
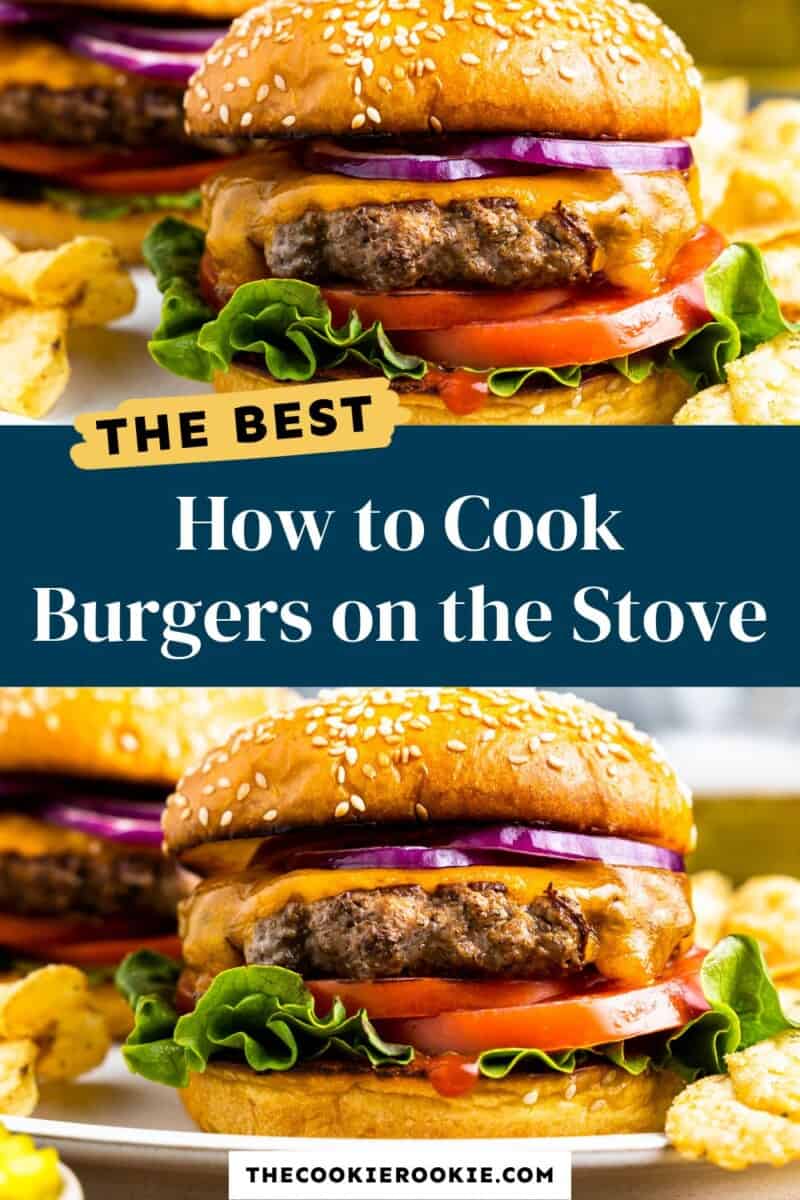
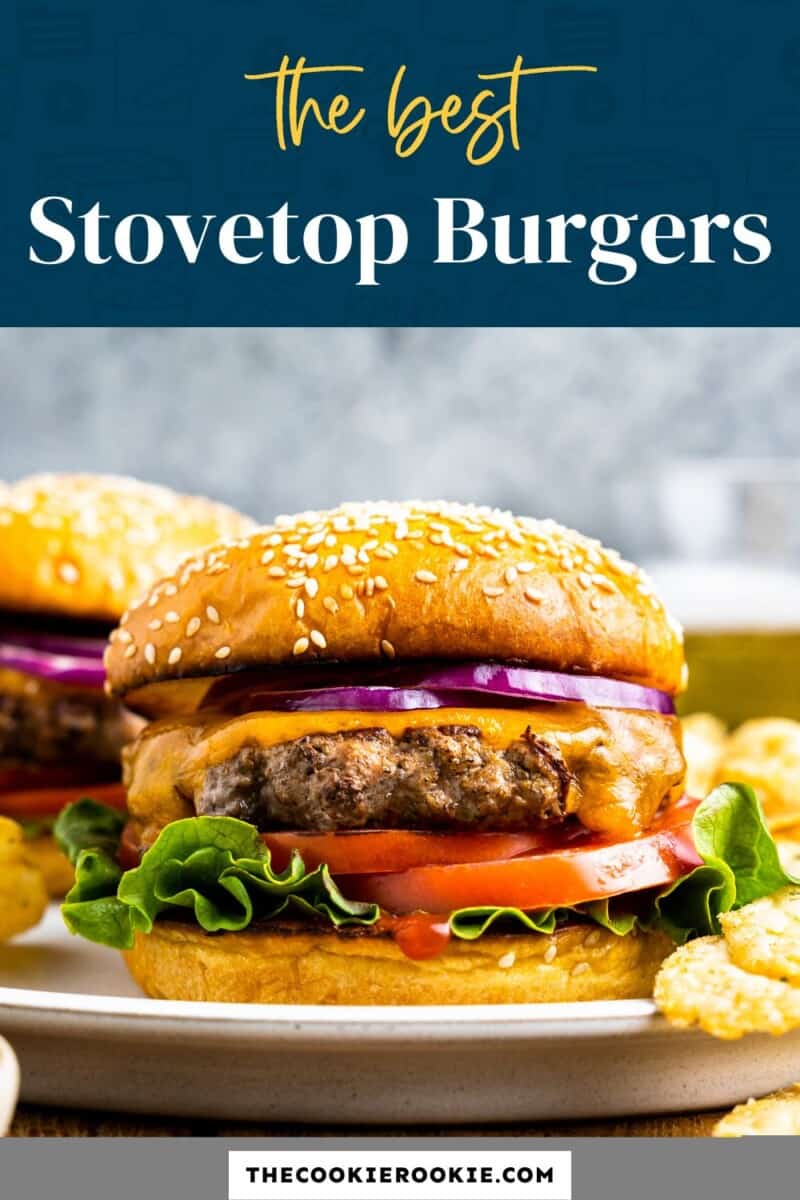
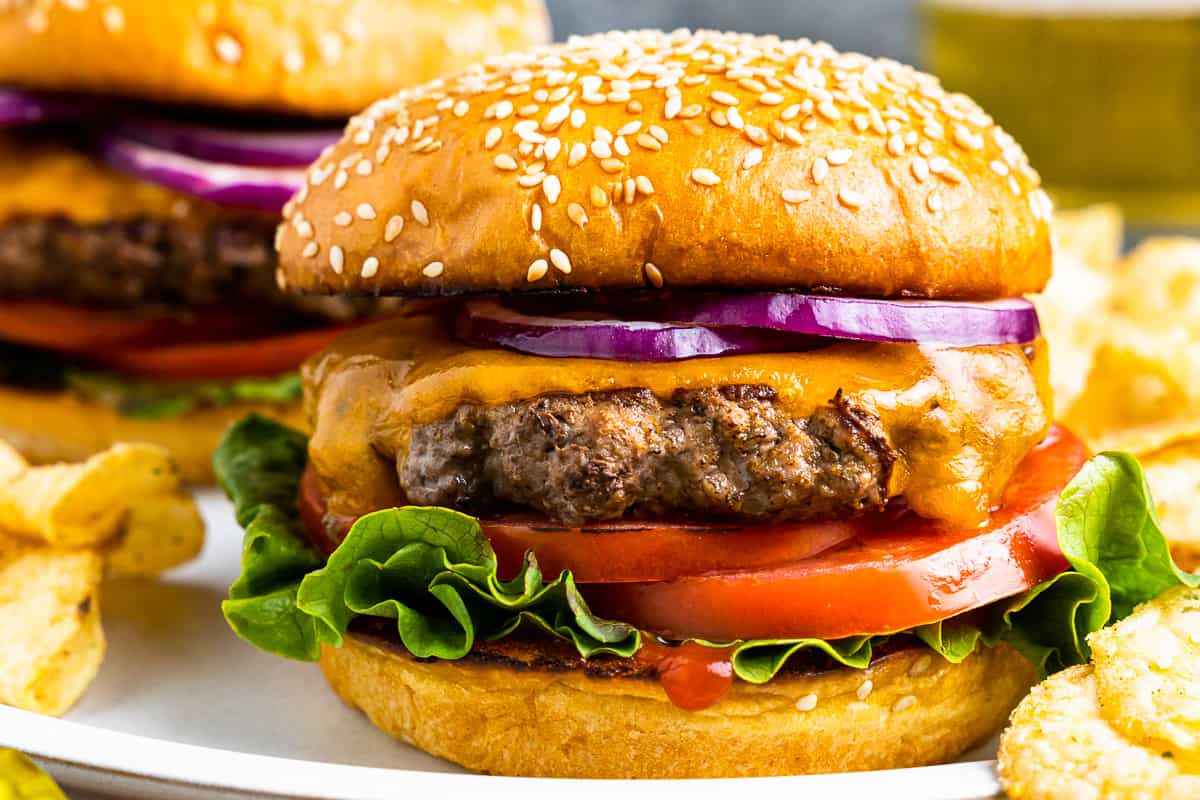
One of the recipes we make most at our house are burgers on the stove. I love that we can make it year round, no matter the weather. Stovetop Burgers are easier than you think! I form simply seasoned burger patties, pan-fry them in a skillet, and have found the exact cooking time and temperature to make sure you get it right.

What’s in This Hamburger Recipe?
I love that cooking burgers on the stove only requires a few ingredients and 20 minutes to make. All I need is ground beef, cheese, toppings, and seasonings. This is one of my favorite burger recipes because it’s so simple and versatile!
- Ground Beef : Ground chuck is ideal for burger patties. I recommend meat that is 80% lean and 20% fat. Avoid anything leaner than 85% or you’ll end up with burgers that are dry and tough.
- Seasoning: I keep the seasoning simple with salt and pepper to taste. But feel free to add in garlic and onion powder, paprika, or your favorite burger seasoning blend .
- Cheese: A slice of American or cheddar cheese is perfect for cheeseburgers, but any type works fine (try pepper jack or Swiss). Or you can skip the cheese if you prefer a hamburger.
- Hamburger Buns : Grab your favorite buns for serving. Brioche buns are a great way to make them feel a little more gourmet, but any type is fine.
- Toppings: Top with your favorite ingredients! Add lettuce, tomatoes, onion, pickles, caramelized onions , sweet relish , and more.
- Condiments: Add mayo , mustard, ketchup, burger sauce , relish, or any condiments you like.
How Long Do You Cook burgers on The Stovetop?
I prefer my burgers cooked to medium, but everyone is different. From medium-rare to well-done, here are the internal temperatures and cooking times (per side and total) when making burgers in a skillet . (See our Burger Temperature Chart for even more info!)
| Doneness | Color | Internal Temp | Cook Time (per side) | Cook Time (total) |
|---|---|---|---|---|
| Medium-Rare | red in the middle | 130-135°F | 3 minutes | 6 minutes |
| Medium | pink in the middle | 145°F | 3-4 minutes | 7-8 minutes |
| Medium-Well | smidge of pink | 150-155°F | 4-5 minutes | 9 minutes |
| Well-Done | no pink | 160-165°F | 5 minutes | 10 minutes |
Note: The USDA officially recommends that hamburgers be cooked to an internal temperature of 160°F to ensure all bacteria is killed. If you choose to do more of a Medium cook, be sure you’re using the freshest beef or even making your own ground beef!
How to Store and Reheat
Once cooked, I let burgers cool to room temperature. I store them in a resealable bag, airtight container, or wrapped tightly in aluminum foil. We keep them in the refrigerator for up to 4 days.
For best results, reheat burgers in a nonstick pan on the stovetop until they are fully heated through. Try adding about 3 tablespoons of water to the pan to create steam–this will keep the patties from drying out.
How to Freeze Burger Patties
To freeze homemade burger patties, let them cool completely. I recommend wrapping each one separately with aluminum foil, and then placing them all in a freezer-safe, resealable bag. Freeze for 3 months.
I always let them fully defrost in the fridge before reheating.
Serving Suggestions
The best stovetop burgers deserve the best side dishes! I usually serve these classic French fries (my kid’s favorite), but any kind of fry will do. We have tried baked sweet potato fries , parmesan potato wedges , or even zucchini fries .
Notes from the Test Kitchen
The key to a perfect Stovetop Burger is knowing how long to cook burgers, testing your internal temperatures, and keeping things simple. I think the most important thing is to not overdo it–just let the juicy beef speak for itself!
5-Star Review
“I made these burgers the other day. My husband and I both LOVE them. Easy to make and cheaper than going to a burger joint. I will definitely be making more!” -Sarah
Ingredients1x2x3x
- ▢ 1 pound ground chuck 80%-85% lean
- ▢ kosher or sea salt to taste
- ▢ freshly ground black pepper to taste
- ▢ 4 slices American or Cheddar Cheese
- ▢ 4 Burger Buns
Optional Toppings
- ▢ Condiments of choice such as ketchup, mustard, and mayo.
- ▢ Toppings such as lettuce, tomato, red onion, and pickles.
Video
Instructions
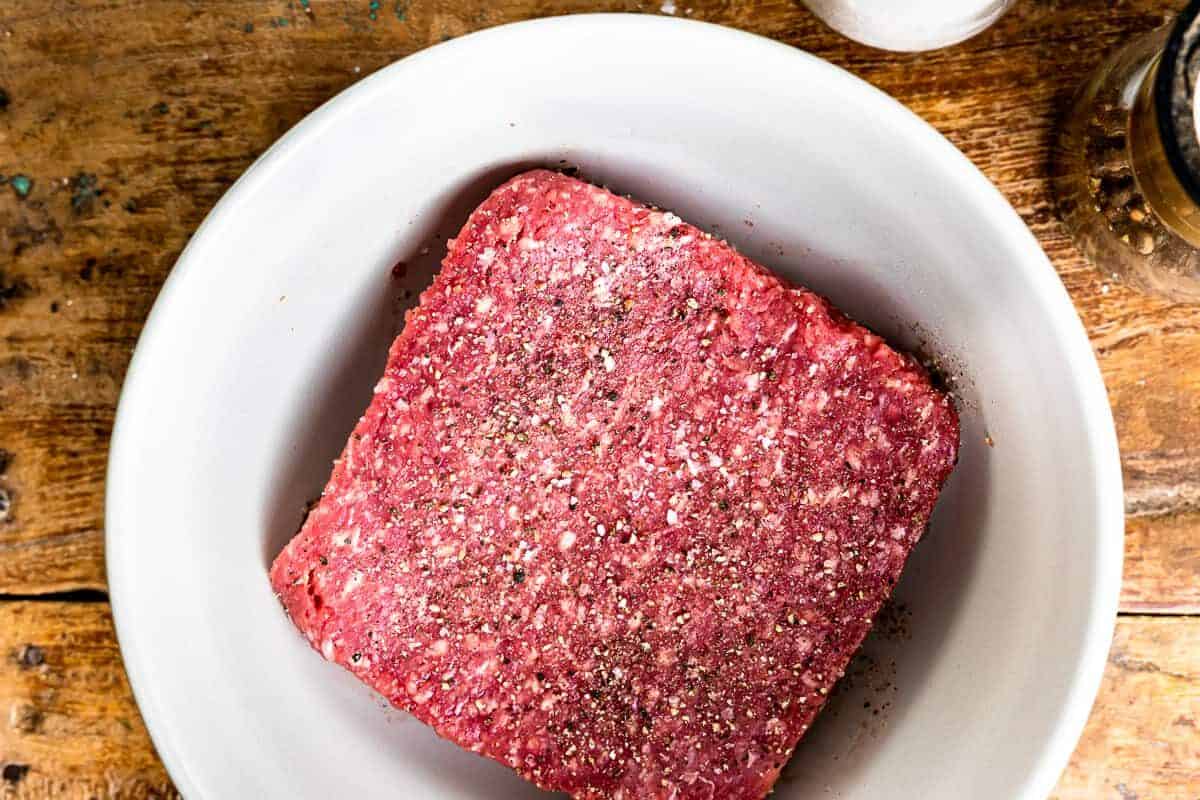
- Place ground chuck in a medium-size mixing bowl and sprinkle with salt & pepper. Mix gently to combine, but don’t overwork the meat. 1 pound ground chuck, kosher or sea salt to taste, freshly ground black pepper to taste
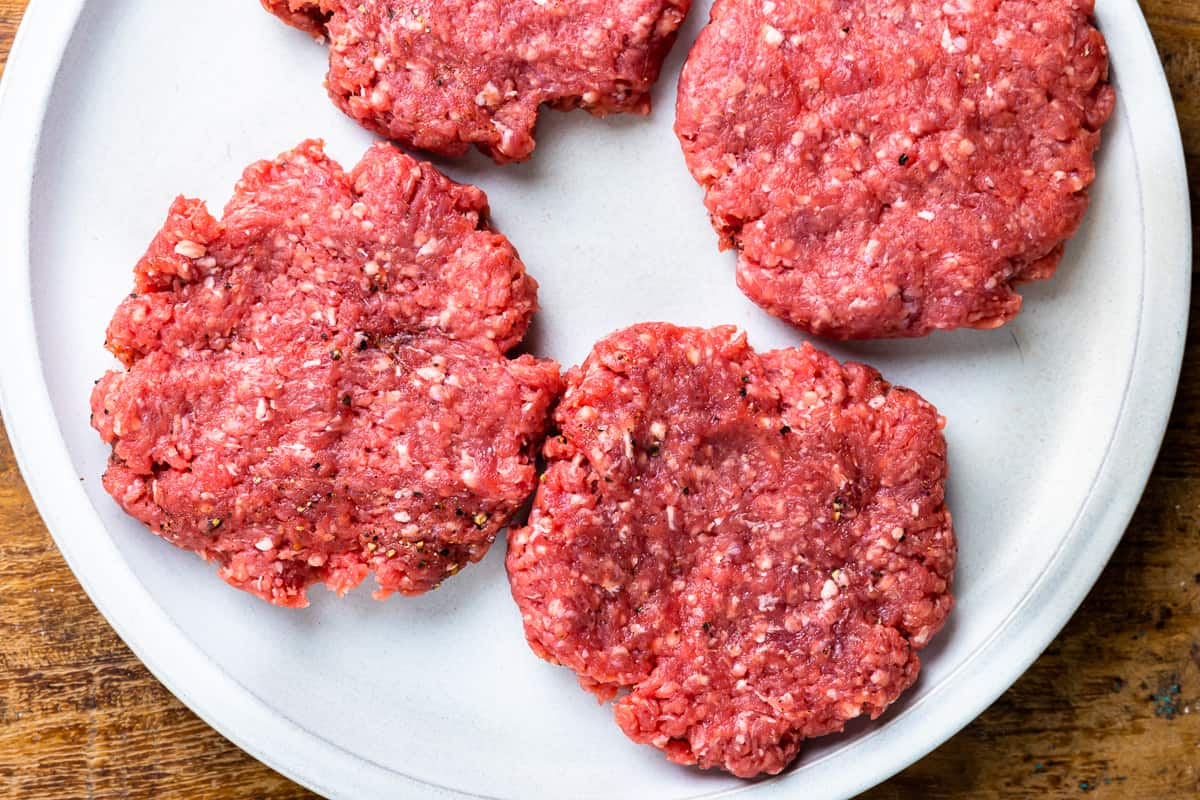
- Divide the meat into four equal portions.
- Place one portion on a plate and gently press it into a 1-inch thick, round patty. (The patty should not be smooth – leave some craggy edges and don’t press it too flat.)
- With your thumb or fingers, press a “moat”, approximately ¼-½ inch from the edge, around the circumference of the burger – be sure the edge of the burger is a little higher than the indentation. This will ensure the burger will flatten out while cooking. Repeat this process with each portion.
- Heat a large skillet over medium-high heat. When the pan is hot, carefully place the patties in the skillet (no need to grease skillet) leaving some space between each patty.
- Cook the burgers until nicely seared and they have browned halfway up the sides.
- Flip the burgers and cook to your liking. (*NOTE – To ensure all bacteria has been killed, the USDA recommends cooking burgers to an internal temperature of 160°F.)
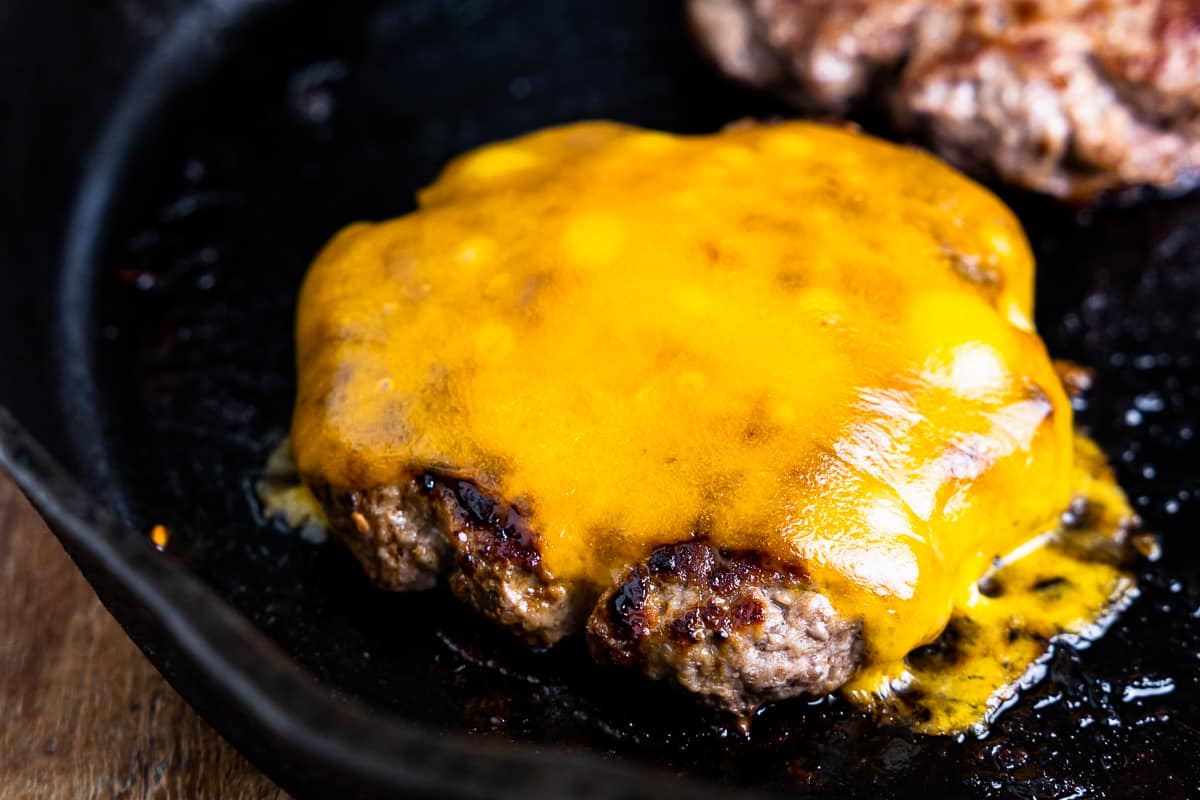
- If adding cheese: remove the pan from the heat and place the cheese atop the burgers. Cover the skillet and allow the residual heat/steam to melt the cheese. 4 slices American or Cheddar Cheese
- Serve on toasted buns topped with your favorite toppings. 4 Burger Buns, Condiments of choice such as ketchup, mustard, and mayo.
- Enjoy!
Equipment
- Equipment used for Stovetop Burgers
Becky’s Tips
Resist the urge to press down on the meat. Pressing down releases all those wonderful juices, causing the burgers to turn out dry and flavorless.
Cook in batches and keep warm in a 250°F oven if making for a crowd.
Medium Rare: 130-135°F
Medium: 145°F
Medium Well: 150-155°F
Well Done: 160-165°F
Medium Rare (red in the middle): 6 minutes total (3 minutes on each side)
Medium (pink in the middle): 7-8 minutes total
Medium Well (smidge of pink in the middle): 9 minutes total
Well Done (no pink): 10 minutes total
Nutrition information is automatically calculated, so should only be used as an approximation.
How to Cook Burgers on the Stove Step by Step
Season the Meat: Place 1 pound of ground chuck in a medium-sized mixing bowl and sprinkle with salt & pepper to taste. Mix gently to combine, but don’t overwork the meat.
Form the Patties: Divide the meat into four equal portions (¼ pound each). Place one portion on a plate and gently press it into a 1-inch thick, round patty. The patty should not be smooth – leave some craggy edges and don’t press it too flat.
Shape the Patties: With your thumb or fingers, press a “moat”, approximately ¼-½ inch from the edge, around the circumference of the burger – be sure the edge of the burger is a little higher than the indentation. This will ensure the burger will flatten out while cooking. Repeat this process with each portion.
<img loading=“lazy” src=“https://www.thecookierookie.com/wp-content/uploads/2023/04/how-to-stovetop-burgers-recipe-3.jpg" onerror=“this.onerror=null;this.src=‘https://blogger.googleusercontent.com/img/a/AVvXsEhe7F7TRXHtjiKvHb5vS7DmnxvpHiDyoYyYvm1nHB3Qp2_w3BnM6A2eq4v7FYxCC9bfZt3a9vIMtAYEKUiaDQbHMg-ViyGmRIj39MLp0bGFfgfYw1Dc9q_H-T0wiTm3l0Uq42dETrN9eC8aGJ9_IORZsxST1AcLR7np1koOfcc7tnHa4S8Mwz_xD9d0=s16000';" alt=“raw burger patty with a “moat” pressed into it - how to cook burgers on the stove - 10”>
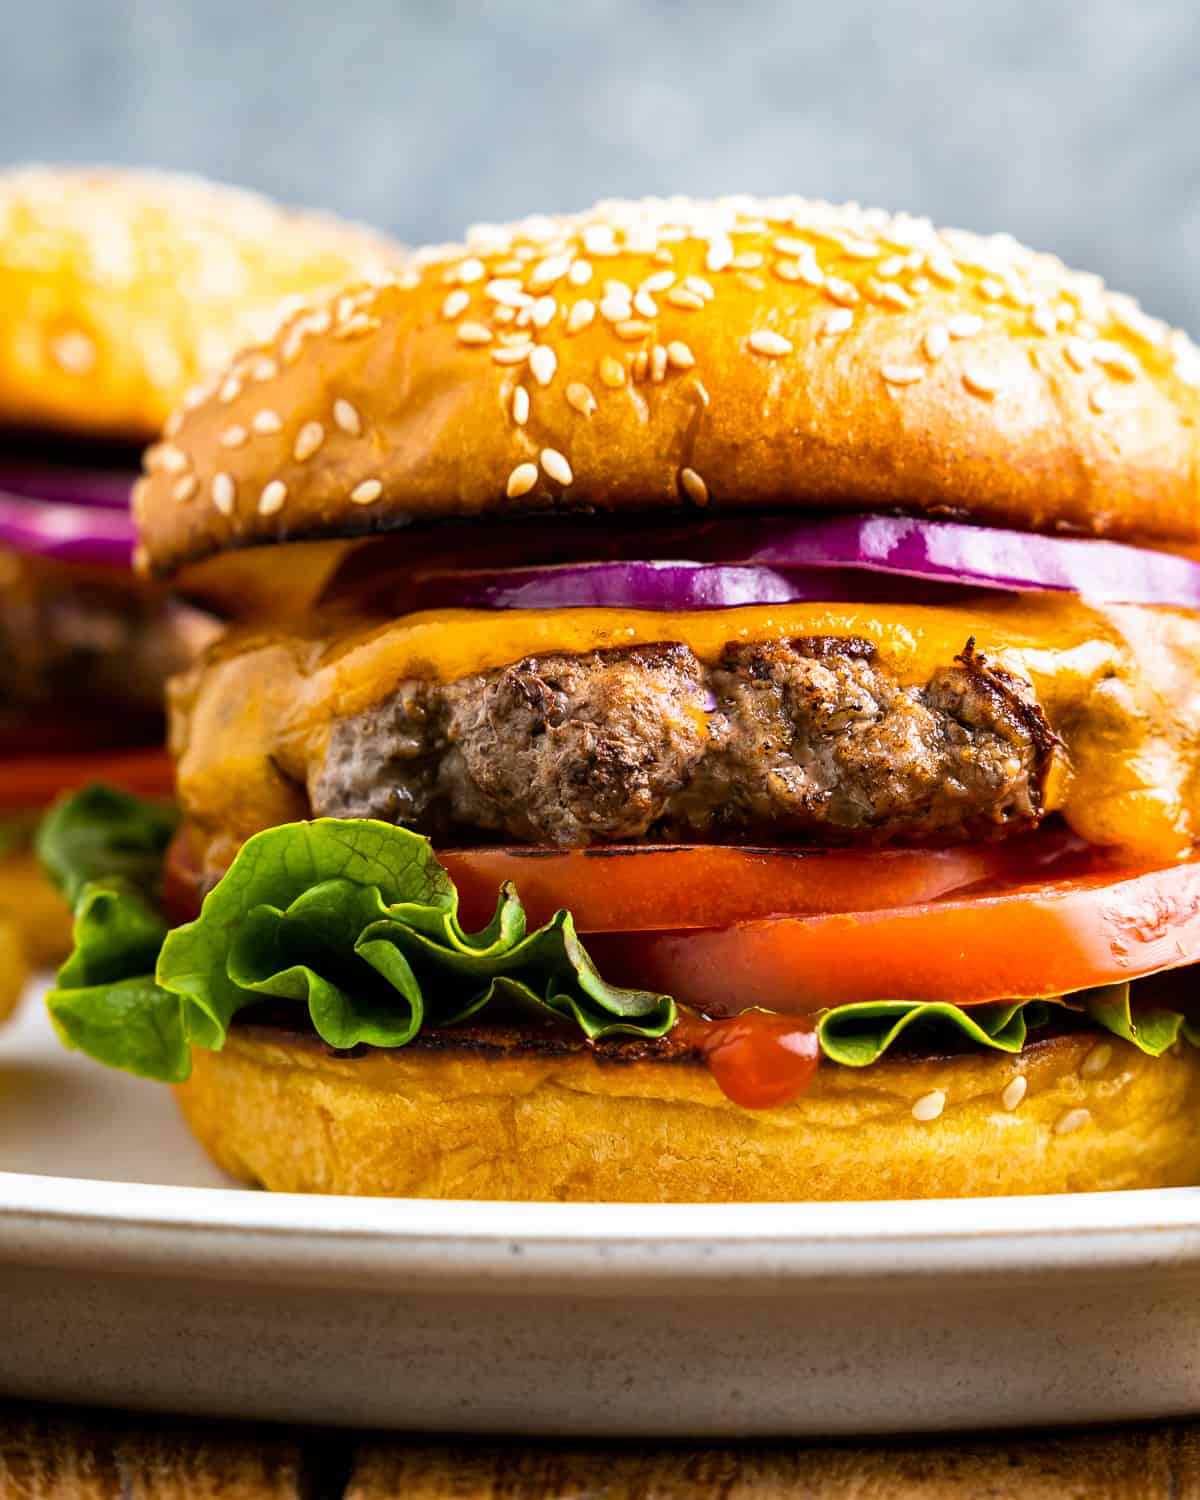
Cook the Burgers: Heat a large skillet over medium-high heat. When the pan is hot, carefully place the patties in the skillet (no need to grease skillet) leaving some space between each patty. Cook the burgers until nicely seared and they have browned halfway up the sides. Flip the burgers and cook to your liking. If adding cheese: remove the pan from the heat and place 1 slice of American or cheddar cheese atop each of the burgers. Cover the skillet and allow the residual heat/steam to melt the cheese. Serve on toasted buns topped with your favorite toppings.
Add salt, pepper, and any other seasonings you want to add directly into a mixing bowl with the ground chuck. Mix enough to evenly distribute the seasoning, but don’t overwork it. Some common seasonings (besides salt and pepper) are garlic powder, onion powder, paprika, cayenne pepper, brown sugar, and oregano.
I don’t recommend cooking burgers directly from frozen on the stovetop. Instead, defrost patties in the fridge before cooking.
The fat from the burgers should be sufficient to prevent them from sticking to the pan. A little butter or oil (or both!) can help if you’re nervous.
It’s time to flip your burgers when they have browned halfway up the sides. The meat should release easily from the pan. If it seems stuck, give it an extra minute or two before trying to flip.
More Ways to Cook Burgers
- Grilled Burgers
- Burgers in the Oven
- Air Fryer Hamburgers
- Smash burgers
- Turkey Burgers
- See all of our Burger Recipes !

Stovetop Burgers - How to Cook Burgers on the Stove
Equipment
- Equipment used for Stovetop Burgers
Ingredients
- 1 pound ground chuck 80%-85% lean
- kosher or sea salt to taste
- freshly ground black pepper to taste
- 4 slices American or Cheddar Cheese
- 4 Burger Buns
Optional Toppings
- Condiments of choice such as ketchup, mustard, and mayo.
- Toppings such as lettuce, tomato, red onion, and pickles.
Instructions
- Place ground chuck in a medium-size mixing bowl and sprinkle with salt & pepper. Mix gently to combine, but don’t overwork the meat. 1 pound ground chuck, kosher or sea salt to taste, freshly ground black pepper to taste
- Divide the meat into four equal portions.
- Place one portion on a plate and gently press it into a 1-inch thick, round patty. (The patty should not be smooth – leave some craggy edges and don’t press it too flat.)
- With your thumb or fingers, press a “moat”, approximately ¼-½ inch from the edge, around the circumference of the burger - be sure the edge of the burger is a little higher than the indentation. This will ensure the burger will flatten out while cooking. Repeat this process with each portion.
- Heat a large skillet over medium-high heat. When the pan is hot, carefully place the patties in the skillet (no need to grease skillet) leaving some space between each patty.
- Cook the burgers until nicely seared and they have browned halfway up the sides.
- Flip the burgers and cook to your liking. (*NOTE - To ensure all bacteria has been killed, the USDA recommends cooking burgers to an internal temperature of 160°F.)
- If adding cheese: remove the pan from the heat and place the cheese atop the burgers. Cover the skillet and allow the residual heat/steam to melt the cheese. 4 slices American or Cheddar Cheese
- Serve on toasted buns topped with your favorite toppings. 4 Burger Buns, Condiments of choice such as ketchup, mustard, and mayo.
- Enjoy!
Video
Notes
Resist the urge to press down on the meat. Pressing down releases all those wonderful juices, causing the burgers to turn out dry and flavorless.
Cook in batches and keep warm in a 250°F oven if making for a crowd.
Medium Rare: 130-135°F
Medium: 145°F
Medium Well: 150-155°F
Well Done: 160-165°F
Medium Rare (red in the middle): 6 minutes total (3 minutes on each side)
Medium (pink in the middle): 7-8 minutes total
Medium Well (smidge of pink in the middle): 9 minutes total
Well Done (no pink): 10 minutes total
Nutrition
By Becky Hardin
Published Jul 12, 2017


This Essential Grocery List is an absolute life saver for my family on the busy weeks. When I started this journey to learn how to cook, I quickly realized that the first step in cooking is having staple ingredients on hand. I want to avoid having to run out to the grocery store every single time I prepare a new recipe. Having a well-stocked pantry has made my life in the kitchen so much simpler, because when it’s time to cook, I have what I need.

Essential Grocery List
It’s so helpful to have a basic grocery list to help me remember which foods to buy at the store. This food shopping list is my go-to!
It’s better to stock up on things like grains, seasonings and spices, baking essentials, oils, condiments, canned and frozen foods, etc. so I can just grab them when I need them. These things have a long shelf life , so I keep them in my kitchen for convenience.
However, I do have to go to the supermarket sometimes, and there’s a way to make that trip easy and hassle-free: I keep a grocery list! If I go in blindly, I’ll leave with things I don’t need, and nothing that actually helps me prepare a good meal.
In the list below, I’ve compiled everything I always have on my stock-up grocery list.
I’ve got you covered! I created an easy grocery list filled with all of the essentials. Plus there’s a free printable version that you can take with you to the grocery store. It has everything you need to stock your pantry, your freezer, and your refrigerator.

Click to get my Free Printable Grocery List
What to Buy at the Grocery Store
This is the perfect grocery list filled with all the basics and essentials. It should help get you going if you’re new to cooking, or if you’re just left staring helplessly at an empty pantry and don’t know how to fill it.
When I first started cooking, things could seem overwhelming. I quickly realized that they more prepared I could be, the more confident I felt. If you already have the basics in your kitchen, then you can shop stress-free.
So print out our easy grocery list, stock up your pantry and fridge, and you’ll be cooking in no time!
Click to get my Free Printable Grocery List for the perfectly stocked pantry and freezer!
Fresh Produce
- Apples
- Bananas
- Strawberries
- Avocados
- Bell Peppers
- Carrots
- Broccoli
- Garlic
- Lemons/Limes
- Onion
- Parsley
- Cilantro
- Basil
- Potatoes
- Spinach
- Tomatoes
GRAINS
- Breadcrumbs
- Pasta
- Quinoa
- Rice
- Sandwich Bread
- Tortillas
MEAT/PROTEIN
- Chicken
- Eggs
- Ground Beef
- Sliced Turkey
- Lunch Meat
DAIRY
- Butter
- Sliced Cheese
- Shredded Cheese
- Milk
- Sour Cream
- Greek Yogurt
BAKING GOODS
- Baking powder
- Baking Soda
- Granulated Sugar
- Brown Sugar
- Flour
- Honey
- Vanilla Extract
- Dry Yeast
- Chocolate Chips
- Cocoa Powder
- Powdered Sugar
FREEZER
- Fruit and Berries
- Frozen Veggies (Corn, Peas, Broccoli, etc)
- Juice Concentrate
- Pizza or Other Convenience Meals
- Pie Crust
- Cookie Dough
CANNED/DRIED GOODS
- Chicken stock/broth
- Salsa
- Diced Tomatoes
- Jam/Jelly
- Peanut Butter
- Pasta Sauce
- Beans (Black Beans, Chickpeas, Baked Beans, etc)
- Soups
- Tuna
- Green Chiles
- Canned Veggies
- Coffee or Tea
Get more details on the best non-perishable and pantry foods
CONDIMENTS/SPICES
- Black Pepper
- Chili Powder
- Cinnamon
- Crushed Red Pepper
- Cumin
- Garlic Powder
- Ketchup
- Mustard
- Mayo
- Nutmeg
- Paprika
- Salt (Course Sea Salt and Kosher Salt)
- Soy Sauce
- Steak Sauce
- Hot Sauce/ Buffalo Sauce
- Salad Dressings
OILS/VINEGARS
- Apple cider vinegar
- Balsamic vinegar
- Coconut Oil
- Olive Oil
- Vegetable/Canola Oil
- Red Wine Vinegar
- White Vinegar
- Cooking Wine
- White Wine Vinegar
SNACKS
- Crackers
- Nuts
- Quick Oats
- Popcorn
- Tortilla Chips
- Cereal
Click to get my Free Printable Grocery List for the perfectly stocked pantry and freezer!

Click ☝🏻 for my FREE Grocery List Printable!
I hope this essential grocery list can help you buy what you need and make your home cooking so much easier!
Stock Your Kitchen
Find more ideas for your grocery list, stock up your kitchen, and print more cooking guides and charts to keep handy!

Non-Perishable Foods to Stock Up On

Frozen Vegetables to Stock Up On (and Recipes to Make)

Ultimate List of Cooking Herbs for Your Kitchen

Ultimate List of Cooking Spices for Your Kitchen

Cooking Oil 101: Types of Cooking Oils to Use

26 Types of Pasta and When to Use Them

What Fruits and Vegetables are in Season?

Meat Temperature Chart (Free Printable)

How to Meal Prep (Guide for Beginners)

Basic Cooking Measurements & Kitchen Conversion Chart

